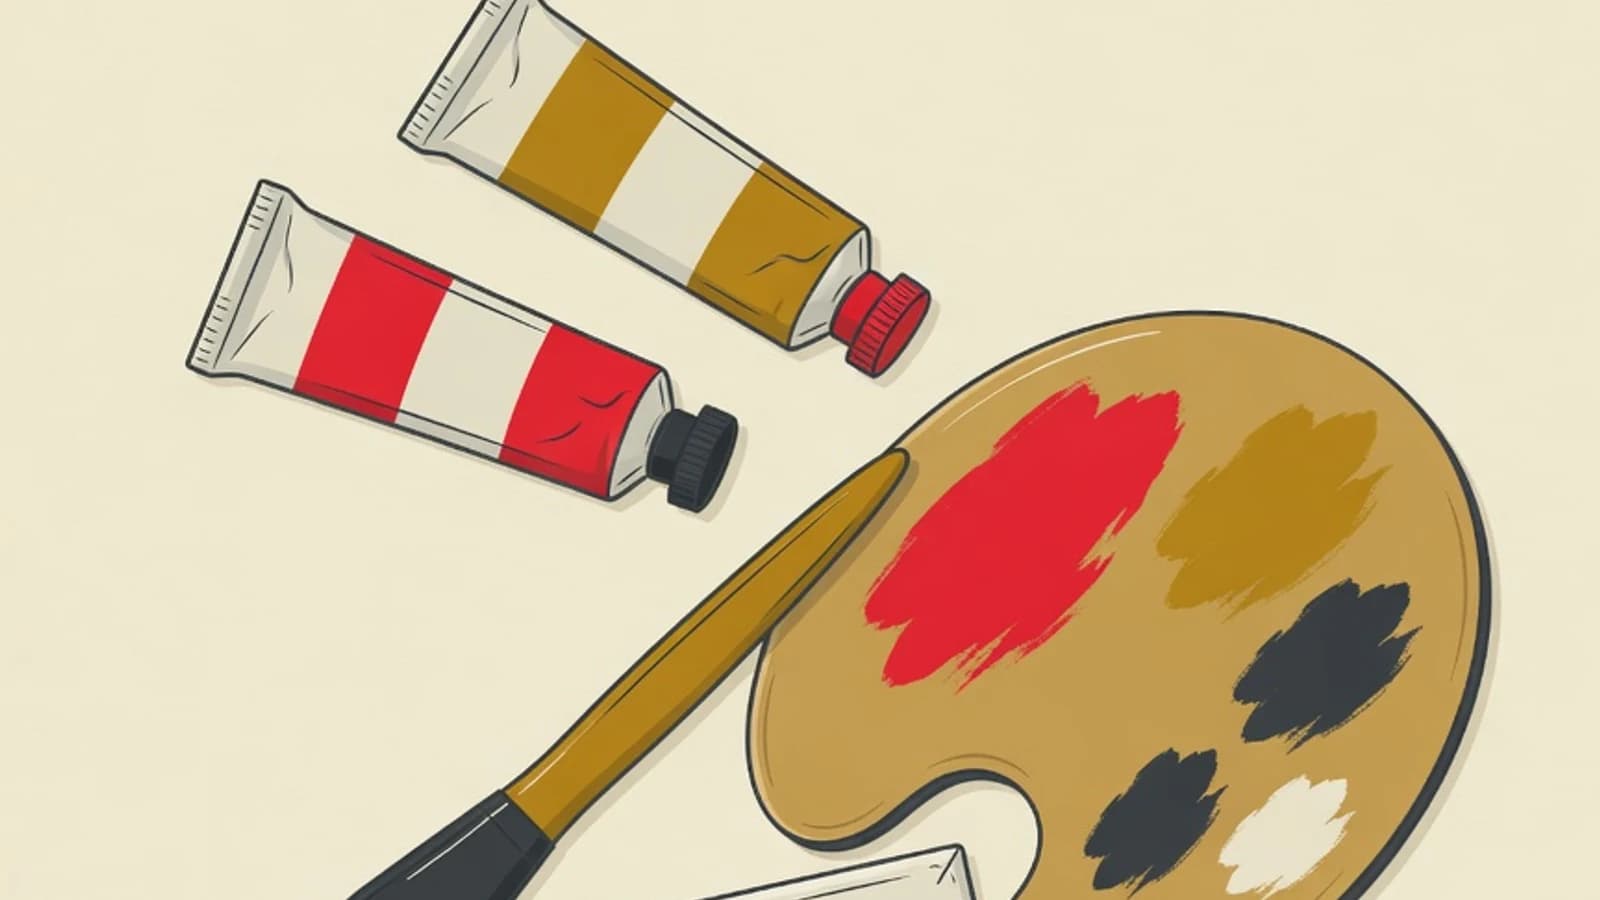
Painting with acrylics suits beginners because the paint is water-based, dries within minutes, and cleans up with soap and water. You can begin with five basic colors, three brushes, and a small canvas. Working step by step from simple sketches builds brush control and quiet confidence.
- Acrylic paint is water-based, safe, and easy to clean
- Five basic colors are enough to get started
- Six practice steps from sketch to finish
- Five basic acrylic colors (red, blue, yellow, white, black)
- A small canvas or 200 gsm acrylic paper
- Two to three synthetic brushes (small round, medium flat, filbert)
- A plastic palette or a spare ceramic plate
- A water container and a cloth rag
Quick Facts About Acrylic Paint
What Acrylic Paint Is and Why It Welcomes Beginners
Acrylic paint is a water-based paint that uses an acrylic polymer emulsion to bind its pigments. While still wet, the paint dissolves in water, so brushes and palettes rinse clean with soap and water. Once dry, the layer becomes water-resistant and flexible, forming a durable film. This fast-drying quality is what makes acrylics comfortable for beginners. You can layer a new color just minutes after the previous one dries, with no need to wait for days as with oils. Stray brushstrokes are easy to cover with the next layer, so the learning process feels calm and low-pressure. Its flexibility is wide as well. Thinned with plenty of water, acrylic can mimic the transparent look of watercolor. Used straight from the tube, it gives thick, opaque color like oil paint. One kind of paint serves many styles, and that gives a beginner ample room to experiment.
Six Steps to Paint with Acrylics as a Beginner
The steps below carry you from setting up your tools to the final touches. Work through them in order, and repeat on more complex subjects as your confidence grows.
- 1
Set up your space and prime the canvas with gesso
Choose a table near a window or bright lamp, cover it with newspaper or plastic, then set out clean water and a cloth rag. Before painting, brush one or two coats of gesso onto the canvas with a wide flat brush. Gesso is a white base layer that helps paint sit evenly and makes colors look brighter. Let each coat dry for about ten minutes. Ready-made canvases from a shop usually come pre-gessoed, so this step is optional. For thick acrylic paper, gesso helps the surface hold wet strokes more firmly.
Tips- Sweep gesso in one direction first, then crosswise for an even coat
- Wash the brush right after use while the gesso is still wet
- 2
Learn the five basic colors and how to mix them
Start with red, blue, yellow, white, and black. From these five you can mix almost every other color. Blue and yellow make green, red and yellow make orange, red and blue make purple. White lightens a color, while black is used sparingly because it easily makes colors look muddy. Practice mixing on the palette before applying it to the canvas. Make small color swatch cards as a record of your proportions, so you can repeat the same color another day.
Tips- Add a dark color into a light one a little at a time, and keep it in that order
- Keep notes of your favorite mixing recipes
Acrylics dry slightly darker than they appear wet, so test a color on scrap paper first. - 3
Draw a light sketch as a map for your image
Draw your chosen subject with a thin pencil directly on the canvas, or with thinned acrylic in a neutral color using a small brush. The sketch works as a composition map: it sets the placement of objects, the horizon line, and the proportions. Choose a simple subject for your first practice, such as fruit, a cup, or a scene with few elements. Keep the lines light so they do not show through thin paint above. Focus on the large shapes first, and leave the fine details for the final stage.
Tips- Divide the canvas into four quadrants to help proportions
- A thinned-paint sketch is safer because it blends with later layers
- 4
Block in large color areas from dark to light
Fill the wide areas first with base colors, such as the sky, background, or table. Work from dark toward light, because light colors cover dark ones more easily in acrylic. Use a medium flat brush for broad areas and slightly thinned paint for an even coat. Ignore details at this stage; the goal is to cover the whole canvas with base color so no white patches interfere with your color judgment. An even base layer makes it easier to judge the overall light and dark balance.
Tips- Leave a little room at object edges so colors do not bleed into each other
- Work adjacent areas while wet for smooth gradients
- 5
Build details, shadows, and highlights
Once the base layer is dry, add dimension with shadows and highlights. Mix a darker version of the base color for the side away from the light, and a lighter version for the side facing it. Use a small round brush for fine lines and details, such as leaf texture or the shine on a glass. Layering thin coats gradually gives a deeper result than a single thick coat. Step back now and then to judge the balance of the whole image.
Tips- The brightest highlight needs only one or two points to stay special
- Dry the brush on a rag before switching colors to keep them clean
- 6
Refine edges, evaluate, and protect the finished work
In the final stage, sharpen object edges, tidy stray lines, and check the color balance. Let the painting dry completely. For a full layer, acrylics need about two weeks before they are ready to varnish. Varnish protects the surface from dust and ultraviolet light and evens out the sheen. Sign your work in a corner as a marker of progress. Store the painting in a dry, upright spot away from direct sunlight so the colors last.
Tips- Photograph each piece to track your progress over time
- Test varnish on a practice canvas before using it on your main work
Do not varnish before the paint is fully dry, as trapped moisture can turn the layer cloudy.
Mediums and Support Materials to Know
Gesso
A white base layer for canvas or wood. It helps paint sit evenly and makes colors look more alive.
Retarder medium
A fluid that slows drying so you have more time for wet-on-wet techniques.
Gloss or matte medium
Adjusts the sheen and thins the paint without reducing pigment adhesion.
Modeling paste
A thick paste for building raised texture, useful when you want a dimensional surface.
Synthetic brushes
Synthetic fibers resist water and last longer with acrylics than natural hair.
Wet palette
A palette with a damp sponge and special paper to keep paint wet for longer.
Acrylics Compared to Watercolor and Oil
| Aspect | Acrylic | Watercolor | Oil |
|---|---|---|---|
| Drying time | Fast, within minutes | Fast | Slow, over days |
| Cleanup | Soap and water | Water | Special solvent |
| Covering mistakes | Easy to layer over | Hard | Possible, but slow |
| Beginner friendliness | Very welcoming | Needs water control | Needs patience |
This table is a general picture. Many beginners start with acrylics and try other mediums over time.
Starter Supply List
- Five basic acrylic colors in small tubes
- A small canvas or acrylic paper pad of at least 200 gsm
- Three synthetic brushes: small round, medium flat, and filbert
- A plastic palette or spare ceramic plate that rinses easily
- Two water containers, one for washing and one for thinning
- A cloth rag, a pencil, and tissue for tidying strokes
- Gesso and retarder medium as optional supports
“Beginners often wait too long to start because they feel their kit must be complete. In truth, five colors and one brush are enough to train the eye and hand. What decides progress most is the amount of practice you put in.”
Weighing Acrylics for Early Practice
- Dries fast, so colors can be layered within one session
- Cleans up with soap and water, no harsh solvents
- Works on canvas, paper, wood, and even stone
- Beginner-grade paint is relatively affordable
- Dries too fast when mixing on canvas, eased with retarder
- Colors dry slightly darker, so testing first helps
- Paint dried in a brush is hard to remove, so wash brushes promptly
- Acrylic paint is water-based, fast-drying, and easy to clean, which makes it friendly for beginners.
- Five basic colors, three brushes, and one small canvas are enough to begin your first practice.
- Six steps from priming with gesso to finishing give a clear framework you can repeat.
- Progress in acrylic painting grows from consistent practice over time.