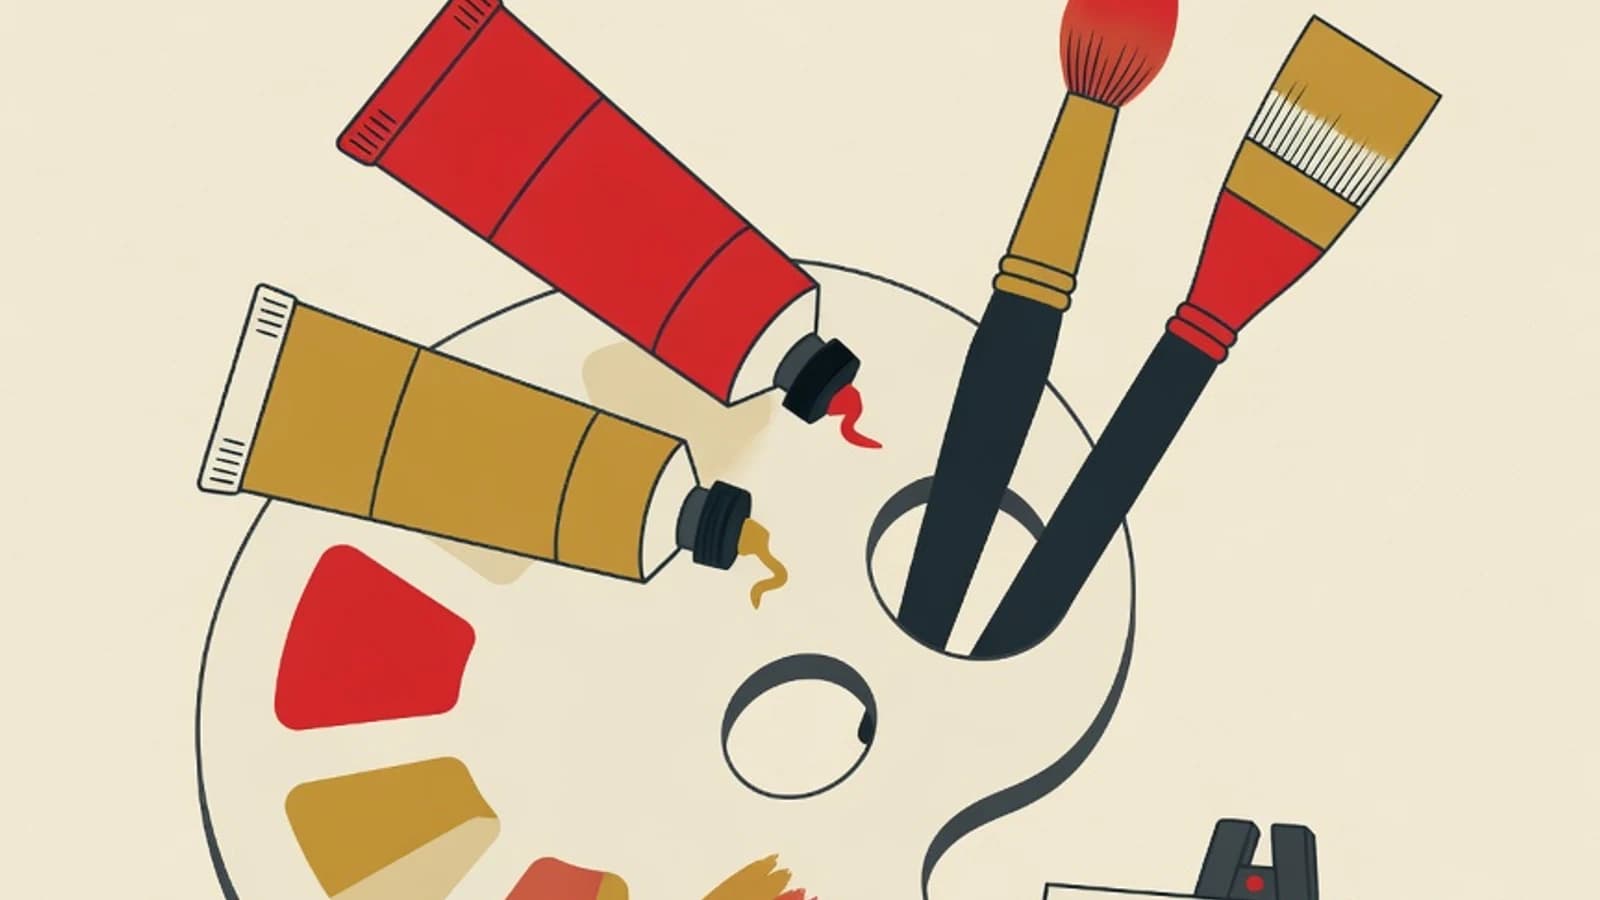
Learning to paint as a beginner starts with choosing one paint medium to focus on, understanding basic color theory, then building brush control through small works. Beginners who finish several simple paintings from start to end grow far faster than those who attack a large, complicated canvas right away.
- Pick one medium first (watercolor or acrylic) before trying many paint types
- Understand the three primary colors and how to mix them before buying many colors
- Finishing small complete works regularly is more valuable than chasing one large, complicated painting
- One paint type to begin with, for example a watercolor set or a beginner acrylic set in base colors
- Two to three brush sizes (small round, medium flat) suited to the chosen medium
- A painting surface that matches the medium: watercolor paper for watercolor, or small canvas and acrylic paper for acrylic
- A palette for mixing, a water container, and a cloth rag
Key Numbers Before You Start Painting
Why choosing one medium first speeds up progress
Many beginners buy watercolor, acrylic, and oil paint all at once, then get confused because the three behave very differently. Watercolor is thin and transparent, flows with water, and asks the beginner to protect light areas from the start. Acrylic dries quickly and can be layered, so it forgives mistakes and is easy to fix. Oil paint dries slowly and gives time to blend colors smoothly, but tool care and its odor are more challenging for a beginner at home. By focusing on one medium at first, a beginner learns one set of paint behaviors until it feels familiar, so brush control and color mixing build faster. Acrylic and watercolor are most often recommended for the start because the tools are simple, water works as the thinner, and cleanup is easy. Once one medium feels comfortable, switching to or adding a second medium becomes much lighter because the foundation of color theory and brushwork is already in hand. Painting at home or with a teacher both need a tidy workspace: a table cover, a clean water container, and good lighting. A ready space makes practice sessions enjoyable and reduces the temptation to delay.
7 Steps to Learn Painting as a Beginner
These seven steps follow the order fine-art teachers commonly use when guiding beginners. Finish each step until it feels comfortable before moving to the next.
- 1
Choose one paint medium and set up the basic tools
Begin by choosing one paint type to focus on. Watercolor suits those who like light, transparent results and compact tools. Acrylic suits those who want dense color, fast drying, and easy fixes. Prepare the matching basic tools: for watercolor use absorbent watercolor paper, for acrylic use a small canvas or acrylic paper. Add two to three brushes, a palette, a water container, and a rag. Starting with one medium and few tools keeps the beginner focused on skill, so energy is not drained by managing lots of equipment.
Tips- Buy a beginner paint set in base colors only, add special colors later once you can mix
- Pick a small surface size (A5 or A4) so each work finishes quickly and feels complete
Avoid buying dozens of colors at once at the start. Too many color choices actually slows a beginner down from learning to mix their own colors. - 2
Master basic color theory and mixing practice
Understanding color is the foundation of painting. Start from the three primaries: red, yellow, and blue. From these, almost every other color can be mixed. Make a simple exercise: mix two primaries to produce secondary colors (orange, green, purple), then try adding white to lighten and a touch of complementary color to darken naturally. Record the mixes on a personal color sheet so they are easy to repeat. Beginners who get used to mixing their own colors gain more freedom to choose the exact shade they want, with ready-made tube colors becoming just a starting point.
Tips- Print a simple color wheel and tape it near your work table as a guide
- Make a value scale from light to dark for one color to get used to managing tone
- 3
Practice brushwork and control of water or paint
Before making a work, get to know how the brush and medium react. For watercolor, practice the water-to-paint ratio: more water gives pale, transparent color, less water gives dense color. Practice basic techniques like flat washes, gradients from dense to pale, and wet-on-wet. For acrylic, practice layering, flat strokes, and texture with a dry brush. Make a practice sheet of lines, dots, gradients, and simple shapes. This practice trains the hand to know the tools before tackling a real subject.
Tips- Hold the brush closer to the tip for detail control, farther for free, wide strokes
- Keep the water container clean so colors do not turn muddy, change the water as soon as it dirties
In watercolor, white comes from paper left blank. Plan light areas from the start because watercolor is hard to return to white. - 4
Start from a light sketch before laying down paint
A thin pencil sketch helps arrange composition before paint covers the surface. Start from large, simple shapes: a circle for fruit, a box for a building, a horizon line for a landscape. Also practice quick five to ten minute gesture sketches to train the eye to read form and proportion. Once the composition feels right, lay paint following the sketch. A light sketch is easily covered by paint and does not disturb the final result, while giving the beginner confidence about where the painting is heading.
Tips- Press the pencil very lightly so sketch lines are easy to cover with paint
- Start from a single simple object like one apple before arranging many objects
- 5
Build the painting in stages from large areas to detail
Experienced painters rarely jump straight to small details. Start from large color areas as a base, letting the general form and color composition take shape first. In watercolor, work from light to dark because dark colors are hard to lighten again. In acrylic, many painters block in the dark or mid tones first, then add light highlights on top. Once the large areas are settled, move into details like shadows, texture, and accents. This staged approach keeps the whole painting balanced and prevents the beginner from getting lost in one small corner.
Tips- Step back and view the painting from a meter away to judge overall balance
- Save details and the brightest highlights for the final stage so they look sharp
- 6
Finish small complete works on a regular basis
Finishing a work from start to end teaches lessons separate exercises cannot. Pick a simple subject, work through composition, base colors, up to final detail, then call it done. Small works around A5 or A4 can be finished in one to two sessions so they feel satisfying. Set a regular target, for example one small work per week, and keep them all in one folder. Watching a growing stack of works gives real proof of progress and keeps practice motivation high.
Tips- Better to finish many small works than to leave one large painting unfinished
- Date the back of each work to easily compare progress over time
- 7
Evaluate each work and seek feedback
Every finished work is study material for the next one. Observe what worked and which parts you want to improve: are the colors too muddy, the composition too centered, or the tonal contrast too weak. Feedback from a teacher or a more experienced painter speeds this up because they can point to root issues that are hard to see yourself. Note one thing to improve in the next work, then focus practice on it. Improving one aspect at a time makes progress feel measurable and not overwhelming.
Tips- Photograph each work in good lighting to compare progress objectively
- Pick one improvement focus per work, for example practicing shadows, so practice stays directed
Choosing a First Paint Medium for Beginners
Watercolor
Transparent and flows with water. Compact tools and quick cleanup, ideal for those who like light results and fast practice. Demands planning light areas from the start.
Acrylic
Dries fast, dense color, and can be layered so mistakes are easy to fix. Water works as the thinner and cleanup is easy, friendly for beginners who want bold color on canvas.
Oil
Dries slowly, giving time to blend colors smoothly and richly. Tool care and odor are more challenging, more ideal to try once the basics are mastered.
Learning Painting Self-Taught vs With a Teacher
| Aspect | Self-Taught | Teacher-Guided |
|---|---|---|
| Color mixing | Often muddy without knowing the cause | Corrected before it becomes a habit |
| Material order | Easy to skip and leave foundation gaps | Built in stages from color to composition |
| Feedback on work | Hard to judge your own work objectively | Regular input from more experienced eyes |
| Initial cost | Cheaper | Market estimate Rp75,000 to Rp250,000 per session |
| Motivation | Depends on personal discipline | Has work targets and guidance |
Many beginners start self-taught to get to know paint, then move to a teacher when they want refined technique or to prepare a portfolio.
“Beginners who finish one small work every week usually advance faster than those who keep switching subjects without ever completing them. Clean color mixing grows from observing your own results, and a folder of stacking works is the most honest proof of progress.”
Painting Practice Session Checklist
- Prepare the workspace: a cover, clean water container, palette, and good lighting
- Warm up brushwork and practice one new color mix, about 5 minutes
- Make a light composition sketch with a thin pencil
- Lay color from large areas to detail following the medium's order
- Step back briefly and judge overall balance before adding detail
- Finish the work, date it, then note one thing to improve next time
- Beginner painting flows most smoothly in this order: pick one medium, master color theory, practice brushwork, then finish small complete works.
- The three primary colors (red, yellow, blue) are enough to mix almost every other color, so beginners need not buy many ready-made colors.
- Finishing many small works regularly builds skill faster than leaving one large, complicated painting hanging.
- Watercolor and acrylic are the friendliest for the start because tools are simple and cleanup is easy, while oil is more ideal to try once the basics are mastered.