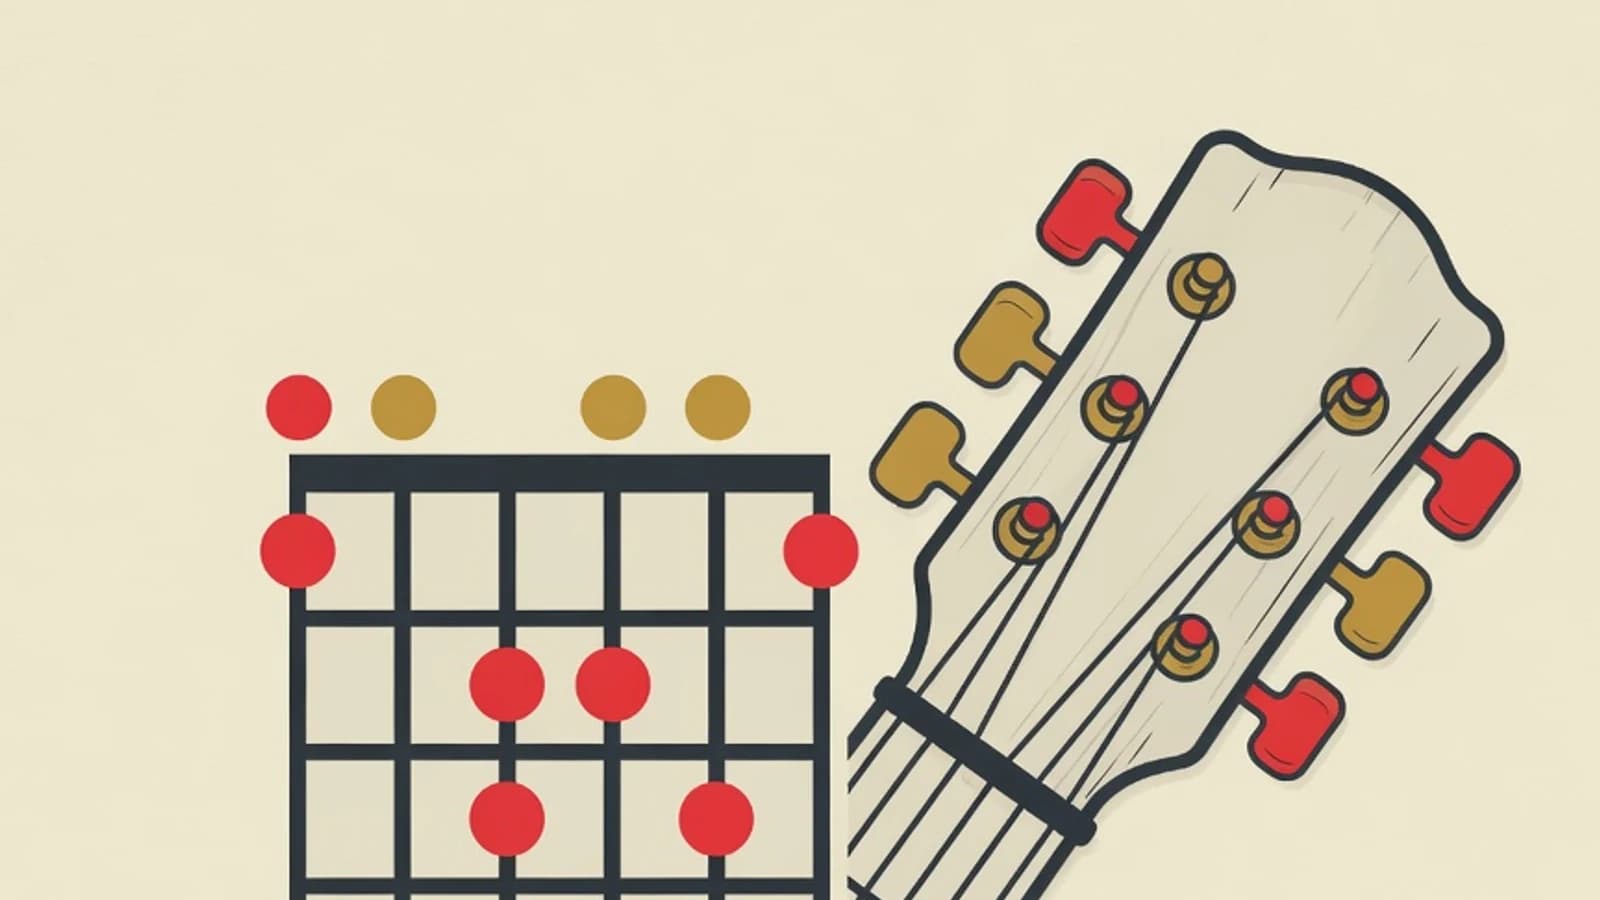
The clearest way to learn basic guitar chords for beginners starts with five open shapes: Em, Am, C, G, and D. Master each finger position one at a time, press the string just behind the fret, then sound every string to make sure each note is clean before adding the next chord.
- Start with Em and Am, which need only two fingers
- Press each string just behind the fret bar for a clean tone
- Check every string one by one before adding a new chord
- A tuned acoustic or classical guitar
- Open-chord diagrams (Em, Am, C, G, D)
- Short-trimmed nails on the fretting hand
BWhy these five open chords come first
Basic guitar chords for beginners center on open shapes because they sit near the headstock, between the first and third frets, and let several strings ring freely. The fretting hand only covers two or three points, so a hand that is still adjusting has room to settle. Em, Am, C, G, and D are chosen because their combination already covers many popular songs in Indonesia and worldwide. A four-chord progression such as G, D, Em, and C forms the backbone of hundreds of songs, so mastering these five shapes pays off quickly. The same five shapes also frame the CAGED system, which you can later slide higher up the neck of the guitar.
Steps to form basic guitar chords from scratch
Follow this order step by step. Finish one step until it rings clean before moving to the next, so every basic chord takes root correctly.
Learn finger numbering and fret positions
Before pressing any chord, agree on the terms first. The index finger is finger 1, the middle finger is finger 2, the ring finger is finger 3, and the pinky is finger 4. A fret is the column between two metal bars on the neck of the guitar, counted from the headstock. A chord diagram reads the neck as you face it upright: vertical lines are strings, horizontal lines are fret bars, and dots show finger positions. The number under a dot tells you which finger to use. Mastering this simple map lets you translate any basic chord diagram into your own fingers without guessing.
- Rest the guitar on your lap with the neck slightly raised so fingers curve more easily
- Trim the nails on your fretting hand so fingertips can press straight down
Start with Em and Am, which need two fingers
Em is the friendliest opening chord. Place finger 2 on the second fret of the fifth string and finger 3 on the second fret of the fourth string, then strum all six strings. Once Em rings full, move to Am. The layout is similar: finger 2 on the second fret of the fourth string, finger 3 on the second fret of the third string, and finger 1 on the first fret of the second string. On Am, leave the thickest sixth string unstruck. Both chords train the fingers to curve and press firmly without demanding a wide reach. Alternate between Em and Am until your hand remembers the shapes without looking.
- Press with the fingertip so neighboring strings stay clear
- Sound each string one by one to confirm no note is dead
Form the C major chord
C major introduces a wider finger reach. Place finger 1 on the first fret of the second string, finger 2 on the second fret of the fourth string, and finger 3 on the third fret of the fifth string. Strum from the fifth string down and leave the sixth string quiet. The main challenge with C is keeping the fingers curved so the open third string stays clean. Many beginners unknowingly touch the third string with the pad of finger 2, muting it. Practice slowly while checking each string, then build speed once the tone is clear.
Form the G major chord
G major involves three fingers spread fairly far apart, so it naturally feels awkward at first. A common beginner layout: finger 2 on the third fret of the sixth string, finger 1 on the second fret of the fifth string, and finger 3 on the third fret of the first string. All six strings are strummed on this chord. The span from the sixth string to the first asks the palm to open a little. If finger 3 struggles to reach the first string, shift your wrist slightly forward so the fingers stand more upright. G often becomes a bridge into songs with bright open progressions.
- Keep your thumb behind the neck so the palm is free to open
- Sound the sixth and first strings on purpose, the two most often missed on G
Form the D major chord
D major forms a small triangle on the second and third frets. Place finger 1 on the second fret of the third string, finger 3 on the third fret of the second string, and finger 2 on the second fret of the first string. Strum from the fourth string down, leaving the sixth and fifth strings silent. D major trains precision because three fingers sit close together in a tight space. Make sure each finger stands upright so they do not touch and mute a neighboring string. With Em, Am, C, G, and D in hand, you already hold a set of basic guitar chords wide enough to accompany many songs.
Check that every string rings clean
This step is often skipped, yet it decides the quality of your sound. After forming a chord, pick each string one by one from top to bottom and listen. Every string that should ring must sound clear, with no buzz and no dead note. If one is muted, trace which finger is touching it, then fix the position. This checking habit builds your ear and your finger muscles at once, so each basic chord takes shape neatly from the start. Spend time here, because fixing a bad habit later takes far longer than planting a good one early.
- Record yourself occasionally to hear muted strings more objectively
Build a short daily practice routine
Consistency gives better results than a single long session. Set aside about fifteen minutes each day, or split it into a few short ten-minute sessions. Begin with a finger warm-up, then practice each chord separately, and close by holding one chord for a few seconds, releasing, and forming it again. Short, regular practice builds fingertip calluses within weeks and makes chord shapes fall into place faster. Note simple progress, such as which chord already rings clean, so your practice keeps a clear direction.
- Practice at the same time each day so the habit forms more easily
- Pause when fingertips feel sore, then continue once they recover
A quick profile of the five basic chords
Em
Two fingers, all six strings strummed. The friendliest chord to begin with and to train finger pressure.
Am
Three fingers around the first and second frets. The sixth string stays quiet. Shape resembles the E pattern.
C
A three-finger reach across three frets. Demands curved fingers so the third string stays clean.
G
Three fingers spread from the sixth string to the first. Trains the palm to open wider.
D
A triangle shape on the second and third frets. Strummed from the fourth string down.
Comparing the five open chords
| Chord | Fingers | Strings muted | Level |
|---|---|---|---|
| Em | 2 fingers | None | Very easy |
| Am | 3 fingers | String 6 | Easy |
| C | 3 fingers | String 6 | Intermediate |
| G | 3 fingers | None | Intermediate |
| D | 3 fingers | Strings 6 and 5 | Intermediate |
The suggested practice order follows difficulty: Em, Am, C, G, then D.
An unclean chord almost always comes down to finger position. Recognize the pattern early so it is easy to fix.
- Buzzing string: the finger sits too far from the fret bar, move closer and press more firmly
- Dead or muted string: a finger pad touches a neighbor, stand the finger more upright
- Lopsided sound: uneven pressure, make sure each fingertip presses fully
“Beginners who take the time to check every string from the very first chord usually pass the early stage more calmly. Their ear and fingers grow together, so the chord shapes settle neatly and moving between chords feels more natural later on.”
Nylon or steel strings for beginner fingers
- Softer strings so fingertips ache less at first
- The neck tends to be wider, giving more space between strings
- Good for getting used to finger pressure without much soreness
- Harder strings so fingers need time to adapt
- Calluses form faster because the pressure is more noticeable
- Brighter tone that is popular for modern accompaniment songs
A checklist before moving to full songs
- You can form Em, Am, C, G, and D without looking at a diagram
- Every strummed string rings clear with no buzz
- Your hand recalls each chord shape within a few seconds
- Your fingertips can press the strings longer without aching
- You can hold a chord, release, and re-form it smoothly
- The five open chords Em, Am, C, G, and D are the foundation of basic guitar chords for beginners
- Start with chords that use fewer fingers, then move up to shapes that demand a wider reach
- A clean tone on every string matters more than fast chord changes at the early stage
- Short, regular practice builds fingertip calluses and shape memory within weeks