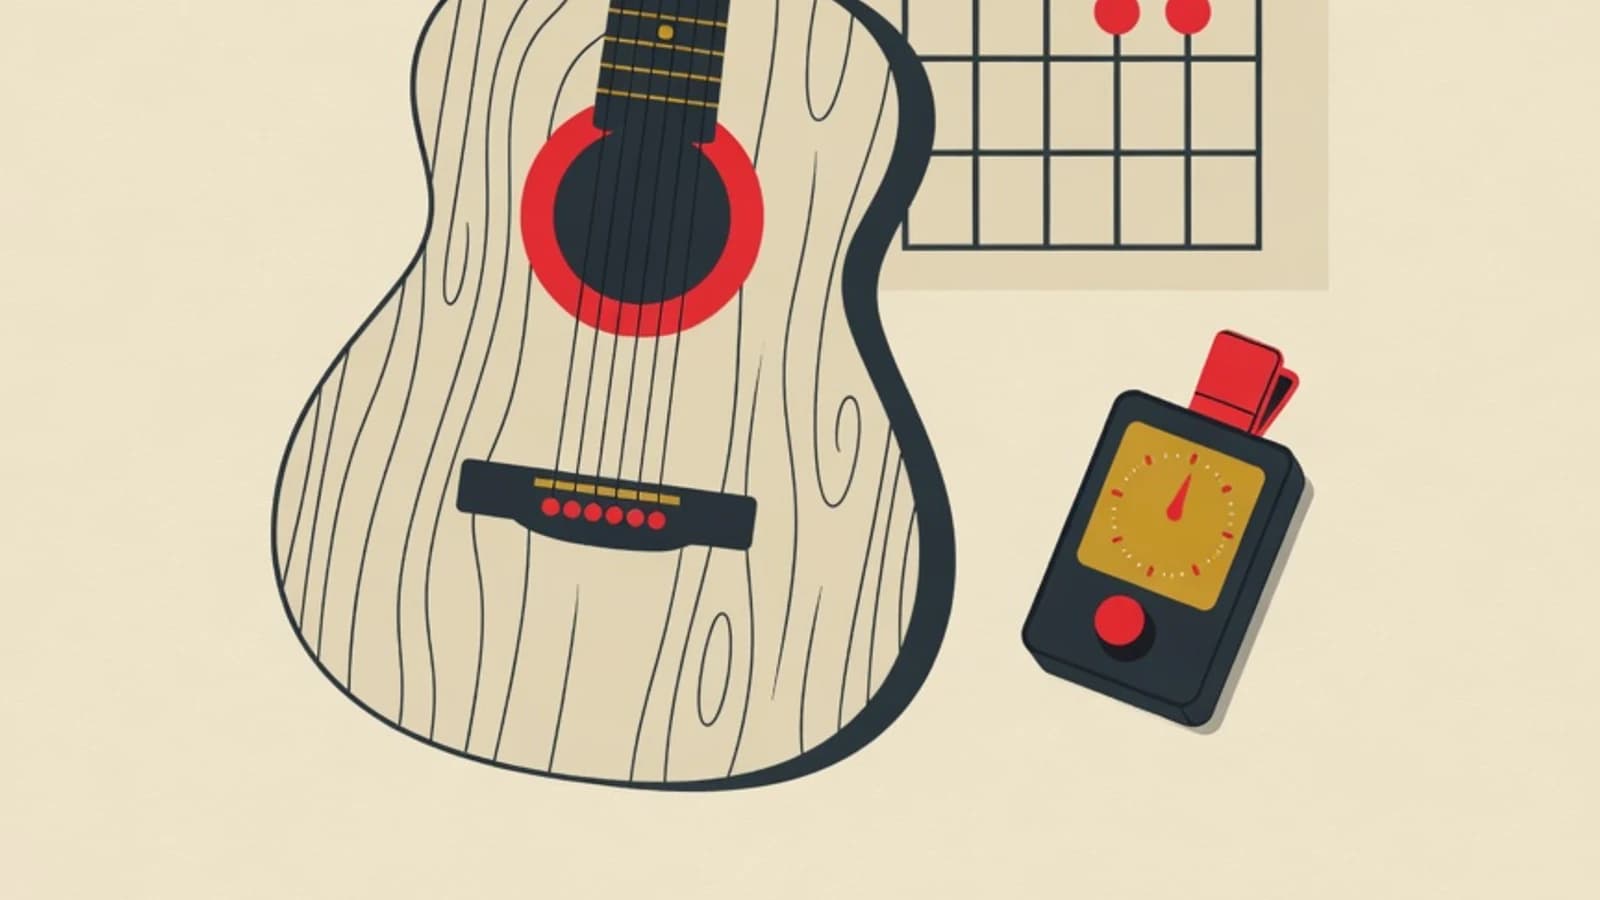
How to tune a guitar for beginners is easiest with a clip-on tuner or a tuner app. Clip the tuner onto the headstock, pluck one string, then turn the pegs slowly until the needle sits right on the standard note. The order runs from the thickest string to the thinnest: E, A, D, G, B, E. Once you are used to it, the whole process takes five to ten minutes and can be done every time before you play.
- The standard guitar tuning is E-A-D-G-B-E, read from the thickest sixth string to the thinnest first string
- A clip-on tuner is the most beginner-friendly tool because it reads the wood's vibration and shrugs off noise
- The ear can be trained to tune on its own through the 5th-fret method, a valuable backup when no tuner is around
- An acoustic or classical guitar with six usable strings and none broken
- A clip-on tuner that clamps onto the headstock, the most accurate tool for beginners
- A phone with a tuner app as a backup when a clip-on tuner is not yet available
- A reasonably quiet room so the app microphone picks up the pitch clearly
Why Tuning Is a Guitar Player's Very First Skill
Understand First What Tuning a Guitar Means
Tuning a guitar means adjusting the tension of each string until it produces the correct pitch. Every string is fastened at a peg, the tuning key on the headstock. Turning a peg one way tightens the string and raises its pitch, turning it the other way loosens the string and lowers its pitch. Your job is to match each string's pitch with a standard reference. An untuned guitar sounds out of tune even when your fingers press the chord correctly. This is why tuning becomes the first skill, ahead of learning chords or strumming. The good news is that even a beginner's ear can be trained to recognize the right pitch. The guide below lays out the order clearly, from the easiest way with a device to the independent way with your ear.
Six Steps to Tune a Guitar From Scratch
Take them in order. The first four steps get your guitar ready to play today, and the last two train your ear so you can become independent of any device.
- 1
Step 1: Learn the Number, Note, and Turning Direction of Each String
Name your six strings first. The sixth string is the thickest and sits highest when you hold the guitar, and its note is a low E. Moving down in order: the fifth string is A, the fourth is D, the third is G, the second is B, and the first and thinnest string returns to E, this time a high E. This E-A-D-G-B-E order is the standard tuning you aim for. While memorizing, get to know the pegs too: turn one peg slowly while plucking its string, and notice whether the pitch rises or falls. Each guitar brand can differ in direction, so feel your own guitar until it becomes second nature.
Tips- Memorize the E-A-D-G-B-E order with a simple mnemonic you make up yourself so it stays with you
- Mark which is the thickest sixth string, this is where you always begin the tuning process
- 2
Step 2: Prepare a Beginner-Friendly Tuning Tool
Choose a clip-on tuner as your main tool. Clip it onto the headstock, near the pegs, then switch it on. This type reads vibration straight from the wood, so it stays accurate even in a busy room. If you do not own one yet, download a free tuner app on your phone such as GuitarTuna or Fender Tune, which tunes through the microphone. For an app, find a reasonably quiet room so the microphone picks up the pitch cleanly. Make sure the tuner is on the standard mode, usually marked C or Chromatic, so it reads every note as it truly is.
Tips- A clip-on tuner costing only a little is a small investment that saves a great deal of frustration
- For a phone app, switch off the fan or television first so the pitch reading stays clean
- 3
Step 3: Tune One at a Time Starting From the Thickest String
Begin with the thickest sixth string. Pluck it once cleanly, let it ring, then read the tuner screen. The screen shows the detected note letter and a needle or a light. If the letter is not yet E or the needle is not yet centered, turn that string's peg slowly while you keep plucking, until the letter E appears and the needle sits dead center. Once the sixth string is done, move to the fifth string for A, then D, G, B, and finally the first string for high E. Work in order so no string is skipped.
Tips- Pluck with a steady, medium touch, an overly hard pluck throws the tuner's reading off at first
- Finish one string until it is exactly right before moving to the next
Do not tighten a string far past its target note. Excess tension snaps the string and can hurt your eyes. Raise the pitch little by little. - 4
Step 4: Turn the Peg Slowly and Always Rise Up to the Note
There is a small technique that makes the setting hold longer. As you near the target note, aim to stop from slightly below the pitch, then rise gently up to it. Tuning while rising locks the string more stably than tuning while falling. If you overshoot the note, loosen the string first until it sits below the target, then raise it slowly again. Turn the peg in small movements, since a little turn already shifts the pitch quite far. Patience at this step keeps the guitar in tune longer while you play.
Tips- Move the peg little by little, a quarter turn is enough to feel the change
- If you overshoot too high, drop below the target first then rise again so the string locks in stable
- 5
Step 5: Cross-Check Because Strings Affect One Another
Tuning one string slightly shifts the overall tension on the neck, so a string that was already right can drift again. For that reason, once all six strings are done, repeat the check from the sixth string one more time. Pluck each string and make sure the tuner still shows the correct note. On a guitar left untuned for a long time or freshly restrung, you may need two to three rounds of checking before all the pitches settle. This is normal and a natural part of the process. Once everything is stable, try plucking a simple chord to hear whether the sound is clear.
Tips- Repeat a full check at least twice, especially on strings that were just replaced
- Pluck a G or E major chord as a final listening test, the ear quickly catches any string still out of tune
- 6
Step 6: Train Your Ear With the 5th-Fret Method
Once you are comfortable with a tuner, begin training your ear so you become independent later. The 5th-fret method uses one already-correct string as a reference for the string next to it. Press the sixth string at the fifth fret, and its note matches the open fifth string, so match the two. The same approach works for the fifth string to the fourth, the fourth to the third, and the second to the first, all at the fifth fret. The only exception is the third string to the second, which uses the fourth fret. Practice this listening regularly while still checking with the tuner, until your ear grows confident recognizing two pitches that are already the same.
Tips- Remember the exception: the third-to-second string pair uses the fourth fret, the rest use the fifth
- Train your ear while keeping the tuner open as a comparison, until your guesses are consistently right
Three Ways to Tune a Beginner Can Choose
Clip-On Tuner
Clamped onto the headstock and reads the wood's vibration. The most accurate and noise-resistant, the first recommended choice for beginners.
Phone Tuner App
Tunes through the phone microphone with a free app. Handy and free of cost, ideal when a clip-on tuner is not yet available and the room is quiet enough.
Tuning by Ear
Matching pitches between strings with the 5th-fret method. It trains your hearing and helps when no device is around at all.
Comparing Tuning Tools for Beginners
| Method | Strengths | What You Need to Prepare |
|---|---|---|
| Clip-on tuner | Accurate, resistant to a noisy room, easy to read | Requires buying a device, priced affordably |
| Phone app | Free and always in your pocket | Needs a quiet room for a clean microphone reading |
| 5th-fret method by ear | No device, trains your musical hearing | Needs one correct reference string and regular practice |
Many beginners start with a clip-on tuner for quick results, then slowly train the ear with the 5th-fret method to stay independent when a device is left behind.
“A beginner whose guitar is always in tune practices with a correctly trained ear from the very start. Practicing on an out-of-tune guitar plants the habit of hearing the wrong pitch, and that is far harder to fix later.”
Signs Your Guitar Is Tuned Correctly
- All six strings show the notes E-A-D-G-B-E centered on the tuner
- Each open string plucked one by one sounds clean without wavering
- A simple chord like E major or G rings clear and in tune
- The pitch stays stable after two rounds of cross-checking
- You begin to guess matching pitches through the 5th-fret method before looking at the tuner
How Much Does Guided Guitar Learning at EduPoint Cost
The guided learning path stays affordable. Guitar lessons at EduPoint start from Rp 110,000 per session for online lessons, and from Rp 140,000 per session for in-person. A small group of two to three students is also available from Rp 95,000 per student. The final price adjusts to your learning goal, location, and lesson format. Tuning can indeed be learned on your own, and a mentor helps make sure your ear is trained correctly from the start. The mentor corrects how you turn the pegs, trains your hearing to recognize pitch, then moves on to chords, strumming, and your first song step by step. Every student's starting point differs, so your study time goes to what you need most.
- The standard guitar tuning is E-A-D-G-B-E, read from the thickest sixth string to the thinnest first string
- A clip-on tuner is the easiest and most accurate tool for beginners, with a phone app as a backup
- Tune the strings from the thickest first, and rise up to the target pitch slowly for a more stable setting
- Cross-check all the strings for two to three rounds because tuning one string shifts the others
- The 5th-fret method trains the ear to tune without a device, an independent backup when no tuner is around