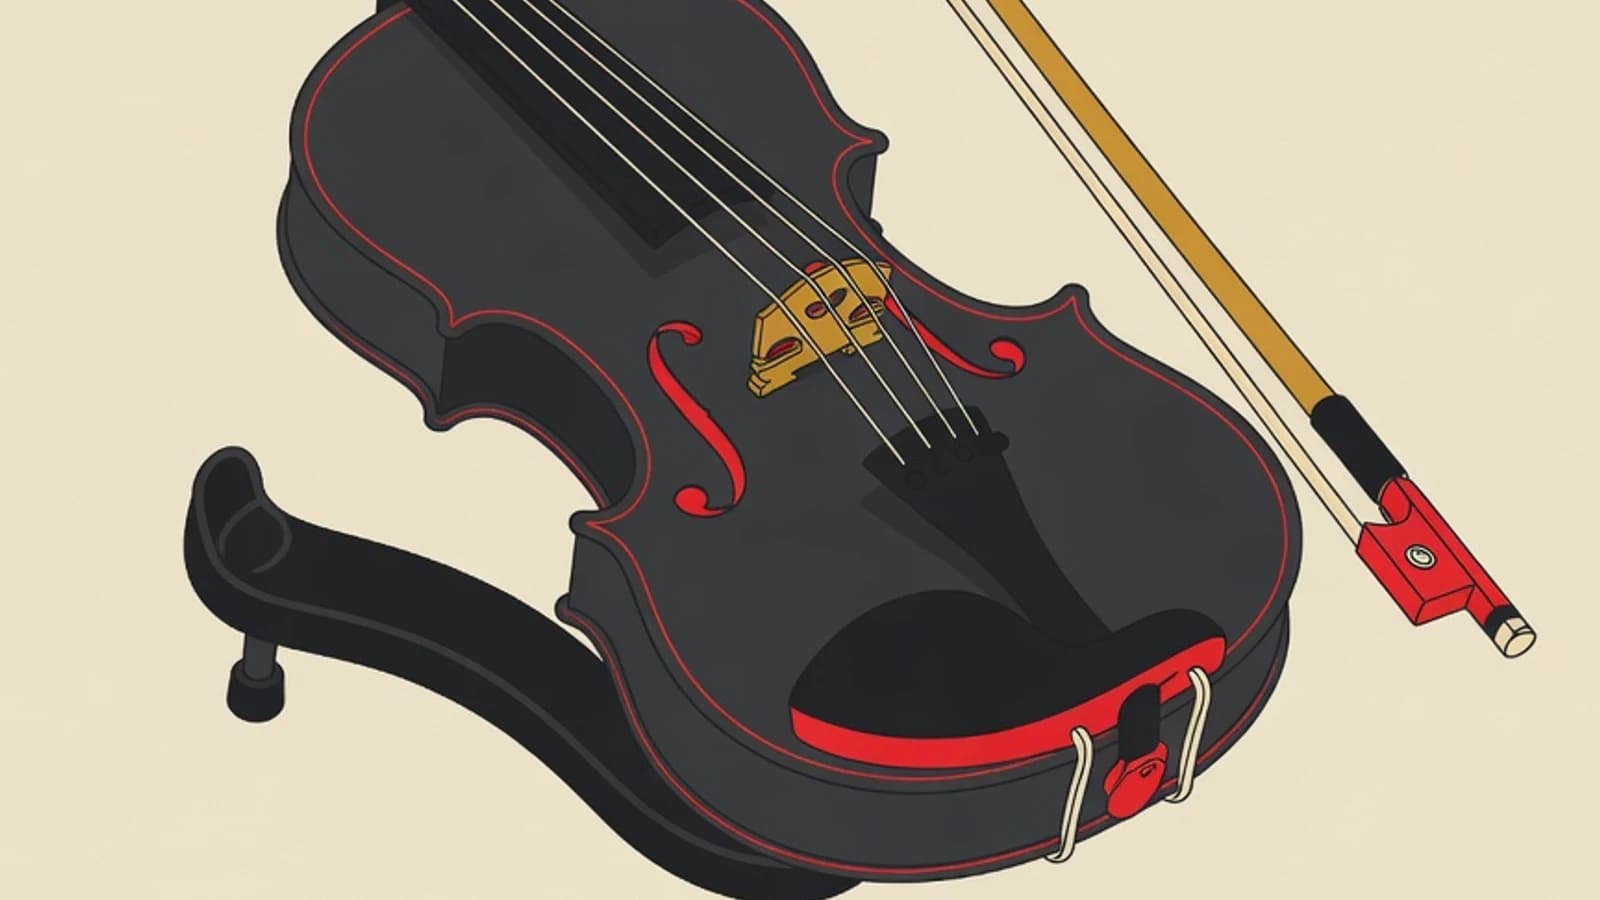
Holding a violin correctly begins by resting the violin's body on the left collarbone, just under the jaw, while the left shoulder supports it through a shoulder rest. The bow is held with softly curved fingers and a bent thumb. The key is a relaxed hold so the neck, shoulder, and hands stay free to move.
- The violin rests on the collarbone and shoulder, with the head's weight holding it through the jaw
- A well-fitted shoulder rest and chin rest remove the clamping habit that causes tension
- A loose bow hold keeps the right hand relaxed before any bowing begins
- A violin sized to your body
- A shoulder rest with adjustable height
- A chin rest that sits comfortably on the jaw
- A full-length mirror to check your position
Numbers That Guide a Beginner's Violin Hold
Why a calm hold shapes the very first step
Before learning to read notes or press the strings, a beginning violinist needs a way of holding the violin and bow that leaves the body free. The violin is supported between the jaw and the collarbone, while both hands carry out delicate work. When the hold feels secure and relaxed, the left and right hands move freely. When the hold is tense, every motion that follows turns stiff. Many beginners unknowingly clamp the violin by raising the shoulder and pressing the jaw down hard. The habit feels safe at first, until the neck and shoulder start aching after a few minutes. Research on musicians' health records fairly common musculoskeletal complaints among string players, and much of it traces back to tense, repetitive positions. Setting up a relaxed hold from day one keeps practice comfortable and lets it last longer.
7 Steps to Hold the Violin and Bow Correctly
This sequence arranges the body first, then the violin, and finally the bow. Work slowly in front of a mirror, master one step before adding the next, and recheck whenever anything feels tense.
- Step 1
Set the body as your foundation
A good violin hold grows from a balanced body. Stand with feet shoulder-width apart, weight spread evenly, knees soft, and shoulders resting down. The head faces straight ahead without looking down. If you practice seated, choose a chair without armrests, sit on the front edge with a tall spine, and keep both soles flat on the floor. A stable posture gives the violin a calm base, so the shoulder and neck do not have to work hard to hold it. Take a few seconds to feel steady breathing before lifting the violin, because a tense body carries straight into the hold.
Tips- Roll the shoulders and neck briefly to loosen the muscles before lifting the violin
- Face a mirror to confirm both shoulders are level and not raised
- Step 2
Rest the violin's body on the collarbone
Lift the violin and place the back of its body on the left collarbone, near the base of the neck. Let the side of the violin touch the side of your neck, with the scroll pointing outward about 45 degrees to the left and lifted slightly to shoulder level. This tilt gives the bow arm room to reach all four strings comfortably. At this stage the violin is simply placed, not yet held by the jaw. Feel first how the collarbone becomes a firm base. Many beginners raise the violin too far forward onto the chest or let it drop toward the arm, when the most stable point sits on the collarbone near the neck.
Tips- Point the scroll slightly higher than the neck of the violin so the strings sit level for bowing
- Keep the violin facing a little to the left so the right arm does not have to turn far
Placing the violin too far toward the center of the chest makes the bow arm cross over and tire quickly. - Step 3
Set the shoulder rest and chin rest to your body
Measure the distance between your shoulder and jaw, then set the shoulder rest so the violin fills that space without forcing the shoulder up. A shoulder rest set too high pushes the shoulder up and triggers tension, while one set too low makes the head bend down too far. A good chin rest cradles the jaw comfortably and avoids pressing the bone. Every neck is a different length, so trying several heights until the violin seems to sit on its own is normal. The right setting is when the violin stays stable even with a light chin contact and a relaxed shoulder. Take time to find this combination, because the right setup removes half the hold's problems.
Tips- Try two or three shoulder rest heights and pick the one that keeps the shoulder most relaxed
- Ask a teacher to check from the side whether the head is upright and the violin level
A shoulder rest set too high forces the shoulder up and creates neck ache. - Step 4
Rest the head's weight, loosen the jaw
Once the violin sits on the collarbone and shoulder rest, lower the jaw onto the chin rest and let the head's natural weight hold the violin. The human head is quite heavy, so it only needs to lean, without pressing or clamping. The jaw stays loose and the teeth are not clenched tight. Test the setup by releasing the left hand briefly: if the violin stays held by the resting head alone for a few seconds, the balance is correct. The left hand then supports the violin's neck lightly, while the resting head still bears the main weight. This calm way of leaning keeps the neck free and the gaze forward.
Tips- Imagine the head simply touching, as far as possible without extra pressure from neck muscles
- Release the left hand for three seconds to confirm the violin stays balanced
Pressing the jaw down too hard makes the jaw and neck tense and leaves a mark on the skin. - Step 5
Form a supple left hand at the violin's neck
Bring the left hand to the violin's neck with the thumb resting lightly on its side, roughly level with the index or middle finger. The neck rests between the thumb joint and the base of the index finger, with a little air gap in the palm so the fingers curve freely over the strings. The wrist stays straight and loose, not bending inward. The left hand's job early on is to support and balance, while pressing the strings is learned later. A loose grip keeps the fingers ready to move nimbly, while a palm pressed flat against the neck locks the motion. Feel the violin leaning into the hand with a grip that stays loose.
Tips- Leave a gap between the palm and the violin's neck, like holding a glass of water without spilling it
- Keep the wrist straight so the fingers have room to curve
- Step 6
Build a relaxed bow hold
Take the bow and form the hold near the frog, the thick end where the bow hair meets the stick. Bend the thumb and rest its tip in the groove between the frog and the stick, with the side of the nail touching the wood. The other four fingers curve softly across from the thumb: the middle and ring fingers hang facing the thumb, the index rests a little farther toward the tip, and the pinky stands curved on top of the stick to balance the bow near the frog. Every finger joint stays loose so the bow feels joined to the hand. Test its suppleness by raising and lowering the bow tip slowly using only finger motion. A relaxed hold keeps the right hand ready to bow without tiring soon.
Tips- Practice the hold on a pencil first so the fingers get used to it before the bow
- Keep the thumb always bent and never locked straight
Gripping the bow too tightly tires the arm quickly and locks the finger motion. - Step 7
Check for tension and reset the hold
Once the violin and bow are in position, scan the body from top to bottom: is the jaw loose, the shoulder down, the left elbow hanging easily, and the right thumb bent? Tension often builds quietly at one of these points. If anything aches, lower the violin, loosen the arm, and rebuild the hold from the first step. Take a break to release the left hand between exercises to restore balance. Beginners who make this quick check a habit find a comfortable hold much faster. A correct hold feels light and can be held for a few minutes without complaint, and from there every violin technique that follows takes its base.
Tips- Pause every few minutes and lower the violin to loosen the arm
- Make checking the jaw, shoulder, and thumb a routine in every session
Six Points That Support the Violin and Bow
Collarbone
The main base where the violin's body rests near the base of the neck. This point gives a firm support so the shoulder does not have to work hard.
Left shoulder
The space between the shoulder and jaw is filled by the shoulder rest so the violin sits fully without forcing the shoulder up.
Jaw and chin
Holds the violin through the head's natural weight on the chin rest. The jaw leans lightly, without pressing or clamping.
Left thumb
Rests gently on the side of the violin's neck as a balancing pivot, letting the fingers curve freely over the strings.
Base of left index
With the thumb it forms a supple frame where the violin's neck rests, with an air gap in the palm.
Right hand
Four fingers curve softly and the thumb bends at the frog, joining the bow to the arm as one motion.
Do Beginners Need a Shoulder Rest?
- Fills the space between shoulder and jaw so the shoulder need not rise to clamp
- Helps the violin stay stable with a light chin contact
- Makes it easier for beginners to keep the head upright and the gaze forward
- Height and angle can be set to each player's neck length
- A setting that is too high actually pushes the shoulder up and causes aching
- It takes time to try a few models before finding the right fit
- Some experienced players choose a thin pad or no shoulder rest by preference
Common Holding Mistakes and Their Fixes
| Mistake | What You Feel | How to Fix It |
|---|---|---|
| Raising the left shoulder to clamp the violin | The shoulder aches fast and arm motion is limited | Lower the shoulder and set the shoulder rest to fill the space |
| Pressing the jaw too hard on the chin rest | The jaw and neck tense, leaving a skin mark | Rest the head's weight only and loosen the jaw |
| Gripping the violin's neck with a flat palm | The left hand stiffens and fingers struggle to curve | Leave an air gap between the palm and the neck |
| Locking the right thumb straight on the bow | The bow hold stiffens and the arm tires quickly | Bend the thumb so the joint stays supple |
| Keeping the right pinky straight and flat | The bow is hard to balance near the frog | Stand the pinky with a soft curve |
Fix one mistake per session so the body easily recognizes the more comfortable position.
“A correct hold feels almost weightless. When the violin sits balanced and the bow rests loosely, the hands are free to make music, and beginners can practice longer without aching.”
A Hold Checklist Before You Start Practicing
- The violin's body rests on the collarbone near the neck
- The shoulder rest fills the shoulder-jaw space without forcing the shoulder up
- The chin leans lightly and the jaw stays loose
- The left thumb rests gently with a gap in the palm
- The right thumb bends and the pinky curves over the bow
- The shoulder, neck, and arm feel relaxed on a recheck
- Holding a violin correctly rests its body on the collarbone and holds it with the head's natural weight through the jaw.
- A well-fitted shoulder rest and chin rest remove the clamping habit that tenses the neck and shoulder.
- A relaxed bow hold rests on a bent thumb and four softly curved fingers.
- Checking for tension in the jaw, shoulder, and thumb regularly makes the hold feel comfortable quickly.