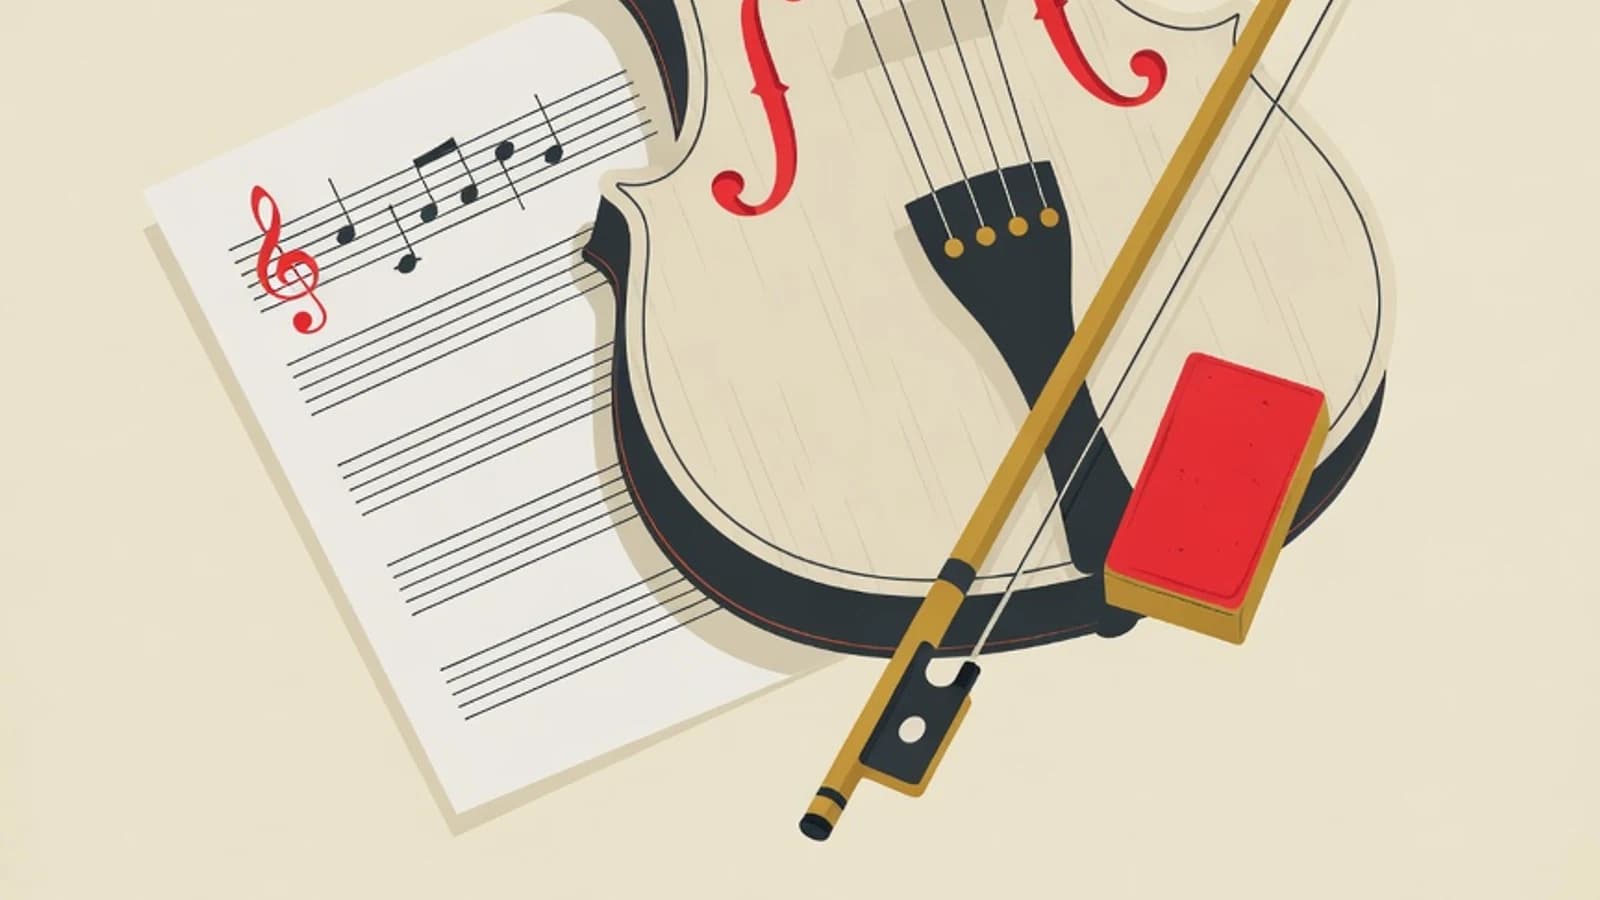
Learning violin from scratch begins with setting up a posture that holds the violin without strain, then placing your fingers in first position before training an even bow stroke. Beginners who build a steady posture and clean intonation first read notes and play pieces far more calmly than those who rush into fast repertoire.
- Set up the posture that holds the violin with your jaw and shoulder before touching the bow
- Master first-position fingering with placement markers until intonation is stable
- A steady 20 to 30 minutes every day outperforms occasional long sessions
- A violin sized to the player's arm length, complete with a bow and a chin rest
- A shoulder rest that supports the violin without raising the shoulder
- Rosin to apply to the bow hair so it produces sound
- A steady practice slot of 20 to 30 minutes every day
Key Numbers Before Learning Violin from Scratch
Why holding the violin well shapes all your progress
The violin differs from many instruments because it has no frets to mark the notes. The player alone decides each note's pitch through finger placement, which makes a stable posture the main foundation. The violin is supported between the left jaw and the collarbone, helped by a chin rest and a shoulder rest, so that the left hand is free to move without also having to hold up the instrument's weight. When the posture is not settled, players tend to grip the violin neck with the left hand to keep it from dropping. That grip locks the wrist, makes it hard to press the strings accurately, and throws the intonation off. By arranging the jaw, shoulder, and angle of the violin first, the left hand becomes light and free to search for notes, while the right hand focuses on moving the bow. Some ache in the neck and shoulder during the first week is common because the body is still adjusting to a new way of holding. A shoulder rest of the right height helps ease that ache. Short daily practice gives the body time to adapt gradually, so holding the violin eventually feels natural.
7 Steps to Learn Violin from Scratch
These seven steps follow the order violin teachers commonly use: start by holding the instrument, build fingering and the bow, then link it all to reading notes. Finish each step until it feels comfortable before moving to the next.
- 1
Get to know the violin's parts and tune the four strings
Before you draw the bow, get to know the main parts of the violin: the scroll with pegs and fine tuners, the neck where fingers press the strings, the body with its f-shaped sound holes, and the bow drawn across the strings. Then tune the four strings. From thickest to thinnest they sound G-D-A-E, each a fifth apart. Use a chromatic tuner on your phone: bow one string, watch the screen, and turn the fine tuner until the pitch is right. A tuned violin trains a beginner's ear to hear correct pitch from the start, which makes intonation easier to correct later.
Tips- Use the fine tuners near the tailpiece for small adjustments and touch the pegs only for large changes
- Memorise the string order G-D-A-E by saying it while bowing each one
Turning a peg too tight can snap a string or make the peg stick. Turn it slowly while bowing and stop the moment the pitch matches. - 2
Set up the posture that holds the violin with jaw and shoulder
Stand or sit tall and relaxed with your feet about shoulder-width apart. Place the violin on your left collarbone, then lower your left jaw onto the chin rest so the violin is held without your hand supporting it. Fit a shoulder rest at a height that fills the gap between the violin and your shoulder, so the shoulder stays relaxed and does not rise. Point the body of the violin slightly to the left and roughly parallel to the floor. Test the stability by releasing your left hand briefly: the violin should stay held by your jaw and shoulder. A correct posture frees the left hand to move and prevents excess aching.
Tips- For a child, measure arm length to the middle of the palm to choose a violin size from 1/16 to 4/4 that fits
- Keep the left shoulder down and relaxed, and avoid raising it to clamp the violin
- 3
Build the left-hand shape and first-position fingering
First position is the base placement of the left hand near the scroll, where most beginner pieces are played. Curve your fingers over the string as if holding a small ball, with the thumb touching the side of the neck as a light support. Four fingers (index to little finger) press the string at spaced points, forming a pitch pattern. Fit finger markers on the neck to guide your first placement points, then bow gently while matching each pitch with the tuner. Press with an upright fingertip so the string is not muted. This consistent fingering is what trains the finger muscles to remember the distance between notes.
Tips- Use finger markers only as early support and remove them gradually as your ear begins to recognise pitch
- Check each finger's intonation with the tuner now and then, since eye and ear both need training
Pressing the string with a flat finger or long nails mutes the note and makes it sound off. Keep left-hand nails short. - 4
Train an even, straight bow stroke
The right hand produces the sound through the bow. Hold the bow with flexible fingers: the thumb bent against the side of the wood, the other fingers wrapping the stick, and the little finger resting on top for balance. Draw the bow hair between the bridge and the end of the fingerboard, at a right angle to the strings. Start with long, slow strokes on open strings without pressing any left-hand finger, and listen for a sound that stays even from the frog to the tip. Keep the bow straight and parallel to the bridge, because a slanted bow makes the sound hiss or skip. A steady bow stroke is the source of a clean violin tone.
Tips- Practise in front of a mirror to make sure the bow travels straight and parallel to the bridge
- Apply enough rosin to the bow hair if the sound is thin or does not come out
- 5
Combine the left hand and bow on a simple scale
Once fingering and bow are built separately, combine them through a one-octave scale, for example a D major scale that sits comfortably in first position. Play each note with one slow bow stroke, place your fingers to the pattern, and match the intonation. A scale trains coordination: the left hand shifts fingers on time while the right hand keeps the sound even. Go up and down the scale slowly until every note rings clean and the intonation stays consistent. This practice builds the muscle memory you will use in almost every piece.
Tips- Play the scale slowly first and let speed follow once intonation is stable
- Sing or hum a note before playing it to train your ear to guide your fingers
- 6
Learn to read sheet music in treble clef
The violin reads notes in treble clef. The five staff lines from bottom to top stand for the notes E-G-B-D-F, and the four spaces between them stand for F-A-C-E. Link each note on the page to the string and finger that play it: the open strings G, D, A, and E become your reference points, then the first to fourth fingers add notes above them. Start with short melodies using quarter and half notes, read both the pitch and the beat value, then play slowly to a metronome. Connecting note symbols with finger movement lets a beginner play a new piece without having to memorise everything first.
Tips- Memorise the names of the staff lines and spaces with a mnemonic so they are quick to recognise
- Mark the fingering above the notes on your first score as a temporary reminder
- 7
Play your first full piece that you truly enjoy
Once you can read notes and your coordination is built, pick one simple piece in first position that you truly enjoy. Break the piece into short phrases, practise the fingering and bow stroke of each part slowly, then join them to the beat. Watch for down-bow and up-bow markings if there are any, because bow direction affects how smoothly a phrase flows. Finishing one full piece from start to end gives a satisfaction that keeps a beginner practising towards the next material, including adding sharps or flats and working on vibrato at a later stage.
Tips- Record your own playing now and then to hear which parts are still off in intonation
- Choose a piece whose note range stays in first position so the practice feels reachable
Choosing the Right Violin Size
Children's Violin (1/16 to 1/2)
Its size is set by a child's arm length as the main guide. A good fit lets the fingers reach first position easily and keeps the shoulder relaxed.
3/4 Violin
Commonly used by a child whose arm is long enough approaching full size. It bridges the way before moving to an adult violin.
Full Size (4/4)
The standard size for teenagers and adults whose arm comfortably reaches the scroll. It is used across almost all repertoire.
Learning Violin Self-Taught vs with a Teacher
| Aspect | Self-Taught | Teacher-Guided |
|---|---|---|
| Intonation without frets | Hard to judge pitch yourself early on | The ear is corrected directly each session |
| Posture and bow | Mistakes often slip by and take root | Fixed before they become habits |
| Material order | Easy to skip and leave gaps | Arranged in stages to match your level |
| Starting cost | Cheaper | Market estimate Rp100,000 to Rp300,000 per session |
| Grade exam prep | Challenging without guidance | Directed to the ABRSM or Trinity syllabus |
Violin demands fine control of intonation and the bow, so many beginners choose teacher guidance earlier than on fretted instruments.
“On the violin, a steady posture is half the work. When the jaw and shoulder hold the instrument correctly, the left hand is free to search for notes and the ear can focus on correcting intonation. Beginners who save twenty minutes a day for scales usually progress more calmly than those chasing hard pieces too soon.”
Daily Practice Checklist for Beginner Violinists
- Tune all four strings with a tuner, about 3 minutes
- Check your holding posture and bow grip in the mirror, about 3 minutes
- Practise long bow strokes on open strings, about 4 minutes
- Play a one-octave scale while matching intonation, about 6 minutes
- Read and play a new melody fragment from notation, about 6 minutes
- Play one piece you already know to close the session with satisfaction, about 3 minutes
- Learning violin from scratch flows best in this order: set up the holding posture, master first-position fingering, train the bow stroke, read notes, then play a piece.
- A steady posture frees the left hand to search for notes, because a fretless violin makes the player set the intonation themselves.
- Finger tapes and scales help build first-position intonation before the ear is fully trained.
- The violin reads notes in treble clef, and linking each note to a string and finger speeds up the ability to play new pieces.