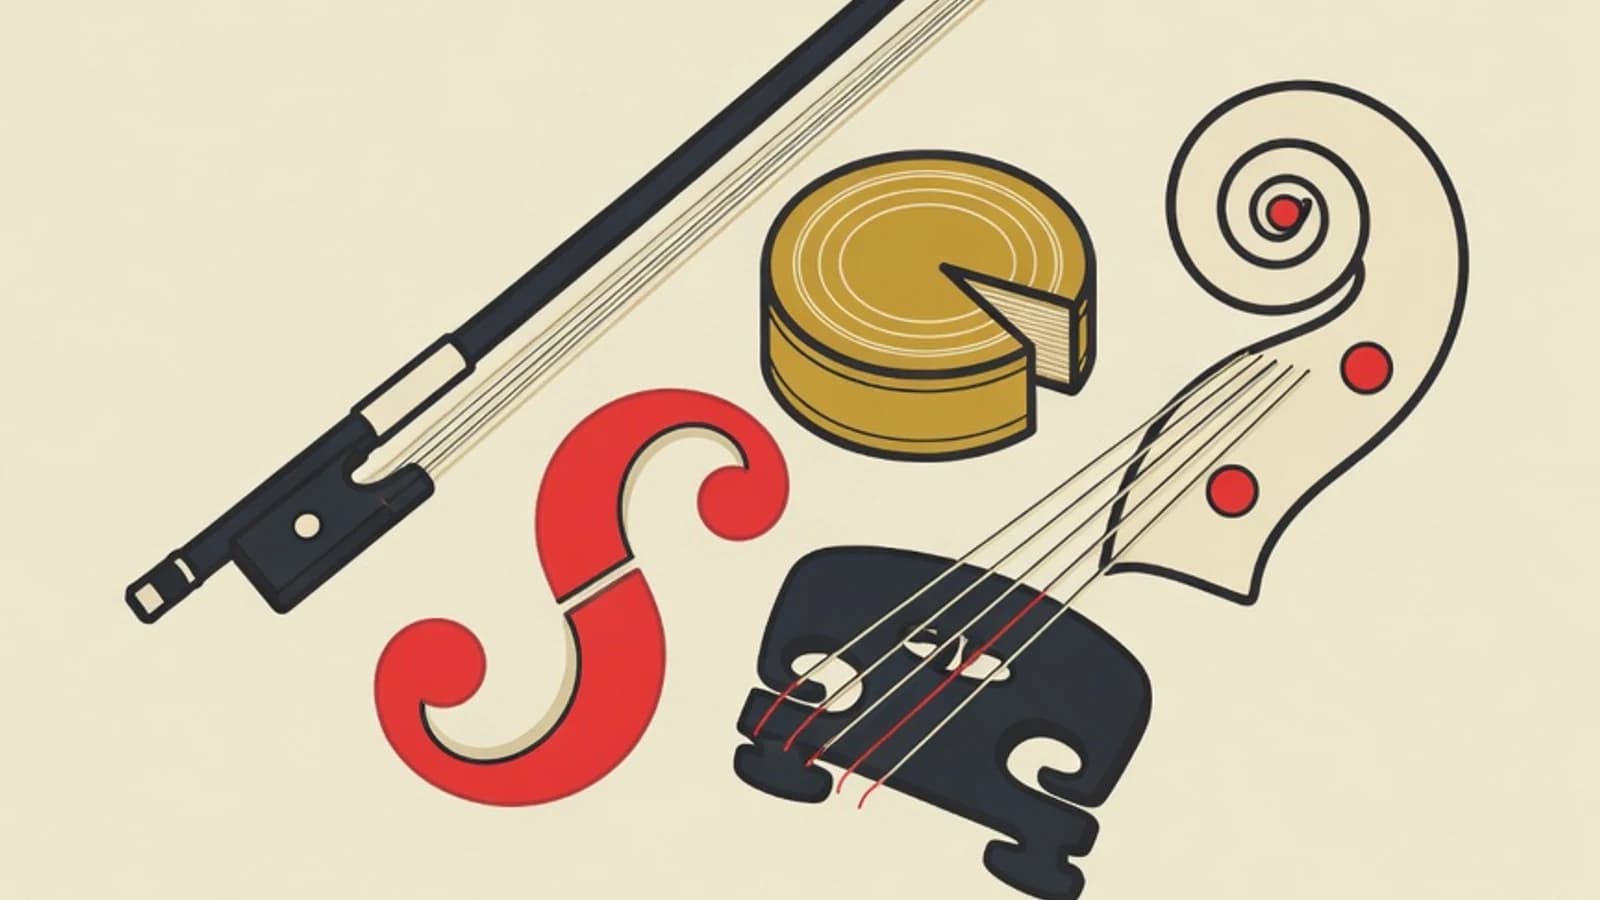
Violin bowing technique is how you hold and move the bow so the violin produces a clean, even sound. Beginners start from a flexible bow hold, a straight stroke on open strings, then setting the contact point between the bridge and the fingerboard. A relaxed bow arm keeps every stroke sounding clear.
- A flexible bow hold keeps the fingers relaxed while bowing
- Open-string practice trains a straight bow before the left hand joins in
- A steady contact point (sounding point) keeps the violin sound clear
- A violin in the right size
- A bow with rosin applied evenly
- Strings that are already tuned
- Rosin and a soft cloth
BWhy the bow arm shapes the violin's tone
The left hand decides which note sounds, while the bow arm decides how that note is heard. This is where violin bowing technique carries real weight. The quality of the sound, from clear and full to soft at the end of a phrase, comes from three things working together: how flexibly the bow is held, how straight it is drawn, and where it meets the string. Beginners often fix all their attention on left-hand fingering and treat the bow as a simple mover. Yet a listener hears the color of the sound before the accuracy of the pitch. An even stroke makes a simple tune sound musical, while a tense stroke makes even a correct note sound harsh. Training the bow arm early builds a calm sound foundation, so when fingering is added later, the ear is already used to a clean tone.
6 Steps to Train Violin Bowing Technique for Beginners
This sequence builds the bow arm from the hold to string crossings. Work slowly and repeat, mastering one step before adding the next.
Form a flexible bow hold
A good bow hold starts with fingers curved gently over the bow stick. Bend the thumb and rest its tip in the corner between the frog and the stick. The middle and ring fingers drape across from the thumb, the index finger rests a little farther along to manage lean, and the pinky stands curved on the stick to balance the bow near the frog. The finger joints stay flexible so the bow feels like a natural extension of the arm. Test that flexibility by lifting and lowering the bow tip slowly using only finger motion, without moving the arm. Holding the bow too tightly makes the sound tense and tires the arm quickly, so loosen the shoulder and wrist before the bow touches the string.
- Practice the hold on a pencil first so the fingers get used to it without the bow's weight
- Keep the pinky curved and avoid a stiff, locked-straight position
Know the three parts of the bow and divide its length
The violin bow has three working areas: the frog, the middle, and the tip. Each area feels different. Near the frog the bow feels heavy and powerful, the middle is the most balanced for beginners, and at the tip the bow feels light, so it needs a touch more index-finger lean to keep the sound full. Dividing the bow means matching the length of the stroke to the length of the note. Long notes use nearly the whole bow, while short notes use only the middle third. Begin practicing in the middle third because balance is easiest to feel there. Once the middle stroke feels even, widen it gradually toward the frog and the tip so the whole bow can be used with a steady sound.
- Mark the middle third of the bow as an early reference point
- Practice full frog-to-tip strokes for long notes on open strings
Practice an even stroke on open strings
The open strings, G, D, A, and E, are the calmest place to train the stroke because the left hand is not yet involved. Draw the bow down (down-bow) from the frog to the tip at a steady speed, then push it up (up-bow) back to the frog. Aim for the same even sound in both directions, with no sudden accent at the turning point. Count four beats for each stroke with a slow metronome around 60 beats per minute, so the hand learns to spread the speed evenly. Listen closely: a smooth, sustained sound means the pressure and speed are balanced. The exercise feels simple, yet this is exactly where bow-arm control is built before the first tune is played.
- Record your practice and listen back to judge how even the stroke is
- Change strings every few strokes so all four get used to the motion
Keep the bow straight and parallel to the bridge
A straight bow means the stick stays parallel to the bridge and forms roughly a 90-degree angle to the string throughout the stroke. A steady angle lets the bow hair grip the string evenly, so the sound comes out full and stable. Practice in front of a mirror to watch the bow path, or ask a teacher to observe from the side. Many beginners unknowingly angle the bow toward the scroll as they near the tip, and the sound thins out at once. Correct it with a slight opening of the elbow as the bow moves toward the tip and a closing as it returns to the frog. Practice slowly until the straight path feels automatic, because a straight bow is the foundation of a clean sound on every string.
- Place a mirror in front so the bow path stays visible while you bow
- Imagine the bow running along a straight rail parallel to the bridge
Set the contact point or sounding point
The contact point, or sounding point, is the lane where the bow meets the string, sitting between the bridge and the end of the fingerboard. This lane sets the character of the sound. Bowing too close to the bridge produces a shrill, harsh tone, while bowing too close to the fingerboard makes the sound thin and airy. The middle lane gives the fullest, most comfortable sound for beginners. Build awareness of the contact point by drawing long strokes on open strings while shifting the lane little by little, then listen to how the color changes. As the bow speed increases, the contact point usually needs to move slightly toward the bridge to keep the sound full. This sensitivity to the sounding point is what makes the violin sound controlled.
- Start in the middle lane, then compare it with lanes near the bridge and near the fingerboard
- Adjust the contact point whenever the speed or pressure changes
Smooth out string crossings
A string crossing happens when the bow moves from one string to another. A smooth crossing comes from the upper arm changing the bow's height, while the finger hold stays flexible and the wrist follows. Practice going up G-D-A-E and back down with a calm arm motion, keeping the bow straight on each string. The arm height for each string is different, so feel the arm position for each one until the crossing flows without an unwanted double sound. A smooth crossing makes a run of notes sound connected, and this skill becomes an important base before playing tunes that cross strings quickly.
- Practice crossing two neighboring strings first, such as D to A, before skipping a string
- Move the arm first and let the bow follow with a flexible hold
Four Basic Bow Strokes Beginners Should Know
Détaché
Each note gets one separate bow stroke, alternating down-bow and up-bow. This stroke is the first foundation because it trains an even, clean pull.
Legato (slur)
Several notes are played in one connected bow direction. Legato trains bow economy and smoothness between notes.
Staccato
Short, separated notes with a small gap between them. Beginners use it to train clean stops and starts.
Martelé
Firm, accented notes with a clear start and a stop. This stroke trains articulation and tidy release of pressure.
Common Sound Problems and How to Fix Them
| Sound Symptom | Likely Cause | How to Fix |
|---|---|---|
| Shrill and harsh | Bow too close to the bridge or too much index pressure | Shift the contact point to the middle and ease the index lean |
| Thin and airy | Bow too close to the fingerboard or too light | Move slightly toward the bridge and add arm weight |
| Stalls at the turning point | The down-up change is too abrupt | Soften the turn with a flexible wrist |
| Bow bounces on its own | Tense shoulder or uneven bow speed | Relax the shoulder and practice slow, long strokes |
Fix one symptom per practice session so the ear can recognize the change easily.
Tension is the most common reason a beginner's violin sound turns harsh. A raised shoulder, a hard grip, and a stiff wrist make the bow press the string unevenly.
- Drop the shoulder and take a breath before you start bowing
- Loosen the grip until the bow feels light in the fingers
- Pause when the arm starts to ache, then continue calmly
“Open strings are the most honest practice room. With the left hand out of the way, the ear can focus fully on the quality of the stroke, and that is where a clean sound begins to form.”
Before You Bow: Prepare the Bow and the Arm
- Rosin has been applied thinly and evenly on the bow hair
- All strings are tuned before practice begins
- The right shoulder and wrist feel relaxed
- The thumb is bent and the pinky curved on the bow hold
- A mirror is ready to check that the bow stays straight
- The metronome is set slow to steady the bow speed
- Violin bowing technique rests on a flexible bow hold, a straight bow, and a steady contact point.
- Open strings are the best place to train the stroke before left-hand fingering is added.
- A harsh sound usually comes from too much pressure or an angled bow, and both improve with slow practice.
- A smooth string crossing grows from a calm, controlled motion of the upper arm.