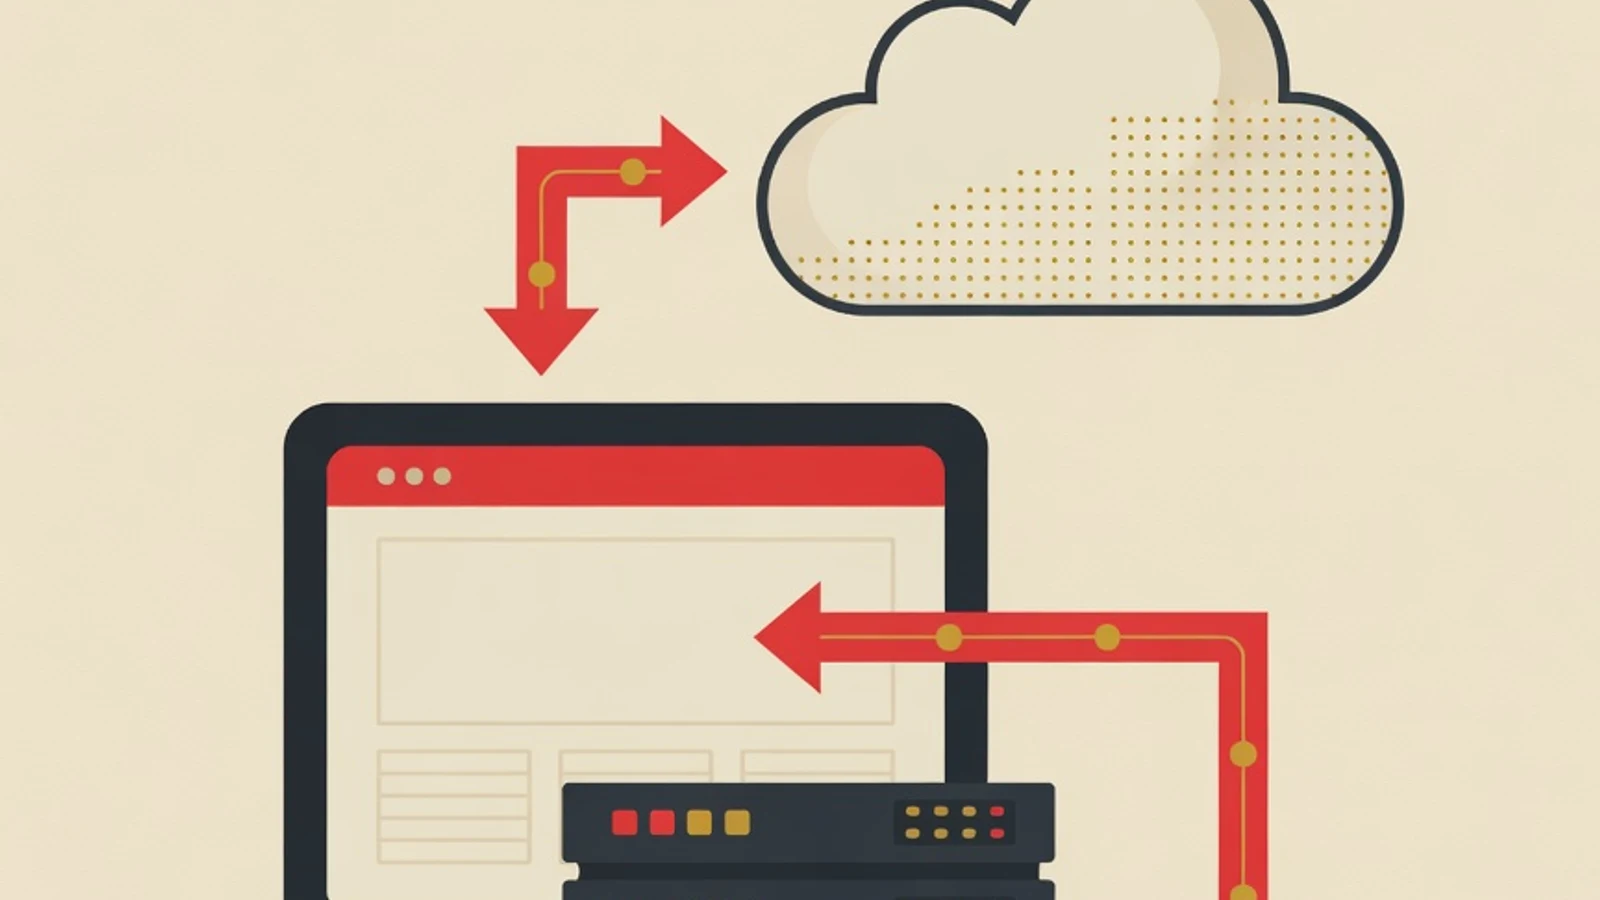
A fullstack web development roadmap is walked in layers: master the frontend (HTML, CSS, JavaScript) first, move on to the backend and database, connect the two through an API, then close with deployment. This ordered flow usually takes 6 to 12 months when practiced regularly.
- Six ordered stages: frontend, framework, backend, database, API, deployment
- Fullstack developer has been the most common developer role for six straight years per the Stack Overflow survey
- Every stage ends with one real project that can go into your portfolio
- A laptop with a code editor (VS Code) and a modern browser
- Internet access for documentation and deployment
- A GitHub account to store and publish projects
Why the fullstack path is worth taking
What fullstack means in web development
A fullstack developer is someone who can build a web application end to end, from the page a user sees to the server logic that processes data. The display side is called the frontend, while the server side that stores data and runs business rules is called the backend. The word fullstack marks the ability to work on both sides plus the bridge between them. In a fullstack web development roadmap, the two sides are not learned all at once. The frontend becomes the entry point because its results are immediately visible and give fast feedback, which keeps motivation high. Once you are comfortable building interfaces, the backend, database, and data handling get added in steps. This layered pattern lets each new concept stand on a foundation you already understand.
Frontend, backend, and fullstack
| Aspect | Frontend | Backend |
|---|---|---|
| Focus of work | Display and interaction in the browser | Logic, data, and security on the server |
| Core technology | HTML, CSS, JavaScript, React | Node.js, databases, APIs |
| Visible output | Pages and visual components | Data responses and business rules |
| Fullstack role | Building responsive interfaces | Providing data and authentication |
A fullstack developer connects both columns above into one application that runs end to end.
Six stages of the fullstack developer roadmap
Follow the stage order below. Finish each stage with a small project before moving to the next, so every skill truly settles in.
- 1
Stage 1: Frontend foundation (HTML, CSS, JavaScript)
Start with the three core web languages. HTML structures the page, CSS handles layout and styling, and JavaScript adds interactive behavior. Spend the most time here because JavaScript underpins nearly every later stage. Drill the core JavaScript ideas: variables, functions, arrays, objects, loops, conditionals, and page element manipulation. Understand modern layout with Flexbox and Grid so your display stays tidy on large screens and phones alike. Close this stage by building a responsive static page, such as a personal profile or a menu card, then push it to GitHub.
Tips- Rebuild the same page three times so layout concepts stick
- Learn from the official MDN Web Docs for accurate explanations
- 2
Stage 2: One frontend framework (React)
Once plain JavaScript feels comfortable, learn one component framework. React is a popular choice because its ecosystem is broad and widely used in industry. Focus your energy on components, state, props, and handling lists of data. Avoid installing many extra libraries right away so your grasp of the basics stays clear. In this stage you learn to break an interface into small reusable parts, then wire them to data. Build one simple interactive app such as a to-do list or a recipe finder that pulls data from a public source.
Tips- Master one framework deeply before trying another
- Separate display components from data logic from the start
Skipping plain JavaScript and jumping straight to React leaves many concepts feeling stuck later on. Finish Stage 1 first. - 3
Stage 3: The backend (Node.js or its alternatives)
Now enter the server side. The backend receives requests, runs business rules, and returns data. Node.js with Express is a smooth route for beginners because it keeps you in JavaScript, so there is no need to switch languages. Equally solid alternatives are Python with Django or PHP with Laravel. Learn how to create a server, handle routes, read requests, and send responses. Understand the HTTP methods (GET, POST, PUT, DELETE) because this is the language of communication between frontend and backend. Build one small server that serves a list of data across a few routes.
Tips- Pick one backend language and get fluent before eyeing another
- Test each route with a tool like Postman so responses are easy to inspect
- 4
Stage 4: Handling data with a database
Real applications need to store data permanently. This is where a database comes in. Understand the two big families: relational databases like PostgreSQL and MySQL that store data in structured tables, and document databases like MongoDB that are more flexible in shape. For beginners, start with one relational database because it trains you to think about relationships between data. Learn the basic operations: create, read, update, and delete. Connect this database to the backend server from Stage 3, then turn that static data list into data that is genuinely stored.
Tips- Sketch your table structure on paper before writing queries
- Use a free database service to practice at no cost
- 5
Stage 5: Connecting through APIs and authentication
An API is the bridge that lets the frontend and backend talk to each other. The most common pattern is a REST API that exchanges data in JSON format. In this stage you unite the results of Stage 2 and Stage 4: the React interface calls backend routes, receives data from the database, then shows it to the user. Also learn basic authentication, the way an application recognizes a signed-in user and protects private data. Token and session concepts start to matter here. Build one simple login feature that distinguishes registered users from guests.
Tips- Design the JSON data shape first so frontend and backend agree
- Store passwords in hashed form, never as plain text
Handling authentication carelessly risks leaking user data. Learn basic security practices before publishing your app. - 6
Stage 6: Deployment and maintenance
The closing stage is publishing the application so anyone can reach it. Master Git to manage code versions and GitHub to store it in the cloud. Learn how to publish the frontend to a service like Vercel or Netlify, and the backend to a service like Railway or Render. Understand the role of environment variables for storing secret keys so they are never uploaded. Once the app is live, get into the habit of monitoring errors and fixing them. Assemble all earlier stages into one complete fullstack app, such as a note board or a simple catalog, then make it your portfolio centerpiece.
Tips- Publish early even with few features, then refine in steps
- Write a short note on how to run the project in a README file
Technology choices per layer
Frontend
HTML, CSS, and JavaScript as the base, then React or Vue to build component-based interfaces.
Backend
Node.js with Express for the JavaScript route, or Python with Django and PHP with Laravel as alternatives.
Database
PostgreSQL or MySQL for relational data, MongoDB for more flexible document data.
API
A REST API with JSON format is the common standard, with GraphQL as an advanced option for specific needs.
Deployment
Vercel or Netlify for the frontend, Railway or Render for the backend, all connected to GitHub.
Toolkit
VS Code as the editor, Git for code versions, a terminal for commands, and Postman for testing APIs.
“The beginners who grow fastest are the ones who finish the most small projects and get them live. Watching tutorials gives you the picture, while completing your own projects builds the skill. Every mistake you fix yourself is one lesson that sticks.”
Signs you are ready to move to the next stage
- You can rebuild this stage's project from scratch without copying the steps
- You understand the reason behind each line of code, enough to explain it in your own words
- You have pushed this stage's project to GitHub with a README note
- You can explain how the project works to someone else in simple language
- You have found and fixed at least one error in that project yourself
- The fullstack roadmap is walked in layers: frontend, framework, backend, database, API, then deployment
- The frontend serves as the entry point because its results appear quickly and keep motivation high
- Every stage ends with one real project that fills your portfolio in steps
- An estimate of 6 to 12 months depends on consistency and the number of projects finished