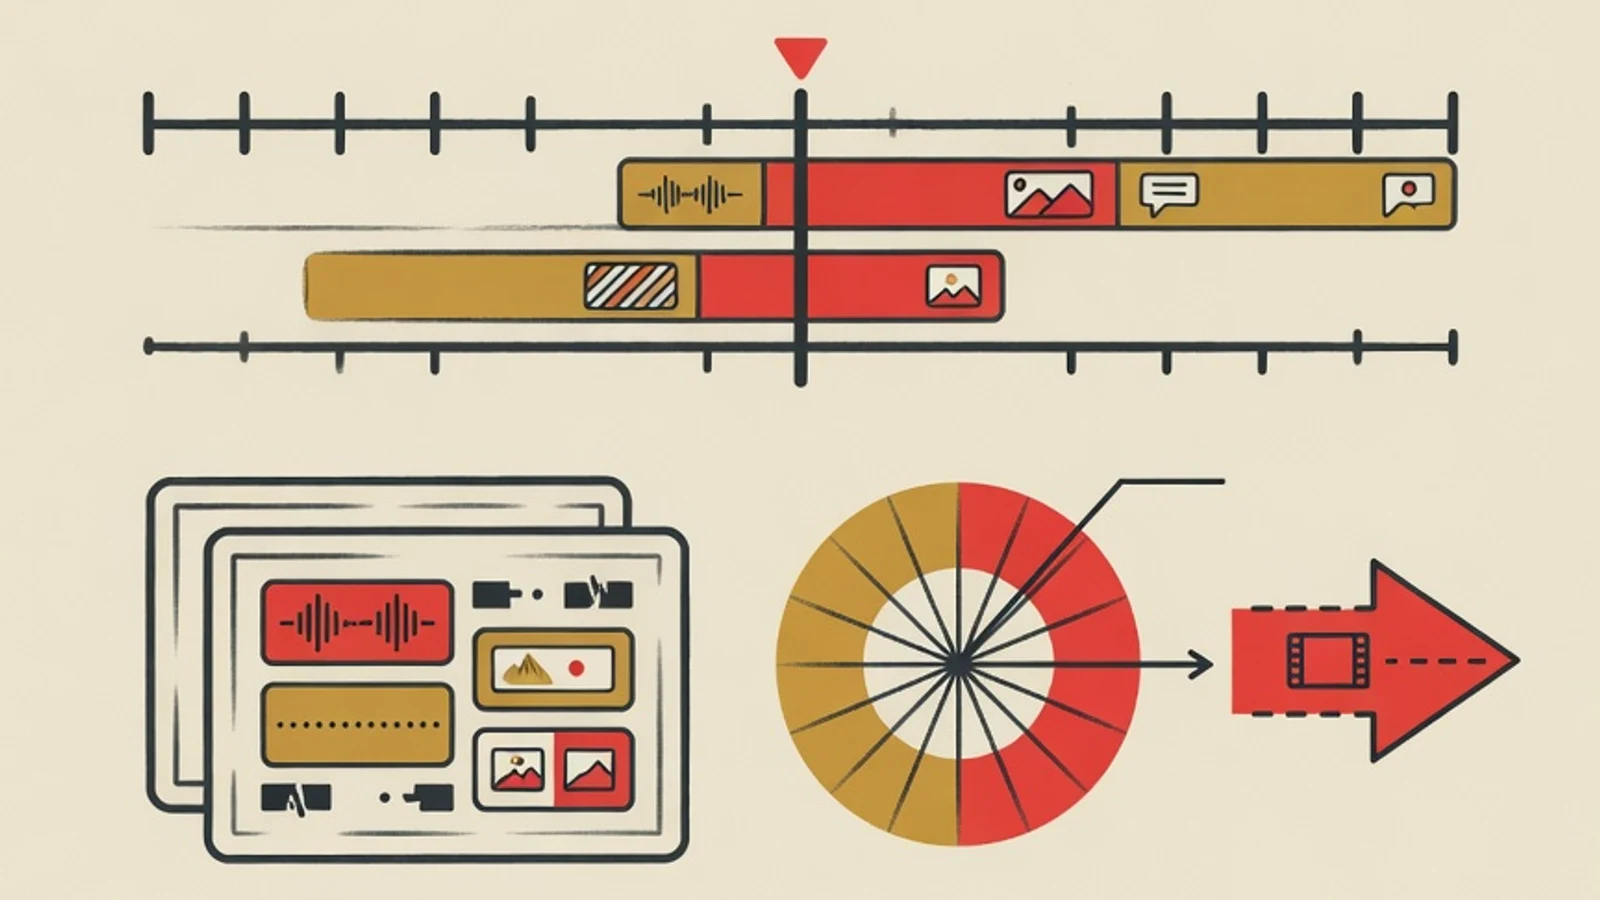
A video editing workflow is the fixed order you follow in one sitting to finish a single project: arrange the media, select the best takes, build the assembly, lock the picture, balance the sound, grade the color, then export for the target platform. Following this order keeps a beginner's work tidy and every revision light.
- The video editing workflow moves one way, from arranging media up front to export at the end
- Lock the picture first before touching sound and color, so the work does not loop back on itself
- Target-platform specifications are set early so orientation, resolution, and export aspect ratio never miss
- All raw files from one project gathered in a single place, including footage, separate audio recordings if any, and support assets such as a logo or music
- Ample storage to hold the original media, the project file, and the exported master at the same time
- One editing software you already know, whether CapCut, the free DaVinci Resolve, or Premiere Pro
- A script, storyboard, or short note holding the intended story order so the assembly has direction
BWhat a Video Editing Workflow Is and Why Its Order Binds
A video editing workflow is a series of stages taken one way to turn a pile of raw files into a single delivery-ready cut. Each stage has its own place: arranging media up front, building the story in the middle, and finishing the look and sound at the end. An editor who follows this order works calmly because every decision rests on a foundation that is already settled. The order binds because each stage hands material to the next. Grading color over a picture that is still shifting means you will redo the color of clips that might be dropped tomorrow. Adding music and effects before the story is tight often makes you reluctant to break apart an arrangement that is still loose. So experienced editors hold one simple discipline: finish the work in its proper order, and lock the picture before touching the finishing layers. For a beginner, understanding this video editing workflow map saves far more time than memorizing rows of buttons.
Seven Stages of the Video Editing Workflow from Import to Export
Run these in order for one project. Each stage has a clear output and becomes the footing for the next, so you never work on two things at once and lose track.
Stage 1: Build the Project Structure and Secure Raw Media
The video editing workflow starts long before the first cut, at the moment files land on the computer. Create one parent folder per project, then split it into clear subfolders for footage, audio, music, and exports. Copy all recordings into that folder and immediately apply the 3-2-1 backup rule so a drive failure does not erase your work. Give files names that tell a story, such as date, scene name, and sequence number, so you find a clip without scrubbing through each one. Import the media into the software through the media pool or bins, then set the project settings: resolution, frame rate, and orientation matching the target platform. On a laptop that struggles to play high-resolution footage, make proxies, meaning lightweight low-resolution copies for smooth editing, while the software keeps a link to the original files for the final export. A tidy structure up front feels like a chore, yet it shields you from lost clips and a messy project once the material starts piling up.
- Lock the project settings in the first minute, because changing frame rate or orientation after the timeline is full risks shifting audio sync
- Keep one copy of the media in cloud storage so the project survives even if the main device breaks
Stage 2: Select the Best Takes and Build a Selects Reel
This stage filters the material before you build the story. Watch all the footage once through while noting the timecodes of usable parts, then mark the best takes with color labels or the software's built-in markers. Gather the chosen pieces into one line often called a selects reel, a set of standout material already cleared of failed takes, blurry footage, and clipped shots. A selects reel separates the work of choosing from the work of arranging, so when you assemble the story later you face only material that has already proven strong. For an interview video, set aside the clearest and most vivid lines from the speaker. For a mood piece, pick shots that are stable and well composed. This step feels slow at first, yet it speeds up every later stage because the timeline is no longer crowded with confusing material.
- Leave a short note on each standout clip about why you liked it, such as a strong expression or clean audio
- Keep near-miss backup takes in a separate bin instead of deleting them, in case they are needed during the assembly
Stage 3: Build the Assembly Edit Following the Story Flow
The assembly edit is the first arrangement that lays all chosen material into story order, without worrying about polish yet. Take clips from the selects reel and place them on the timeline following the script or flow notes you prepared: an opening that stirs curiosity, a middle that strengthens the substance, and a close that stays with the viewer. By this point the running time usually overshoots the target by a wide margin, and that is expected. The goal is to see the whole story stand end to end, so you can judge whether the flow makes sense. If there is a story gap, this is where it shows, and you still have room to move large blocks without regretting effects already placed. An honest assembly that shows the skeleton as it is becomes the map that guides all the tightening ahead.
- Arrange first by the meaning of each clip; length and cut precision are handled in the tightening stage
- Mark parts you are unsure about with a timeline marker so they are easy to revisit later
Stage 4: Tighten into a Rough Cut then Set Rhythm in the Fine Cut
From the bulky assembly, this stage compresses the cut until every second has a reason to be there. The rough cut trims the dead weight: long pauses, stumbled words, repetition, and empty moments, so the story starts moving nimbly. Once the duration nears the target, move into the fine cut to set the rhythm. Rhythm grows out of how long each clip runs: short cuts in a row lift the energy for busy scenes, while a clip left to breathe opens room for a quiet moment. Watch it through repeatedly and feel the parts that drag or rush, then nudge the cut points little by little until transitions feel easy to follow. A touch like bringing the next scene's audio in a beat before its picture can be tried here to soften a seam. The fine cut is done when you watch without anything catching, and at that point the picture is ready to lock.
- Make sure the first ten seconds are already strong, because the opening decides whether the viewer stays
- Step away from the screen for a moment then watch again with fresh eyes, since a tired eye and ear struggle to judge rhythm
Stage 5: Lock the Picture then Work the Sound Layers
Locking the picture, or picture lock, is an agreement with yourself that the arrangement and length of each clip is final and will not shift again. This milestone matters because all the finishing work that follows, sound above all, attaches to the position of the cuts. Moving one clip after the sound is set will throw off the sync of music and effects already placed. Once the picture is locked, start building the sound layers. Set the dialogue level first so it is clear and consistent, then introduce backing music that carries the mood and press its volume a few decibels beneath the talking through ducking so the lead audio stays out front. Sprinkle in light supporting sounds, say footsteps or room tone, to make a scene feel alive. Tame hum and hiss with a noise-reduction tool if the software offers one. Finally, check the overall loudness and aim for around -14 LUFS, the figure major platforms use when normalizing volume, so your video does not sound too quiet or too loud next to other content.
- Announce to yourself when the picture is locked, and resist the urge to fiddle with cuts once the sound is being built
- Listen through headphones then repeat through a small speaker, because viewers use a wide range of devices
Stage 6: Run the Color Pass, Correction then Grading
With the picture locked and the sound in place, color is handled as its own dedicated pass. Begin with color correction, meaning evening out brightness and color balance across clips so the footage does not appear to jump when scenes change. The aim is to make clips shot at different times and light feel as if they come from the same world. Once they match, step into color grading to lend a mood that backs the story, such as a warm tone for a friendly feel or a cool tone for a calm impression. Work the color in one pass from the first clip to the last so the style you choose stays consistent across the video. Placing the color pass after picture lock is no accident: you do not want to labor over grading a clip that turns out to be dropped, and you want to judge color continuity on an arrangement that is already final. Keep the look natural so faces and skin tones look healthy across different screens.
- Level the color across every clip first, because layering a style over uneven color only sharpens the mismatch
- Keep skin tones natural, since a viewer's eye catches an off skin tone fastest
Stage 7: Add Text and Graphics, Check Quality, then Export per Platform
The closing stage tidies the top layer and prepares the file to be delivered. Add text sparingly: a title, a speaker's name, or a short caption, in a typeface that reads easily and sits in the safe area so it is not cut off on a phone screen. Slip in simple motion graphics only enough to keep attention on the content. Before exporting, run one quality-check pass from start to finish: make sure there is no accidental black screen, no typos in the text, even color, and clear sound. Finally, export for the target platform. Set the correct orientation and aspect ratio, 16:9 for landscape YouTube or 9:16 sized 1080 x 1920 for Reels, Shorts, and TikTok. Pick a modern codec such as H.264 or H.265, match the resolution and frame rate to the project settings, and give it a bitrate ample enough to hold the image crisp. Archive the project file along with one master copy so a later revision does not get rebuilt from scratch.
- Place important text inside the safe area away from the screen edge, because social apps often cover the margins with their interface
- Name the export file with a version and date, such as ending in v1 and the date, so versions are not mixed up
Many beginners run the video editing workflow on a mid-range laptop, and these two habits keep the process smooth without pricey hardware.
- Make low-resolution proxies to edit smoothly, then the software automatically uses the full-resolution originals at final export
- Close other apps and render a preview of heavy sections so timeline playback does not stutter while setting rhythm
- Apply the 3-2-1 backup from day one so a storage failure does not wipe out hours of work
- Save the project file regularly and turn on autosave if the software offers it
Export Specifications for Each Target Platform
| Platform | Orientation | Common resolution | Aspect |
|---|---|---|---|
| Landscape YouTube | Horizontal | 1920x1080 or 4K | 16:9 |
| Reels and Shorts | Vertical | 1080x1920 | 9:16 |
| TikTok | Vertical | 1080x1920 | 9:16 |
| Square feed | Square | 1080x1080 | 1:1 |
Set orientation and aspect ratio when preparing the project, not at export, so the composition fits and text is not cut off. For all platforms, aim the audio loudness near -14 LUFS so the video's volume feels level with other content.
“Finish the work in its proper order. Lock the picture arrangement first, because building sound and color over cuts that are still shifting is the same as redoing work that was already done.”
A Checklist Before Pressing Export
- Dialogue is clear and overall loudness sits around -14 LUFS
- No accidental black screen or empty gap anywhere along the timeline
- Text has no typos and stays in the safe area so it is not cut off on a phone screen
- Color is even across clips and skin tones look natural
- Orientation, resolution, and aspect ratio match the target platform
- Music uses a royalty-free license to stay clear of copyright trouble
- The project file and one master copy are archived following the 3-2-1 rule
HWhen Mentor Guidance Speeds Up Mastering the Workflow
A video editing workflow can be trained entirely on your own, and plenty of beginners get quite far just by finishing short projects one after the next. The spot that often stalls people is when the result feels less than tidy yet it is hard to name which stage needs work, whether the selection was too soft, the rhythm sagged in the middle, or the color is uneven. An observer whose eye and ear are well trained can catch those symptoms at once and steer you back to the right stage. With EduPoint, video editing guidance is held privately, one teacher accompanying one student, so the pace and goal of practice are shaped to your needs, say to feed a social media channel, support your work, or finish a personal piece. The guide walks through your project stage by stage along the same workflow, flags where the order can be tidied, then designs the next practice session. Learning times stay flexible, from home or online, and the payment options run from bank transfer, Virtual Account, QRIS, e-wallets, cards, through to retail outlets such as Alfamart and Indomaret.
- The video editing workflow runs one way in seven stages, from arranging media up front to export at the end
- Lock the picture first, because sound and color attach to cut positions that are already final
- Run the color pass after picture lock so you do not grade a clip that might be dropped
- Set orientation, aspect ratio, and a loudness target near -14 LUFS per platform from the start of the project