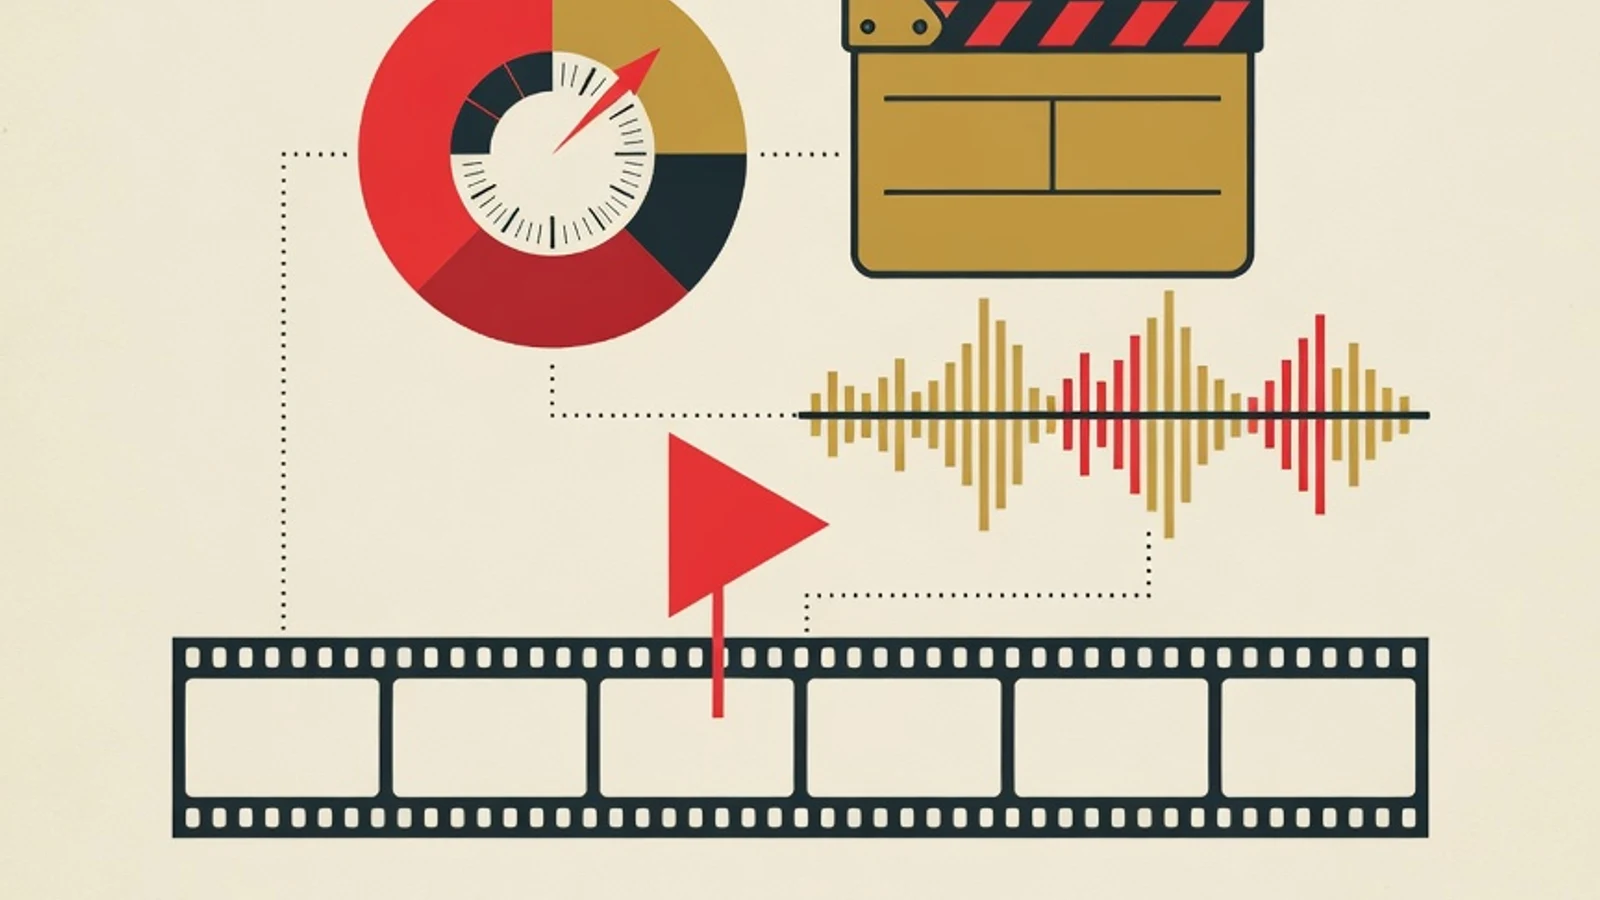
Learning video editing from scratch starts with storytelling through cuts, and software follows as a tool. Train footage selection and cutting rhythm first, then add balanced audio, basic color grading, and correct export settings. Once your cut flow feels alive, pick one free program and finish a complete short video.
- Storytelling through cuts is trained first, and software follows as a tool
- The free versions of CapCut and DaVinci Resolve are enough to learn from basic cuts to the final export
- One finished complete short video is worth more than a hundred abandoned practice clips
- A laptop or phone capable of playing and editing video, plus ample storage to hold raw files and exported results
- One free editing app as your first practice space, CapCut on a phone or the free version of DaVinci Resolve on desktop
- A few raw clips to practice on, which can be your own phone footage such as daily activities, a trip, or a short tutorial
- Headphones or earphones so you can honestly judge the balance between dialogue, music, and effects
Starting Benchmarks for Video Editing
What Video Editing Is and Why Story Is the Foundation
Video editing is the process of selecting, arranging, and refining pieces of image and sound into a meaningful, watchable result. The core of the work sits in story decisions: which clips to keep, where a cut lands, and how long a moment is allowed to breathe. Film editor Walter Murch distilled those decisions into the Rule of Six, six criteria that a cut ideally satisfies. Remarkably, Murch places emotion at the top with a weight of around 51 percent, far above spatial continuity and eye movement. That means a cut is first judged by whether it protects the audience's feeling, and only then by technical matters. For beginners, the lesson is clear: fancy transitions and heavy color grading will not rescue a confusing story order. Master footage selection and cutting rhythm first, because that is where a video feels either alive or dull.
Six Stages of Learning Video Editing from Scratch
Work through them in order. Each stage trains one core skill and leaves behind a real result that will later fill your portfolio.
- 1
Stage 1: Prepare Your Tools and Pick One Editing App
Start with one free app and stay loyal to that choice for a few months. CapCut suits beginners because its interface is friendly and it runs on both phone and desktop, so you can cut straight from daily footage. The free version of DaVinci Resolve gives you a full timeline and industry-grade color grading in one desktop app. Learn four core actions first: importing clips into the media pool, placing clips on the timeline, cutting with the blade tool, and exporting the final result. Set your project frame rate to match the source footage, usually 24 fps for a cinematic feel or 30 fps for social media content. Do your first drill on your own short clips so you fully understand what is inside the footage.
Tips- Keep raw files and the project in one tidy folder per video so no clip goes missing when the project is reopened
- Learn the keyboard shortcuts for cutting and playback early, because editing speed comes from a hand that rarely touches the mouse
Waiting for an expensive laptop or a good camera often becomes an excuse never to start. Phone footage and free software are enough for every drill in this guide. - 2
Stage 2: Gather and Organize Footage Before Cutting
An organized editor wins half the battle before the first cut is made. After importing every clip, watch them all once and mark the strongest parts. Discard duplicates, badly shaky clips, and out-of-focus footage so the timeline does not fill with junk. Group clips into bins or folders by scene, for example interview, ambience, and detail. Give files clear names so you do not hunt for clips one by one in the middle of work. This organizing habit looks trivial, yet it saves hours as a project grows and becomes the difference between an overwhelmed beginner and a calm editor.
Tips- Apply color labels to your best clips so your eye lands straight on the top material while building the story
- Note the timecodes of key moments as you watch, so you do not have to replay entire clips later
- 3
Stage 3: Build a Rough Cut and Shape the Story
A rough cut is a loose arrangement that places the selected clips into a story order, without thinking about transitions or color yet. The goal is to find the flow: an opening that grabs attention, a middle that develops the content, and a closing that leaves an impression. Place clips on the timeline along the storyline, then trim the dead parts such as long pauses, stumbled words, and empty moments. At this stage the duration is usually still loose and rough, and that is normal. Watch the rough cut from start to finish, feel which parts are boring, then move or discard clips until the frame of the story feels coherent. A solid structure here makes all the following work much lighter.
Tips- Start with the strongest moment as your opening so viewers stay through the decisive first ten seconds
- Do not smooth transitions in the rough cut, because the clip order will still change a lot
Adding effects and music too early before the story is tidy often makes you reluctant to rebuild an arrangement that is actually still wrong. - 4
Stage 4: Refine Cutting Rhythm and Keep Continuity
The fine cut is where you tune the rhythm until the video flows. Rhythm comes from the length of each clip: fast cuts raise energy for action scenes or montages, while long cuts give room to breathe for emotional moments. Learn two basic techniques that instantly raise quality. A J-cut lets the sound of the next scene come in before its picture appears, while an L-cut lets the sound of the previous scene continue into the new picture. Both make transitions feel smooth and natural. Keep directional continuity with the 180-degree rule, which keeps the camera on one side of an imaginary line so the characters' eyelines stay consistent and viewers are not confused. Watch repeatedly and adjust one cut that feels off until the transition is pleasant to follow.
Tips- Cut on motion, for example as a hand begins to move, so the clip change feels seamless to the eye
- Try a version without fancy transitions first, because clean well-timed cuts often beat excessive effects
- 5
Stage 5: Balance Audio, Dialogue, and Music
Sound carries a large share of a video's quality, and viewers forgive ordinary visuals faster than bad audio. Start by setting dialogue levels so they are clear and consistent, generally in a comfortable range without peaking into distortion. Add background music that supports the mood, then lower its volume beneath the dialogue using ducking so the main sound stays prominent. Slip in light sound effects such as footsteps, city hum, or a chime to bring scenes to life. Clean up hum and hiss noise with the software's built-in noise reducer if available. Listen to the result through headphones and occasionally on small speakers, because viewers watch on a range of devices and you want the sound to stay balanced across all of them.
Tips- Use royalty-free music so your video is safe to upload without copyright trouble later
- Leave a brief silence before an important line, because well-placed silence makes the words land with more weight
Music that is too loud and covers the dialogue is the most common beginner mistake. Always make sure the words are clearly heard before adding musical flair. - 6
Stage 6: Basic Color Grading, Text, and a Correct Export
The final stage refines the look and prepares the file for viewing. Start with color correction, which is matching color and brightness across clips so they do not look like they jump. Once uniform, move into color grading to give a mood, for example warm for an intimate feel or cool for a firm impression. Add text as needed: titles, speaker names, or short captions, with a font that is easy to read and does not cover faces. Insert simple motion graphics if needed, sparingly so they do not distract from the content. Finally, export with the right settings: H.264 or H.265 format at the same resolution and frame rate as the project, with a bitrate high enough to keep the image sharp. Also save the project file so you can revise without starting over.
Tips- Match the color of all clips first before applying any style, because grading on top of unmatched color will look messy
- Use export presets for YouTube or Instagram if the software provides them, so the resolution and bitrate settings are already right
Heavy color grading on a video whose exposure is still wrong only makes the flaws more obvious. Fix basic brightness and color first.
Comparing Three Popular Editing Apps
| Aspect | CapCut | DaVinci Resolve | Premiere Pro |
|---|---|---|---|
| Starting cost | Free, with a pro tier | Complete free version | Monthly subscription |
| Best for | Beginners, short content | Editing through color | Professional workflow |
| Strength | Fast and friendly | Strong color grading | Industry standard |
| Device | Phone and desktop | Desktop | Desktop |
Many beginner editors start on CapCut to understand basic cutting, then move to DaVinci Resolve when they want serious color grading without a subscription cost. Premiere Pro often becomes the choice when entering the production workforce.
Core Skills That Decide the Quality of an Edit
Footage Selection
Choosing the best clips and discarding the weak ones before assembling. A good edit is born from carefully filtered material.
Cutting Rhythm
Setting the length of each clip so the video has tempo. Fast cuts raise energy, long cuts give room to breathe.
J-cut and L-cut
Letting sound arrive earlier or continue into a new picture, so scene transitions feel smooth and natural.
Audio Balance
Setting dialogue, music, and effects so each sound sits in its place, with the words always clear.
Color Grading
Matching color across clips then giving a mood that supports the scene, done after basic exposure is tidy.
Export Settings
Choosing the right format, resolution, frame rate, and bitrate so the final result is sharp and light to upload.
“A good cut is first measured by whether it stays true to the emotion of the scene, long before matters of technical continuity. Emotion holds the largest weight in every decision to cut.”
A Weekly Practice Routine for Beginners
- Finish one complete short video of about one to three minutes from your own footage
- Practice one rough cut focused on the story order with no effects at all
- Try one J-cut and one L-cut, then judge whether the transitions feel smoother
- Set the balance of dialogue and music with the ducking technique on one scene
- Practice color correction so several clips look uniform
- Export with the correct settings and save the project file for your portfolio archive
Learning Solo or with a Mentor
- Freedom to set your own schedule, and free software keeps the starting cost near zero
- Many basic drills can be done alone from phone footage you already have
- Progress feels real when your first short video is finally finished and pleasant to watch
- It is hard to know which cut makes the rhythm feel off without a trained eye to point it out
- Wrong habits in audio and color can take root because no one corrects them early
- Motivation fades easily when your edits feel stuck with no clear feedback
When a Mentor Speeds Up Your Progress
Learning video editing can start on your own, and many beginners have gone far with solo practice from phone footage. The point that most often stalls people is when an edit feels less enjoyable to watch but you cannot tell which part needs fixing. This is where a mentor speeds up progress, because a trained eye and ear can show you that the rhythm in the middle drags too slowly or that the dialogue is drowning under the music. At EduPoint, video editing mentoring runs privately with one teacher and one student, so the practice can be tailored to your pace and goals, whether for social media content, work needs, or personal projects. The mentor breaks down your edit cut by cut, gives concrete direction, and lays out the next sequence of drills. Schedules can be arranged from home or online, and payment accepts bank transfer, Virtual Account, QRIS, e-wallets, cards, and even Alfamart and Indomaret.
- Storytelling through cuts is trained first, and software is only a tool to realize it
- Footage selection and a coherent rough cut are the foundation that decides all the following work
- Under Walter Murch's Rule of Six, emotion holds the largest weight in every decision to cut
- The free versions of CapCut and DaVinci Resolve are enough to learn from basic cuts to color grading
- One finished complete short video becomes proof of skill you can show a mentor or a potential client