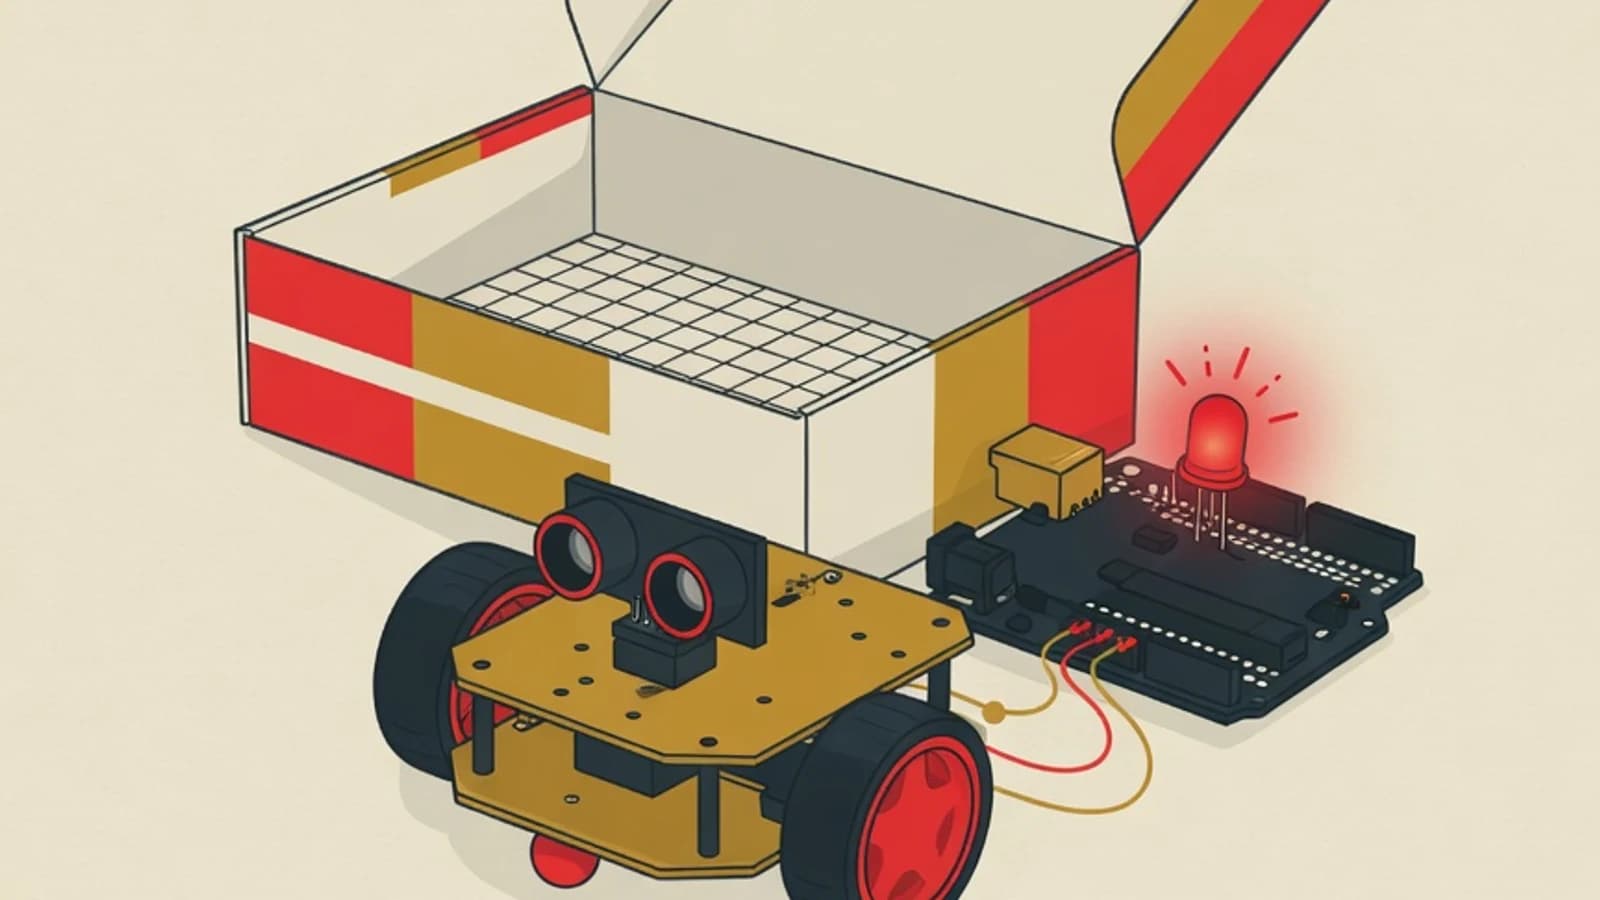
Choosing a first robotics kit for your child works best when you match the age to how the kit is programmed: visual blocks for children aged 6 to 8, boards like the micro:bit for ages 8 and up. Favour a kit that can be taken apart and rebuilt, carries a decent set of sensors, and comes with learning material that is easy to follow.
- The right first robotics kit follows a child's age and interest, then considers the brand
- Solderless kits with no sharp tools are the safest for beginners at home
- The sensor set and the learning material decide how long a kit stays in use
- Notes on your child's current age and interests
- A shopping budget your family has agreed on
- A shortlist of two or three candidate kits to compare
Numbers that help you size up a first robotics kit
Why a first robotics kit deserves careful thought
A first robotics kit is a child's doorway into building and writing code. That first impression decides whether robotics feels joyful or feels beyond reach. A kit that is too complex leaves a child fully dependent on an adult, while a kit that is too simple grows dull within days. The sweet spot is a kit whose difficulty can rise as the child grows. A good robotics kit for kids offers a small win on day one, a robot that rolls forward or a light that switches on, and still leaves room for the next challenge such as a distance or line sensor. A thoughtful choice up front saves family spending, because a single kit can accompany a child for several years.
How to choose a first robotics kit in six steps
The steps below guide parents from reading their child to deciding on a first robotics kit with a calm mind.
- Step 1
Map your child's age and reading ability
Start from the most decisive point: age and how fluently your child reads. Children aged 6 to 8 are usually not yet comfortable typing long commands, so a first robotics kit that uses icon blocks or colourful blocks to assemble code suits them better. Children aged 8 and up who read fluently can begin handling a board like the micro:bit and robots programmed with on-screen drag blocks. Match your child's ability now, since the target you hope for next year can feel too far for them today. A kit one step above a child's level can still be bridged with support, while a kit that leaps well past their age tends to make a child give up early.
Tips- Ask whether your child prefers building structures or playing on a screen as an early clue
- Torn between two age ranges? Pick the younger one so your child earns a sense of success sooner
- Step 2
Decide how the kit is programmed
Every robotics kit for kids has a different way of giving commands. There are three tiers worth knowing. Visual blocks like Scratch or icon blocks are the friendliest gateway, since a child builds logic by dragging code with no typing. Mid-level drag blocks introduce loops and conditions in a still-approachable way. Text languages like Arduino suit a confident child who wants full control. For a first kit, prioritise one that offers visual blocks, ideally one that can move up to text mode later so the kit does not get set aside too soon.
Tips- Check that the coding app is free and runs on the device you already have at home
- A kit offering two modes (blocks and text) gives a long runway to grow
Avoid a kit that can only be programmed through a paid app or an expensive dedicated device, since the follow-on cost often slips past the initial estimate. - Step 3
Inspect the sensors and components
The value of a first robotics kit is largely set by what is inside the box. Sensors are the robot's senses, and the more varied the sensors, the more projects a child can build. Look for a kit that carries at least a distance sensor (ultrasonic), a line sensor, and an LED that can be switched on through code. Motion parts such as two wheel motors let the robot drive, turn, and dodge obstacles. Notice whether the parts use snap-fit connectors or ordinary bolts, since a solderless kit with no sharp tools is far safer for a child to build at the study desk. A clear parts list on the box helps you judge before you pay.
Tips- A distance sensor and a line sensor unlock two classics: a wall-dodging robot and a line-following robot
- A kit with standard components makes spare parts easier to find if one goes missing
- Step 4
Make sure the learning material and community are rich
A great robot with no clear guidance ends up stored in a cupboard. Before buying, check whether the maker provides picture guides, step-by-step videos, and a set of sample projects in language a child can follow. A robotics kit for kids with a large community usually has plenty of user-made tutorials, from how to rebuild it to fresh project ideas. Orderly learning material lets a child study independently, while parents simply support as needed. The availability of Indonesian-language guides or videos with clear visuals is a big plus for early learners.
Tips- Open the maker's official site first and see whether it has a structured free learning section
- Search for videos of other parents building the same kit to picture the real experience
- Step 5
Fit it to your budget and long-term plan
Once you have filtered by age, coding style, sensors, and learning material, weigh the price. The market price range for a first robotics kit in Indonesia is fairly wide, from an affordable simple micro board up to a full education set that costs a good deal more. Exact figures keep shifting, so set the family budget first, then find the best candidate within that range. Factor in follow-on costs such as batteries, spare parts, or add-on modules. One kit that can grow is often cheaper than buying several throwaway toy robots that are quickly forgotten. Buying from an official seller keeps the warranty and the genuine components intact.
Tips- Set a price ceiling before browsing so you are not tempted by a kit that overshoots a beginner's needs
- Count battery and add-on module costs as part of the budget, not a later surprise
A price far below the market often signals imitation components with no learning support. Check the seller's reputation before deciding. - Step 6
Let your child try before you truly decide
The final step hands the decision back to the person who will use it. If possible, bring your child to a trial class, a robotics fair, or an in-store demo before buying. Watching a child touch, build, and run a robot gives a more honest signal than specs on paper. Notice whether their eyes light up as the robot moves and whether they ask how to make it do something else. That enthusiasm is a sign the first robotics kit fits. If a hands-on try is not available yet, start from the kit's free simulation app so your child gets to know its coding style first at no cost.
Tips- A free online simulator helps a child learn the flow of code before the physical kit arrives
- Watch your child's curiosity, since genuine interest is the fuel of learning robotics
Three types of first robotics kits you will commonly meet
| Kit type | Suitable age | How it is coded | Main strength |
|---|---|---|---|
| Build-and-drive block set | 6 to 10 years | Icon blocks or visual blocks | Very beginner friendly, safe, many build variations |
| Ready-made robot (mBot and similar) | 8 to 12 years | Drag blocks, later moving to text | Fast to build, full sensor set, long room to grow |
| Micro board (micro:bit) | 8 years and up | Code blocks, later Python | Affordable, flexible, rich community projects |
The ages are general guidance. A younger child can still use the kits in the lower rows with an adult alongside.
Traits of a first robotics kit worth buying
Safe for a child to build
Snap-fit connectors or ordinary bolts, no solder and no sharp tools, so a child can build it alone at the study desk.
Can be rebuilt
Parts can be removed and reassembled into a different shape, giving dozens of projects from one box.
Rises in difficulty
Offers a block mode for the start and a path to text mode, so the kit stays challenging as the child grows sharper.
Orderly guidance
Comes with picture manuals, videos, and sample projects that are easy to follow without technical parent knowledge.
Varied sensors
Carries at least a distance sensor, a line sensor, and a programmable light as material for a child's first projects.
Spare parts available
Components are easy to find and replace when lost or broken, keeping the kit alive for years.
“The most successful first robotics kit is the one that hands a child a small win on day one. A robot rolling forward one metre is enough to spark curiosity, and from there a child gladly learns sensors, loops, and logic.”
Buy a full kit now or start with something simple
- The child is not overwhelmed and feels successful quickly
- The family budget stays lighter for an early trial
- It is easy to gauge how strong the child's interest is before a bigger investment
- An expensive kit risks sitting idle if the child's interest has not grown yet
- Advanced features often stay unused at the beginner stage
- Early complexity can make a child feel robotics is too much of a stretch
Checklist before you pay
- The kit's recommended age matches your child's age and reading ability
- It is programmed with beginner-friendly visual blocks
- The box includes a motor, a distance sensor, and a line sensor
- The build is safe with no solder and no sharp tools
- Picture guides or easy-to-follow videos are provided
- The coding app is free and runs on a device you have at home
- The price fits the family budget, including battery and spare-part costs
- Match your child's age and reading ability first, before looking at the brand or price of a first robotics kit.
- Prioritise visual block coding, a solderless build, and a kit whose difficulty can rise over time.
- Judge the kit by its sensor set, the quality of its learning material, and its follow-on cost, beyond its looks.
- Let your child try or start from a free simulator so their interest becomes the final deciding factor.