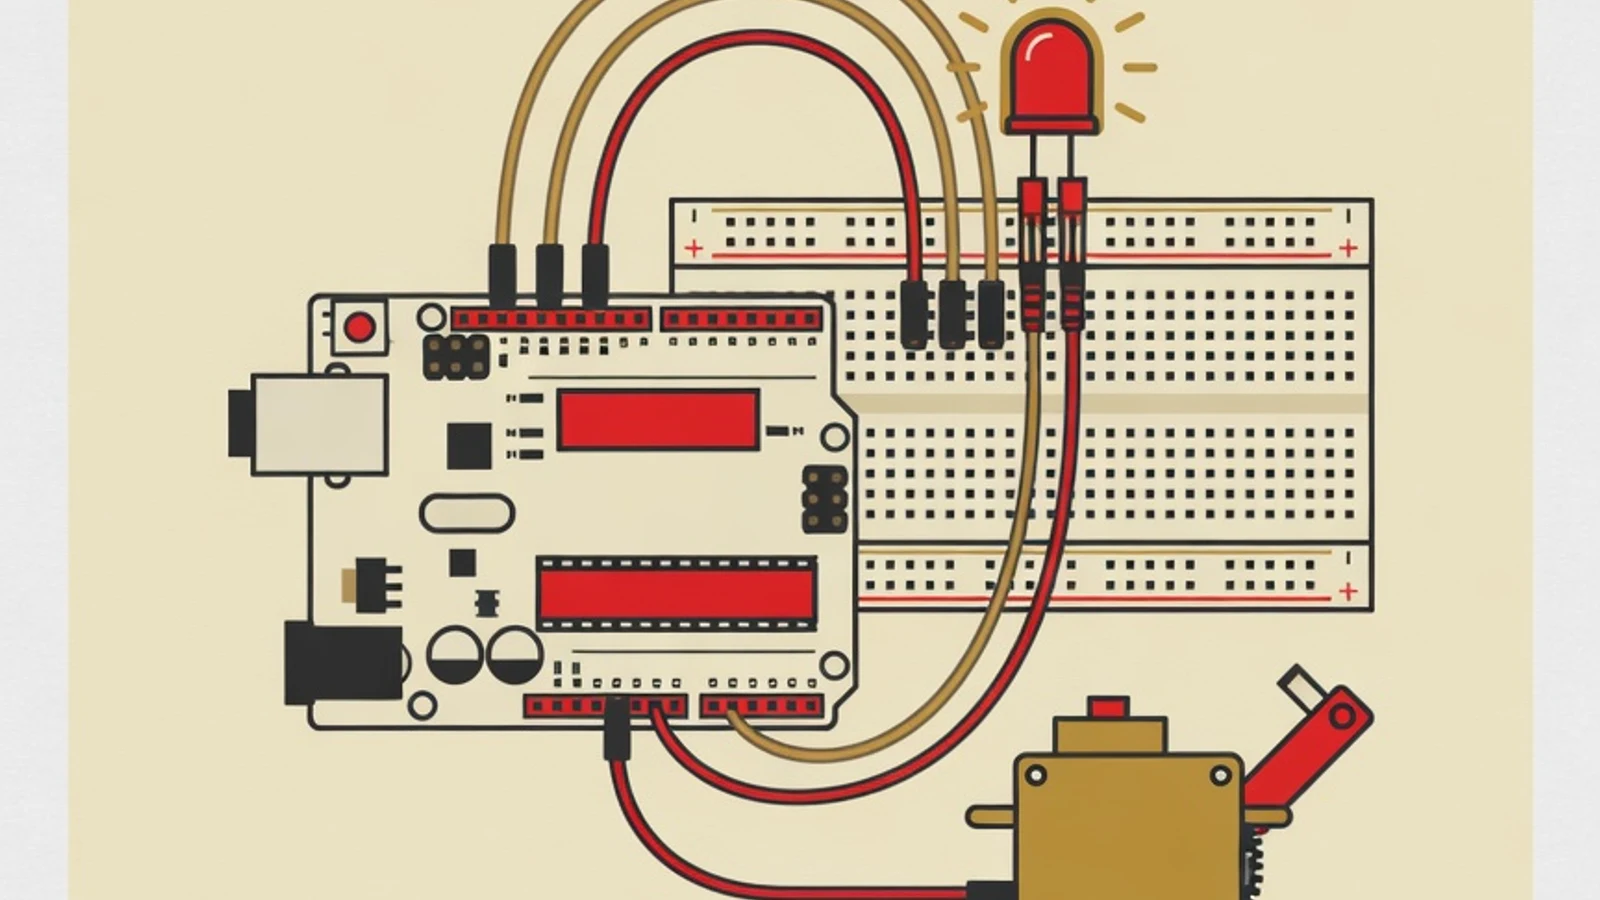
Learning Arduino for beginners flows most smoothly when you start with the Arduino Uno board, the free Arduino IDE software, and one small project that blinks an LED. From that foundation, a beginner climbs gradually to sensors and motors, then assembles a simple robotics project within weeks.
- Start with the Arduino Uno, the most beginner-friendly board
- The Arduino IDE software is free for writing and uploading programs
- Climb gradually from LEDs to sensors, then to robot motors
- One Arduino Uno board with a USB cable
- A breadboard, jumper wires, a few LEDs and 220 ohm resistors
- A laptop or computer to install the Arduino software
BWhy Arduino suits robotics beginners
Arduino is a microcontroller board you can program to read sensors and drive components such as lamps, buzzers, and motors. The platform is open, affordable, and backed by a large community, which makes it a welcoming first door into robotics. For beginners, the appeal of Arduino lies in a short first step. Install the software, connect the board over USB, write a few lines of instruction, and the result appears instantly on a blinking lamp. This quick feedback keeps the learning process concrete and easy for a child to follow. The Arduino Uno is the most common starting board in beginner robotics classes because it tolerates repeated plugging, its documentation is thorough, and thousands of example projects are freely available. Once a beginner is comfortable with the Uno, the move to distance sensors, servos, and wheeled robot modules feels calmer.
Six steps to learn Arduino from scratch
This sequence is built so each step has one goal worth celebrating before moving up to the next level. Work through a step until it feels smooth before you advance.
Get to know the Arduino Uno and its parts
Begin by understanding the body of the board before touching any program. Notice the USB port that connects the board to your laptop, the power jack, the row of digital pins numbered 0 to 13, and the analog pins A0 to A5. At the center sits the microcontroller, the small brain that runs the instructions we write. Learn the 5V and GND power pins too, because almost every circuit needs these two points. For a beginner, recognizing the function of each pin group is enough, with no need to memorize technical specifications. Spend time holding the board, reading the labels printed on it, and matching them with the diagram in the official Arduino documentation. This foundation of knowing the board makes the wiring step that follows feel logical.
- Keep the board on a non-metal surface to avoid a short circuit
- Photograph the pin layout as a cheat sheet when you start wiring
Install the Arduino IDE software
The Arduino IDE is the software where we write a program and upload it to the board. Download it from the official page at arduino.cc/en/software, then install it for your laptop's operating system. After installation, connect the Arduino Uno over the USB cable. Inside the software, choose the Arduino Uno board type in the Tools menu, then select the port that appears when the board is plugged in. These two settings link the software to the physical board. If the port does not appear, try a different USB cable, since some cheap cables only carry power without data. The software is free and runs on Windows, macOS, and Linux, so nearly any family can use it without extra software cost.
- Set the board and port in the Tools menu before uploading any program
- Use a USB cable that supports data transfer, since charge-only cables fail
Run your first program: blinking an LED
The classic opening project in the Arduino world is called Blink, which turns an LED on and off repeatedly. Open the built-in example through the File, Examples, Basics, Blink menu. The program is ready made, so a beginner simply presses upload and watches the on-board lamp blink. Once it works, change the delay value so the blink becomes faster or slower. This small change teaches the direct link between an instruction on screen and the board's behavior. The step matters because it builds confidence: a beginner sees that the program they edited truly moves a real device. Repeat by connecting an external LED to the breadboard through a resistor, then move the blink to that pin.
- Change the delay value to see an instruction affect the board directly
- Always place a 220 ohm resistor in series with an external LED to protect it
Learn circuit basics with a breadboard
A breadboard is a solderless building board that lets a beginner arrange components and swap them at any time. Understand how its holes connect: the rows along the edges usually carry power and ground, while the columns in the middle hold components. Practice connecting an LED, a resistor, and a simple push button. The idea of positive and negative terminals becomes an important lesson here, because many components only work in the correct direction. A reversed LED, for example, simply stays dark without any damage, which makes the breadboard a safe place to experiment. Spend a few sessions building small variations, such as two alternating LEDs or a button that lights a lamp. This hand skill becomes the groundwork for mounting sensors and motors later in a robotics project.
- Color the power rail red and the ground rail black so the circuit reads clearly
- Unplug the USB cable each time you change the circuit layout
Read sensors and grasp program logic
A robot needs to sense its surroundings, and this is where sensors enter. Start with a simple sensor such as a potentiometer or a light sensor whose value is read through an analog pin. A beginner learns the idea of reading an input, storing it in a variable, then making a decision with a conditional instruction. A practice example: turn on an LED when the room goes dark, or change the blink speed according to a potentiometer's turn. At this stage, three program foundations start to feel useful: variables to store values, branches to make decisions, and loops to run instructions continuously. Use the Serial Monitor in the software to display sensor numbers on screen, so a beginner can see the data the board is reading. This ability to read sensors turns a static circuit into a system that responds to its environment, a key step toward robotics.
- Show the sensor value through the Serial Monitor to understand its range
- Test one sensor until you understand it before adding a second
Build your first simple robotics project
Once comfortable with lamps, breadboards, and sensors, it is time to combine everything into a small robotics project. A beginner-friendly first build might be a pointing arm with one servo motor, or a two-wheeled robot that stops when a distance sensor detects a wall. Motors usually need a driver module and a separate power source, because the current from board pins is limited. Assemble the project in stages: make sure the motor spins with a simple program, then add the sensor as the decision maker, then combine them into a whole behavior. Document each experiment, noting what worked and what needs improvement. This first project unites all the earlier skills and marks that a beginner is ready to explore more challenging Arduino projects.
- Give motors a separate power source, since board pins supply limited current
- Build the behavior step by step, testing each part before combining them
Practice in a simulator or straight on the board
| Aspect | Tinkercad simulator | Physical Arduino Uno |
|---|---|---|
| Starting cost | Free in a browser | Requires buying a board and parts |
| Risk of damage | None, safe to experiment | Some, careful wiring needed |
| Hands-on feel | Limited to the screen | Felt directly in the hands |
| Best for | Getting to know program logic | Practicing wiring skills |
Many beginners use a simulator to learn program logic first, then move to the Arduino Uno board when ready to wire real hardware.
Basic gear to get started
Arduino Uno + USB cable
The main board that runs the program, paired with a USB cable to upload code from a laptop.
Breadboard & jumper wires
A solderless building board for arranging and swapping components quickly and safely.
LEDs, resistors, buttons
Cheap components for opening projects like Blink and basic circuit practice.
Simple sensors
A potentiometer or light sensor to learn reading inputs through analog pins.
Servo motor & driver
A mover for small robotics projects, fitted with a driver module and separate power.
Starter kit bundle
A pack with the board and assorted components together, handy for families just beginning.
A few early hurdles come from small technical details that turn out to be simple to fix once you know them.
- Using a charge-only USB cable that carries no data, so the board is not detected
- Forgetting to select the board and port in the Tools menu before uploading
- Connecting an LED without a resistor, making the component heat up quickly
- Powering a motor straight from board pins without a driver module
Ready before the first project
- The Arduino IDE is installed and recognizes the board in the Tools menu
- The Blink program successfully makes the board lamp blink
- You understand how to read the rows on a breadboard
- You can connect an external LED with a resistor without hesitation
- One sensor value has appeared in the Serial Monitor
- You have a small project in mind to build first
“Beginners who last usually share one simple habit: they finish one small project until the lamp truly lights up. That moment of success keeps their curiosity alive all the way to a bigger robotics project.”
Learning alone or with a mentor
- Freedom to set the pace and the projects that interest you
- Free Arduino tutorials are abundant online
- Trains a child's independence in solving problems
- A wiring mistake can go unnoticed for a long time without a mentor
- It is easy to lose direction when the code hits a dead end
- Discipline is needed to keep practice regular
- Learning Arduino for beginners flows best starting from the Arduino Uno and the simple Blink project
- The Arduino IDE is free, and the Tinkercad simulator allows practice without buying hardware first
- Climbing gradually from LEDs to sensors then to motors is the safest path to a first robotics project