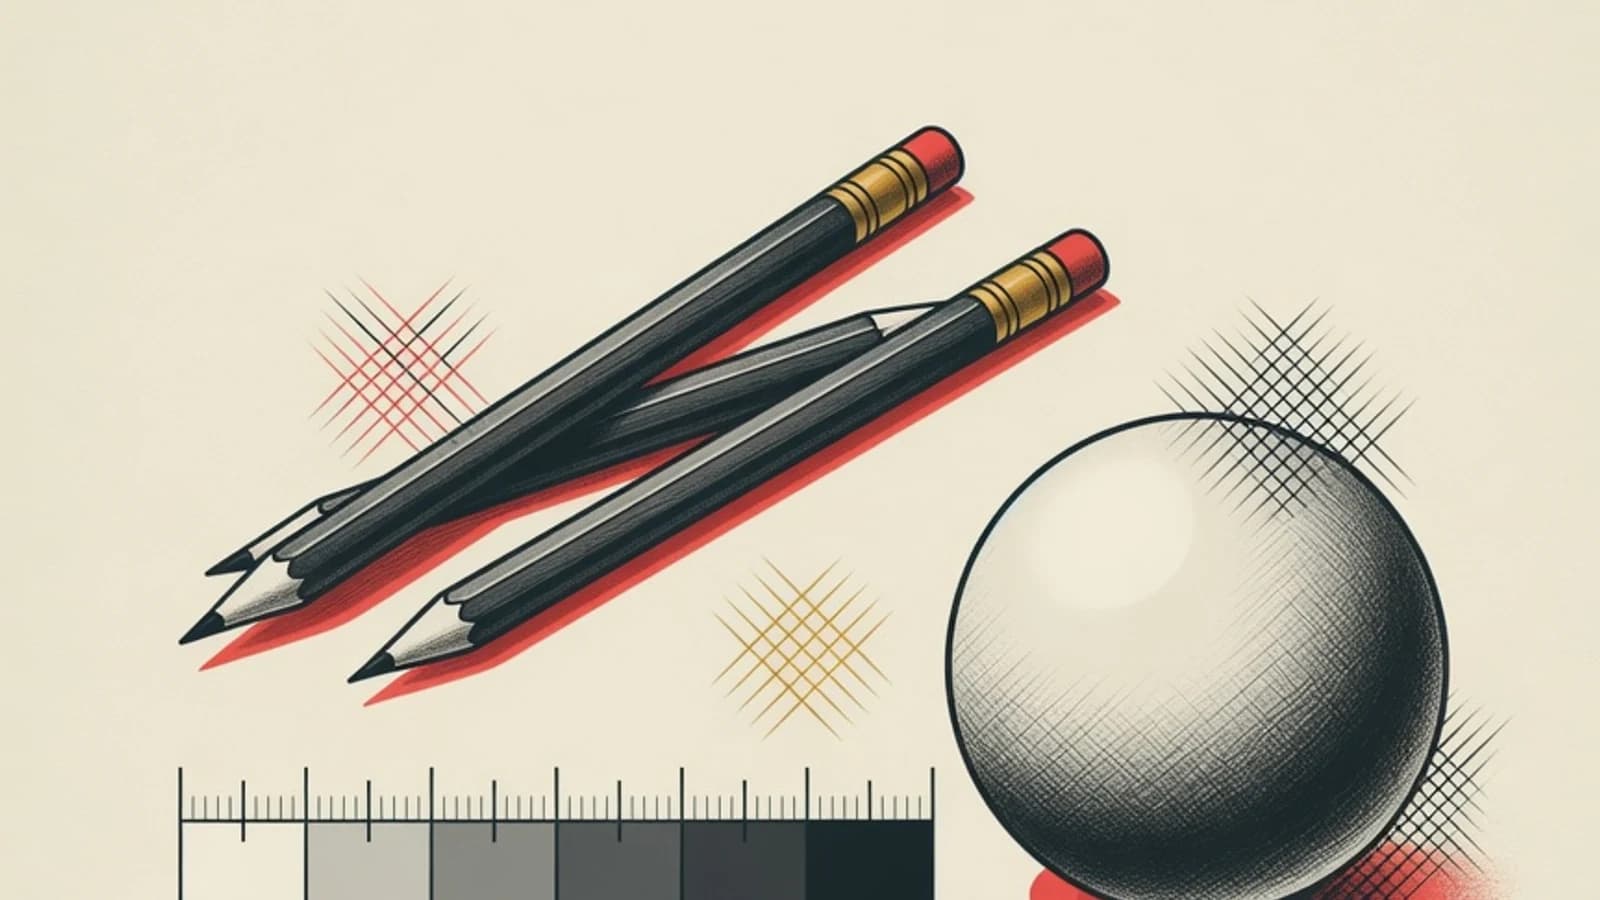
Pencil shading techniques arrange dense lines or dots to produce light-to-dark gradation, giving an object the appearance of volume. Four core techniques are worth mastering: hatching, cross-hatching, stippling, and blending. Success depends on building darkness in layers, moving from a light touch toward a deep, saturated tone.
- Shading works by controlling line density and pencil pressure
- Map the light direction first before deciding the dark areas
- Stack thin layers so light-to-dark transitions read smoothly
- HB, 2B, and 4B graphite pencils
- Medium-tooth drawing paper
- A kneaded eraser to lift out highlights
- Tissue or a tortillon for blending
Key Numbers in Pencil Shading
Why Shading Brings a Drawing to Life
An outline only describes the edge of an object. What makes that object feel solid and lift off the paper is its light-to-dark value, and value is built through shading. When light falls on a ball, its surface divides into several zones: the brightest highlight facing the light source, a mid-tone body that begins to turn away, the darkest side that falls into shadow, a faint reflected light along the lower edge, and the cast shadow on the ground. Shading is the way you pour all of those zones onto paper. Before you raise a pencil to shade, decide where the light is coming from. Every value decision flows from that single choice. When the light direction is inconsistent, a drawing looks confusing even if every stroke is neat. With this framework, shading turns from simply darkening an area into a process of translating light that you can control step by step.
Five Steps to Shade a Light-to-Dark Gradation
This practice path builds shading skill from reading a value scale to applying it on a volumetric object. Master each stage before adding complexity.
- 1
Build a value scale first
Draw a rectangle and divide it into five equal boxes. Leave the first box as the white of the paper, then fill each following box with a darkness that rises in even steps until the last box is as deep as you can make it. This exercise forces your hand to recognise the range of light and dark that one pencil can produce. Many beginners use only two values, pure white and solid black, so their drawings feel harsh and flat. Mastering the five steps in between gives you a vocabulary of values to build smooth transitions. Repeat the scale with different pencils, such as HB, 2B, and 4B, to feel how each grade of graphite reaches its own darkness.
Tips- Keep each box even and free of patchiness before moving to the next step
- Leave a clear value gap between boxes so the scale is easy to read
Avoid pressing hard straight away in the darkest box. Build the depth through several layers of shading. - 2
Master hatching as your base technique
Hatching means laying down parallel lines close together. The tighter the spacing and the firmer the pressure, the darker the tone appears. Practise making long, even sets of lines, moving from the wrist with a steady rhythm so direction and spacing stay consistent. To create a gradation, start with sparse, light-pressure lines on the bright side, then tighten and press harder toward the dark side. Hatching that follows the direction of the surface reinforces the sense of form. On a curved surface like a cylinder, bend the lines slightly to follow the curve. This technique is the foundation because every other shading method grows out of it.
Tips- Rotate the paper so your hand always pulls lines at a comfortable angle
- Lift the pencil at the end of each line so the ends do not build up and darken
- 3
Add depth with cross-hatching and stippling
Once hatching is steady, stack a second layer of lines in a different direction on top to form cross-hatching. The crossing layer adds density, so the area reads darker and more textured. Add a third layer at another angle to reach the darkest passages. Stippling works on the same principle using small dots: the denser the dots, the darker the result. Stippling produces a soft, speckled texture that suits porous surfaces like orange peel or stone. Practise both techniques on small objects to feel when crossing lines or dots give the most fitting sense of surface.
Tips- Keep enough angle between cross-hatching layers so it does not turn into stiff grids
- Use dense dots for dark areas and sparse dots for the transition into light
Cross-hatching at nearly the same angle only thickens the line without adding value. Give the layers enough difference in angle. - 4
Smooth transitions with blending
Blending flattens the graphite you have already shaded so the transition between values becomes seamless. Use a tortillon, a folded tissue, or a clean fingertip to sweep gently from the dark area toward the light. Blending is most useful for smooth surfaces such as metal, glass, or clear skin. Apply it carefully, because over-blending erases texture and leaves the drawing looking foggy. A safe approach is to hatch neatly first, then blend thinly in certain areas only, and finally reassert the darkest parts with extra shading. Combining shading and blending gives you control over what looks textured and what looks slick.
Tips- Blend in the direction of the surface form so the sense of volume holds
- Clean the tortillon on scrap paper before touching the next bright area
- 5
Apply it to a volumetric object under real light
Set up a ball, an egg, or an apple under a desk lamp that lights it from one direction. Observe the five zones of light: the highlight, the mid-tone body, the darkest side, the faint reflected light, and the cast shadow on the ground. Map these zones with light lines, then start shading from the lightest value across the whole form. Build darkness gradually by adding layers only where it is darker, while leaving the paper white at the brightest highlight. Squint your eyes now and then to simplify the object into groups of light and dark so you do not get trapped in small details. Finish by asserting the darkest side and the cast shadow so the object feels grounded and three-dimensional.
Tips- Work the whole drawing from light to dark, keeping every zone at the same stage instead of finishing one corner first
- Compare the drawing with the real object while squinting to check the values
Darkening the shadow side evenly erases the reflected light along the edge, so the ball looks flat.
Four Shading Techniques and Their Character
Hatching
Parallel lines close together. The quickest to learn and suited to even gradations as well as following the direction of a surface. Line density controls how light or dark it reads.
Cross-hatching
Layers of lines crossing over hatching. Adds density and texture, useful for reaching dark passages and describing rough surfaces.
Stippling
Clusters of small dots. Dot density sets the value. Produces a soft, speckled texture that fits porous surfaces like orange peel.
Blending
Flattening graphite with a tortillon or tissue for smooth transitions. Ideal for slick surfaces like metal and glass, used sparingly to avoid fogging.
Choosing Pencils for Shading
| Graphite Grade | Character | Role in Shading |
|---|---|---|
| H to 2H | Hard, light, thin lines | Early framework and the brightest areas |
| HB | Versatile, medium | Mid-tone transitions and general shading |
| 2B to 4B | Soft, easy to darken | Building dark areas and shadows |
| 6B to 8B | Very soft and dark | Final touches on the darkest points |
Beginners can manage with three pencils, HB, 2B, and 4B, to cover almost the entire value range.
“Students whose shading quickly reads clean are usually the ones most patient on the first layer. They build the dark bit by bit, checking the light direction at every stage. In our classes we always train the patience to stack values before we talk about detail.”
Weekly Shading Practice
- One five-step value scale at the start of each session as a warm-up
- Two sheets of hatching practice with a light-to-dark gradation
- One sheet of cross-hatching and stippling on a small textured object
- One blending session to practise smooth transitions without fogging
- One volumetric object under lamplight shaded to completion
- Review the week's work while squinting to check the values
- Shading builds the sense of volume through light-to-dark value stacked in layers
- The four core techniques are hatching, cross-hatching, stippling, and blending, each with its own surface character
- Decide the light direction first, then build the dark gradually from a light touch
- Three pencils, HB, 2B, and 4B, already cover almost the entire value range