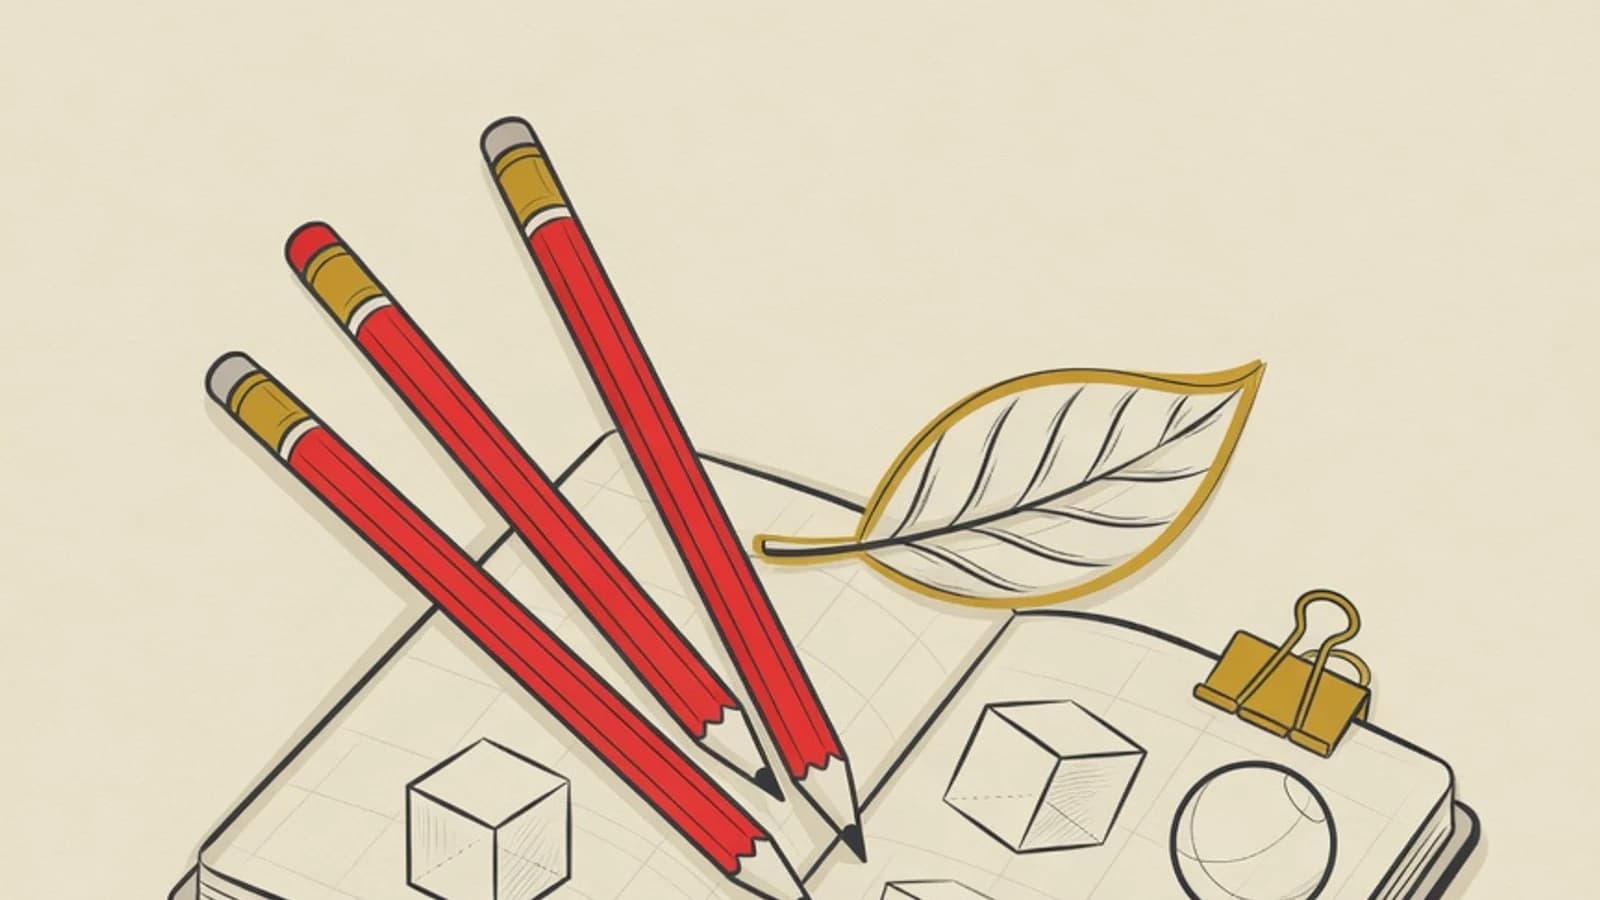
Learning to draw for beginners starts by training your eye to read shapes and shadows. Hand dexterity follows on its own. Master five basics in order: observing, controlling your line, building basic shapes, measuring proportion, and shading. Short daily practice beats long, occasional marathon sessions.
- Drawing is an observation skill anyone can train
- Start from lines and basic shapes before touching detail
- Practicing 15 to 20 minutes daily works better than the occasional long session
- 2B and HB graphite pencils
- A sketchbook or thick printer paper
- A kneaded eraser and a regular eraser
- A sharpener or small cutter
BDrawing Begins With How You See
Many beginners assume drawing depends on inborn talent. In reality, drawing ability grows from how your eye reads the shape, angles, and shadows of an object, then translates them onto paper. Art researcher Betty Edwards notes that the brain often draws symbols stored in memory, such as an eye rendered as an oval with a dot in the center, so the result looks stiff and unlike the real object. The heart of learning to draw from scratch is switching off that symbol-drawing habit and replacing it with direct observation. When you truly look at a cup handle, you notice its curve is thicker at the bottom and thinner at the top. This kind of observation is what makes your lines convincing. With this framework, drawing for beginners turns from a matter of lucky hands into a skill you can schedule and improve step by step.
Six Steps to Learn Drawing From Scratch
Follow this order as your beginner drawing practice path. Each step builds the foundation for the next, so master one stage before jumping to the following one.
Train your eye to observe before your hand moves
Pick one simple object at home, such as a glass, a key, or a leaf. Before drawing, observe it for a full minute: where its longest line runs, which side the shadow falls on, and how wide it is compared to its height. A great warm-up is blind contour drawing, where you follow the object's edge with your eye while moving your pencil without looking at the paper. The result will be messy, and that is the point, because the goal is training eye to hand coordination while letting go of any need for a neat drawing. Do this for three to five minutes each session. It teaches your brain to read shapes as they are, which is the foundation for the whole drawing process.
- Choose an object with single-direction lighting so its shadow is clear
- Work without an eraser at first so you dare to commit to a line
Master line control and pencil pressure
Confident lines come from repeated practice. Fill a full page with straight lines from left to right, then lines from top to bottom, then circles and ovals. Move from your shoulder and elbow for long lines, and from your wrist for small curves. Practice pressure gradients too: press lightly for thin lines, then firmer for bold ones. At this stage you are building the muscle and motor memory of your hand. Set aside five minutes each session just to warm up your lines before drawing an object. A 2B pencil is flexible enough for beginners because it easily produces both thin and thick lines.
- Rotate the paper instead of forcing your hand to bend at an awkward angle
- Draw each line as one confident stroke and avoid many short repeated ones
Build objects from basic shapes
Almost any object can be simplified into a cube, sphere, cylinder, and cone. A cup is a cylinder, an apple is close to a sphere, a human head is close to a slightly elongated sphere. Practice drawing these basic shapes in three dimensions, complete with the visible front and side planes. After that, draw real objects by stacking basic shapes as a framework, then refining the outer line. This method keeps a drawing from looking flat and helps you understand volume. Dedicate a few sessions purely to constructing household items from basic shapes until it feels automatic.
- Sketch the basic-shape framework in light lines first
- Spot basic shapes in objects around you as an observation habit
Measure proportion and angles with a reference
Proportion is the size relationship between parts, and this is what beginners miss most often. Use your pencil as a measuring tool: extend your arm, close one eye, then compare the length of one part of the object to another, such as a cup's width against its height. Mark reference points on the paper before connecting the lines. To catch mistakes, look at your drawing in a mirror or flip the paper over. A tired eye will immediately notice a part that leans once the angle changes. This measuring practice is what separates a roughly-similar drawing from one that is truly accurate.
- Set one measurement as your reference, then measure other parts relative to it
- Recheck proportion through a mirror reflection midway through the process
Add dimension through light and dark shading
Value, the range of light and dark, turns a flat line into a shape that seems touchable. First decide where the light comes from, then map three areas: the lit part facing the light, the dark part turned away from it, and the shadow cast onto a surface. Build the darks gradually with layered shading, starting from light pressure and strengthening bit by bit. Practice a few techniques: parallel hatching, cross hatching, and gentle blending for soft transitions. A common mistake is pressing the pencil hard right away, which is difficult to correct. The patience of layering thin passes yields a far more convincing gradation.
- Squint your eyes to simplify the object into light and dark groups
- Leave a patch of white paper as the brightest highlight
Make practice a daily habit
Drawing ability grows from consistent repetition. Keep a small sketchbook and fill at least one page every day, even if it is just a quick drawing of a coffee cup or your own hand. A schedule of 15 to 20 minutes daily gives more lasting results than drawing for hours once a week, because the brain needs spaced repetition to lock in a motor skill. Date every sketch so you can see your progress after a month. Keep old drawings instead of throwing them away, because comparing old and new work is an honest source of motivation.
- Carry a pocket sketchbook to draw in spare moments
- Pick one weekly theme, such as hands, leaves, or faces, to keep practice focused
Starter Supplies That Are Already Enough
2B and HB pencils
These two pencils already cover a beginner's needs. HB for light framework lines, 2B for bold lines and shading. A full 6H to 8B set is not needed yet.
Sketchbook
An A5 or A4 sketchbook with slightly thick paper is enough for daily practice. Even 80 gram printer paper works for practicing without worrying about waste.
Kneaded eraser
A kneaded eraser can be shaped to brighten small areas and lift graphite without damaging the paper surface, useful when creating highlights.
Sharpener or cutter
A sharp pencil tip helps with precise lines, while a blunt tip suits broad shading. A small cutter gives more control over the tip shape.
Small mirror
A mirror is used to check proportion. A drawing seen in reverse reveals angle errors invisible while you are drawing.
Simple models
Household objects like a glass, bottle, fruit, or shoe are the best drawing models for beginners because their forms are clear and freely available.
Self-Study or Guided Drawing Lessons
| Aspect | Self-Taught | Guided Drawing Lessons |
|---|---|---|
| Feedback | Hard to spot proportion mistakes on your own | A tutor points out specific fixes each session |
| Material order | Prone to skipping and piling up bad habits | Arranged from observation basics to shading |
| Correction speed | Wrong habits can settle in for a long time | Mistakes are caught and fixed earlier |
| Motivation | Depends on personal discipline | A schedule and targets keep practice regular |
Self-teaching can still succeed with strong practice discipline. Guidance speeds it up by cutting the time spent guessing.
A few early habits make progress feel stuck. Recognize and avoid them from the start:
- Drawing symbols from memory without observing the real object
- Chasing hair or eyelash detail before the basic shape is correct
- Pressing the pencil too hard from the start so lines are hard to erase
- Erasing so often that you become afraid to make any line at all
- Comparing a first-day sketch with the work of a seasoned artist
“The beginners who improve fastest are usually the ones most patient about observing their subject. Once the eye is trained to read angles and shadows, the hand simply follows. That is why in early sessions we often slow students down to really see the object first.”
A Weekly Drawing Practice Routine
- Five minutes of line and circle warm-up before every session
- Two blind contour sessions to sharpen observation
- Two sessions drawing household objects from basic shapes
- One session dedicated to light and dark shading on a single object
- One page of quick sketches every day in your sketchbook
- Review the past week's work at the end of each week
- Drawing is an observation skill anyone can train from scratch by reading shape and shadow
- Master five basics in order: observing, controlling the line, building basic shapes, measuring proportion, then shading
- Practicing 15 to 20 minutes daily gives more lasting results than the occasional long session
- Beginner supplies only need 2B and HB pencils, a sketchbook, a kneaded eraser, and a sharpener