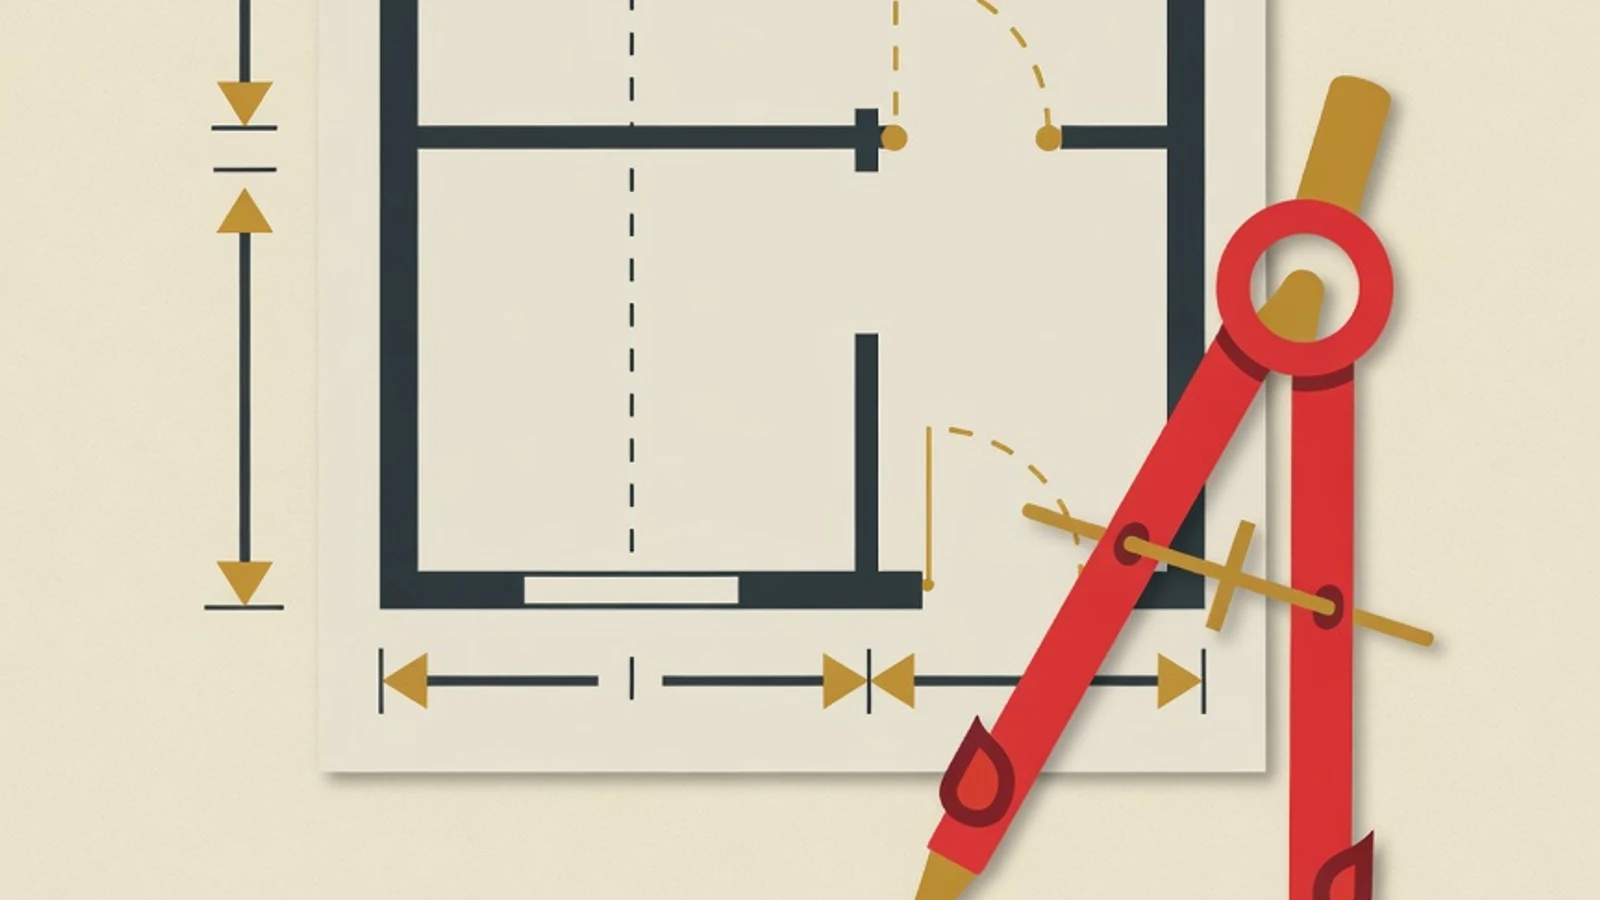
Drawing a house floor plan in AutoCAD begins with setting your drawing units, preparing separate layers, then tracing wall lines with the Line and Offset commands. Once the room structure takes shape, add doors, windows, dimensions, and notation. A plan drawn at 1:100 scale keeps measurements easy to read once the house is built.
- Set millimeter units so one drawing unit equals one real millimeter
- Build walls from centerlines using a mix of Line and Offset
- Keep walls, doors, dimensions, and text on separate layers
- A rough sketch of the plan with room sizes
- A list of wall, door, and window dimensions
- A new AutoCAD file set to millimeter units
BWhat makes an AutoCAD floor plan accurate
A floor plan is a top-down view of a building sliced about one meter above the floor, so walls, doors, and windows appear in their true positions. When you draw a house floor plan in AutoCAD, numerical precision is what decides the result. A wall drawn as 300 on screen reads as 30 centimeters if the units are millimeters, and that figure is what the builder later uses on site. Three foundations keep a drawing accurate. First, consistent units from the moment the file opens. Second, the use of coordinates and Object Snap so every line meets at the correct point. Third, well-organized layers so walls, dimensions, and furniture can carry their own line weight and color. A tidy house floor plan grows out of the habit of arranging these three things before the first line is drawn.
Steps to draw a house floor plan in AutoCAD
Follow this order to build a simple house floor plan, from an empty file to a scaled drawing. Practice each step on your own sketch so the numbers stick.
Set units and the drawing environment
Open a new file, type the UNITS command, then choose Decimal length and set Insertion scale to Millimeters. Millimeters are chosen because architectural drawings in Indonesia commonly use them, and the numbers become whole values that are easy to read. Once units are ready, turn on Object Snap with F3 and make sure Endpoint, Midpoint, and Intersection modes are active. Turn on Ortho with F8 so horizontal and vertical lines stay locked straight. A correct environment at the start keeps the whole process of drawing a house floor plan smooth.
- Type Z then E (Zoom Extents) any time the drawing drifts off screen
- Save the file as a template so unit settings never need repeating
Prepare a layer for each element
Type LAYER to open the Layer Properties Manager, then create separate layers for Centerline, Wall, Door-Window, Dimension, Furniture, and Text. Give each layer a distinct color so elements are easy to recognize on screen, and set the wall line weight heavier than the furniture. Layers separate the job of each line, so you can hide furniture when you want to check the wall structure alone. Arranging layers early keeps a house floor plan readable even as the drawing grows dense.
- Color the Dimension layer with a contrasting hue so figures are easy to check
- Lock the Centerline layer once the structure is done so guide lines cannot shift
Draw centerlines as the room framework
Switch to the Centerline layer, then draw the axis lines marking the center of each wall using the LINE command. Type the length directly, for example point the cursor to the right and type 3000 for a three-meter-wide room. Centerlines become the backbone of the plan because every wall later references these axes. Build the large outline for the house boundary first, then divide it into rooms with additional centerlines. Working from centerlines makes the proportion between rooms easy to control.
Form walls with Line and Offset
Switch to the Wall layer. Run the OFFSET command, enter half the wall thickness, for example 75 for a 15-centimeter wall, then click the centerline and point to both sides. The result is a pair of parallel lines forming the wall body. According to Autodesk documentation, Offset creates a parallel object at the distance you specify, which makes this command the fastest way to give thickness to every wall. Repeat for each axis until the plan is wrapped in doubled wall lines.
- Note down the offset values you use often so wall thickness stays consistent
- Use the same offset for exterior and interior walls when their thickness matches
Clean wall junctions with Trim and Extend
After walls are offset, corner junctions will cross each other. Run TRIM to cut lines that overshoot a corner, and EXTEND to lengthen lines that have not yet met. Press Enter after choosing the command so all lines act as cutting edges, then click the part of the line you want removed. This process makes every room corner join cleanly into a correct L or T shape. A house floor plan that looks tidy is almost always the result of careful Trim and Extend work at each wall junction.
Add doors, windows, and openings
Switch to the Door-Window layer. Use OFFSET to mark the position of openings on a wall, then TRIM the wall section that becomes the door gap. Draw the door leaf as a straight line and its swing direction as an arc using the ARC command, so it reads as a standard door symbol. For windows, draw two or three thin lines crossing the wall thickness. Once a door symbol is neat, copy it to other openings with COPY, then turn it with ROTATE or flip it with MIRROR to match the swing direction.
- Save the door symbol as a Block so it can be reused across the plan
- Bedroom doors are usually 80 to 90 centimeters wide, the main door around 90 centimeters
Add dimensions, room labels, and hatching
Switch to the Dimension layer, then run DIMLINEAR to add the length of each room and the wall thickness. Add room names such as Bedroom or Kitchen using the TEXT command on the Text layer. To distinguish brick masonry walls, fill the wall body with a hatch pattern through the HATCH command. Complete notation lets a house floor plan be read by others without spoken explanation. Make sure the text height and dimension figures are large enough to stay readable once the drawing is printed.
- Group dimensions on a single dimension line at the edge so they do not overlap
- Use the same text style across the plan for a consistent look
Set the scale and prepare printing in Layout
Move to Layout space, then create a viewport with the MVIEW command. Double-click into the viewport and set the display scale to 1:100 from the scale list at the bottom right. This scale means every one centimeter on paper represents one meter in the real world. Lock the viewport so the scale does not change when panned. Add a title block with the project name and scale, then print through PLOT to A3 or A4 paper. A house floor plan printed at the correct scale is ready to serve as a site reference.
Essential layers in a house floor plan
Centerline and Grid
Wall center axis lines that anchor the whole drawing. Locked once the structure is done.
Wall
Doubled lines from Offset forming the wall body. Given the heaviest line weight.
Door and Window
Opening symbols with door leaf, swing arc, and window glass lines.
Dimension
Room length figures and wall thickness, placed on a dimension line at the edge.
Furniture
Symbols for beds, tables, and sanitary fixtures to show the room layout.
Text and Notation
Room names, material notes, and drawing titles in one uniform text style.
Core commands and their role in a floor plan
| Command | Alias | Role in the plan |
|---|---|---|
| Line | L | Draws centerlines and basic straight lines |
| Offset | O | Forms wall thickness from the centerline |
| Trim | TR | Cuts excess lines at corner junctions |
| Extend | EX | Lengthens lines to meet another wall |
| Dimlinear | DLI | Adds length and wall thickness measures |
| Mirror | MI | Duplicates a door symbol as a mirror image |
| Hatch | H | Fills the wall body with a pattern |
Mastering these seven commands is enough to complete a simple residential floor plan.
The most common mistake when drawing a house floor plan is matching the on-screen size to the paper size. Always draw at real size, one to one, in Model space. The 1:100 scale is set later on the viewport in Layout space.
- Units are not set to millimeters, so wall figures read incorrectly
- Objects are resized with the SCALE command to fit paper, ruining true dimensions
- Text height is too small, so dimensions become unreadable after printing
Two ways to build walls
- Easy for beginners to grasp, with clearly visible steps
- Flexible for walls of varying thickness
- Corners can be cleaned freely with Trim and Extend
- Needs an extra command to lock wall width in one pass
- Multiline corners require the special MLEDIT command to clean
- Less flexible when one wall segment needs a different thickness
“A clean floor plan is almost always built from centerlines first. When students get used to drawing axes before walls, dimension errors at room corners drop sharply and the drawing process feels calmer.”
Check before the plan is printed
- Units are millimeters and every dimension is drawn at real value
- Every wall corner joins cleanly with no gap or overshooting line
- All rooms have a name and a readable length dimension
- Door symbols show the correct swing direction
- Elements sit on the right layer with proper color and line weight
- The 1:100 scale is set on the Layout viewport and the viewport is locked
- An AutoCAD house floor plan is built from centerlines, then walls are formed by offsetting to both sides of the axis
- Millimeter units and separate layers keep the drawing accurate and readable
- Always draw at real size in Model space, and set the 1:100 scale on the Layout viewport
- Seven core commands, Line, Offset, Trim, Extend, Dimlinear, Mirror, and Hatch, are enough for a simple house plan