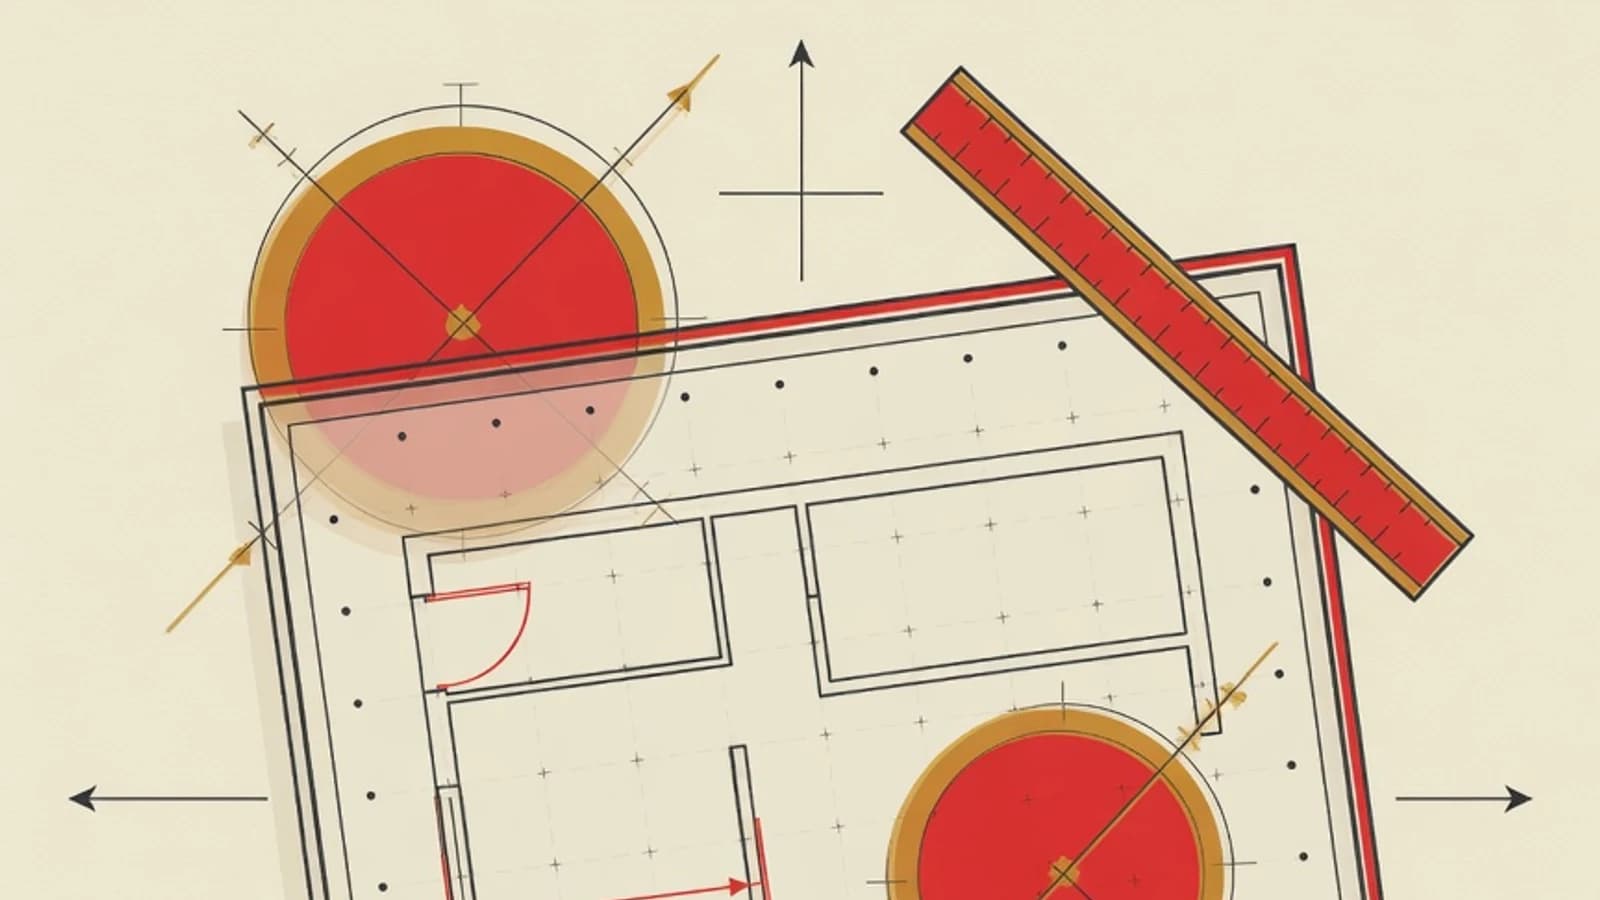
Learning AutoCAD 2D for beginners starts with mastering how to enter coordinates, using core drawing commands such as Line and Circle, then cleaning up the result with Offset, Trim, and Fillet. Switch on the precision aids (Object Snap, Ortho, Polar Tracking) so every line stays accurate, arrange objects on layers, add dimensions, and practise by replicating genuine technical drawings.
- Three ways to enter 2D coordinates: absolute, relative, and polar
- Seven core commands for drawing and modifying objects
- Object Snap, Ortho, and Polar Tracking keep every point accurate
- AutoCAD student or trial version already installed
- One 2D technical drawing to replicate (a small floor plan or simple part)
- Notes listing the commands and coordinate-entry formats
The 2D Groundwork to Master First
What AutoCAD 2D Drawing Means for Beginners
Drawing in 2D with AutoCAD means placing lines, circles, and arcs on a flat plane at the correct size from the very start. Unlike sketching freely on paper, every object in AutoCAD carries an exact coordinate, so the drawing can be printed to scale and read by production machines and project teams alike. For beginners, the 2D foundation covers the largest share of a drafter's daily work. House plans, building sections, installation diagrams, and steel connection details all begin as two-dimensional drawings. Once your 2D drawing habits are precise, moving on to 3D modelling feels lighter because the logic of coordinates and layers is already in place. The key to learning AutoCAD 2D is a handful of core commands used repeatedly, supported by precision aids that snap your cursor exactly onto the point you intend. The rest is practice hours: the more you copy real drawings, the faster your hand recognises the rhythm.
The AutoCAD 2D Drawing Workflow, Step by Step
Follow this order every time you start a new 2D drawing. These six steps build a tidy, measurable drafting habit.
- Step 1
Set units and drawing area
Before drawing your first line, set the drawing units through the UNITS command. Choose millimetres for mechanical work or metres for architecture, matching your project's convention. Then picture the workspace: beginners usually draw at full scale (1 unit equals 1 millimetre in the real world) and adjust scale only when printing. Drawing at real size lets dimensions read the correct values automatically. Zoom with the mouse wheel and use ZOOM Extents (type Z then E) to see the whole drawing whenever you lose your place.
Tips- Save the file early with a clear name, then press Ctrl+S regularly
- Set units once at the start so every object stays consistent
- Step 2
Master the three coordinate-entry methods
2D precision rests on how you tell AutoCAD where a point sits. Three methods are used interchangeably. Absolute coordinates state the position relative to the origin, written X,Y (for example 100,50). Relative coordinates measure distance from the last point, prefixed with @ (for example @60,0 moves 60 units to the right). Polar coordinates use a distance and angle, written @distance<angle (for example @80<45 means 80 units at a 45-degree angle). According to official Autodesk documentation, all three can be used within the same drawing command. Practise by drawing a rectangle with relative coordinates, then repeat it using polar so you get used to switching methods as the shape requires.
Tips- Start with relative coordinates for horizontal and vertical lines
- Use polar coordinates when drawing slanted lines at a set angle
Forgetting the @ symbol makes AutoCAD read the numbers as absolute coordinates, so the object jumps far from its intended position. - Step 3
Draw objects with the core commands
Most 2D drawings are built from four drawing commands: Line (L) for straight lines, Circle (C) for circles, Arc (A) for arcs, and Rectangle (REC) for boxes. Type the shortcut at the command line, press Enter, then follow the prompts that appear. For a line, set the start point, enter the next point's coordinate, and press Enter to finish. For a circle, click its centre and enter the radius. Train your eyes to read the command line, because that is where AutoCAD tells you which step it is waiting for. Draw the object's framework first as main lines, then add details such as holes and curves.
Tips- Memorise the shortcuts L, C, A, and REC since they are used most
- Press Enter or the spacebar to repeat the last command
- Step 4
Switch on the precision aids
Three aids in the status bar preserve your drawing's accuracy. Object Snap (Osnap, key F3) makes the cursor stick to important points such as a line's Endpoint, Midpoint, and a circle's Center. Ortho (F8) locks cursor movement to horizontal and vertical only, making perfectly straight lines easy. Polar Tracking (F10) shows guides at set angle increments, for example every 15 or 45 degrees. Keep Osnap on permanently and set the modes you use often by right-clicking its icon. With these aids you draw quickly while staying connected to exactly the right point.
Tips- Enable at least Endpoint, Midpoint, Center, and Intersection in Osnap
- Use Ortho for straight lines, and turn it off briefly when you need a free angle
Too many Osnap modes active at once make the cursor struggle to grab the point you want. Pick the few modes you genuinely need. - Step 5
Clean up with Offset, Trim, and Fillet
Technical drawing rarely finishes in a single pass. Three modify commands speed up your work. Offset (O) creates a parallel copy of a line at a set distance, ideal for wall thickness or guide lines. Trim (TR) cuts back excess line ends until they meet another object's edge, while Extend (EX) lengthens them until they touch another line. Fillet (F) joins two lines with a set radius curve, or merges a sharp corner cleanly when the radius is zero. Practise this working pattern: pull guide lines with Offset, cut the excess with Trim, then smooth the corner with Fillet. Together these three finish most 2D shapes.
Tips- After starting Trim, press Enter once so every object becomes a cutting edge
- Set the Fillet radius to zero to tidy two lines into a clean right angle
- Step 6
Arrange layers, add dimensions, then prepare to print
A tidy, readable drawing separates lines into layers by function: walls, dimensions, guide lines, and text each sit on their own layer with a distinct colour. Create layers through Layer Properties (type LA), then move objects by selecting them and changing the active layer. Once the shape is complete, add sizes with dimension commands such as DIMLINEAR for straight distances and DIMALIGNED for slanted lines. Because you drew at real size, the dimension figures appear automatically and correctly. Finally, set scaled printing through a Layout and viewport, for example 1:100 for a floor plan, so the paper result is proportional and ready to share with the project team.
Tips- Give layers descriptive names and contrasting colours so they read easily
- Check the scale on the Layout before printing so dimensions appear proportional
Core 2D Commands and Their Functions
Line (L)
Draws a straight line between points, the backbone of almost every 2D drawing.
Circle (C)
Creates a circle from a centre and radius, the basis of bolt holes and shafts.
Rectangle (REC)
Draws a box from two corner points, handy for plates and rooms.
Offset (O)
Copies an object parallel at a fixed distance, ideal for wall thickness.
Trim (TR)
Cuts back excess lines until they meet another object's edge.
Fillet (F)
Joins two lines with a radius curve or tidies a right-angle corner.
The Three 2D Coordinate Methods You Use Most
| Method | Format | Best for |
|---|---|---|
| Absolute | X,Y (e.g. 100,50) | Setting a point relative to the drawing origin |
| Relative | @X,Y (e.g. @60,0) | Horizontal and vertical lines from the last point |
| Polar | @distance<angle (e.g. @80<45) | Slanted lines at a specific angle |
All three can be used interchangeably within a single drawing command as the shape requires.
2D Drawing Readiness Checklist
- Drawing units are set to match the project's needs
- All lines join cleanly with no gaps at ends that should meet
- Objects are split into layers by function
- Dimensions are placed and show the correct figures
- The file is saved and the print scale is set on the Layout
“Precision in AutoCAD 2D grows from small habits repeated: entering coordinates deliberately and letting Object Snap guide the cursor. Beginners who work through the six core steps are usually comfortable copying simple technical drawings within a few weeks.”
- Learning AutoCAD 2D rests on three ways to enter coordinates: absolute, relative, and polar.
- Seven core commands (Line, Circle, Rectangle, Offset, Trim, Extend, Fillet) finish most technical drawings.
- Object Snap, Ortho, and Polar Tracking keep every point accurate.
- Drawing at real size makes dimensions correct automatically and scaled printing easy.