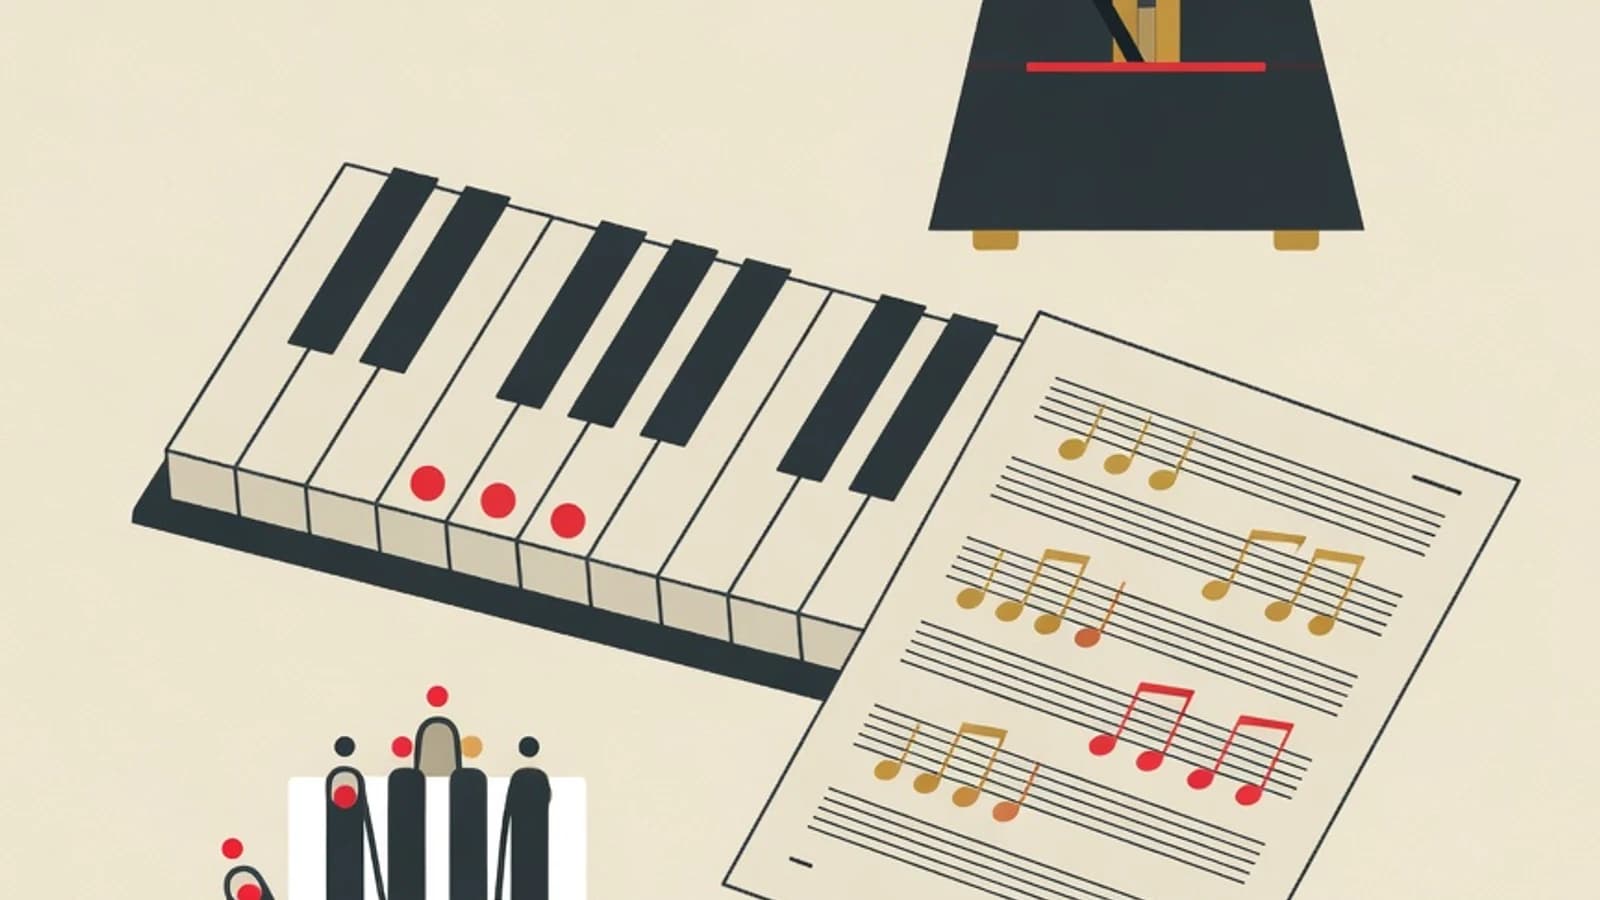
How to train two-hand coordination on piano starts with strengthening each hand separately, understanding the melody role in the right hand and the accompaniment role in the left, then combining them at a very slow tempo with a metronome. These seven stages take roughly three to six months with short, regular daily practice.
- Master each hand on its own until fluent before joining them together
- Practice at a very slow tempo, because speed grows from repeated accuracy
- Break a song into short phrases and stack them little by little into one whole piece
- An acoustic piano or a keyboard with at least 61 keys so the range fits both hands
- A metronome, either a physical device or a phone app, as an honest tempo keeper
- Sheet music for a simple song with clear right-hand melody and left-hand accompaniment
- A fixed practice schedule, around 20 to 30 minutes every day works better than an occasional long session
Why Two-Hand Coordination Feels Hard at First
Understand First What You Are Actually Training
The left and right hands on a piano often do different things at the same moment. The right hand usually carries the melody, the main line of notes that is easy to sing. The left hand carries the accompaniment, made of chords, a bass pattern, or a supporting rhythm. A beginner's brain is used to moving both hands in the same pattern, like clapping, so separating their tasks feels stiff in the early weeks. The skill you are building is called hand independence, the ability of each hand to work on its own according to its role. This skill grows through patient repetition and honest tempo, and it is open to anyone without special talent. The roadmap below lays out a clear order of practice, so you strengthen the foundation of each hand first before asking both to move together.
Seven Stages to Train Two-Hand Coordination on Piano
Work through them in order. Each stage builds on the one before, and each stage forms a habit that makes combining both hands feel lighter.
- 1
Stage 1: Strengthen Each Hand Separately
Before joining them, make each hand fluent on its own. Play the right-hand part repeatedly until your fingers know the path with little need to watch the keys, then do the same for the left hand. Finger exercises such as scales and Hanon patterns help the left hand, usually the weaker one for right-handed people, become quicker and more even. The goal of this stage is simple: both hands feel comfortable playing their own part separately. Set aside one to two weeks to let your fingers settle before asking them to move together.
Tips- Give extra attention to the left hand, since it most often lags behind
- Memorize each hand's finger pattern first so your eyes stay calm when you combine them
- 2
Stage 2: Learn Each Hand's Role in the Song
Look at the sheet music and mark what each hand does. Usually the right hand holds the melody in the treble clef, while the left hand holds the accompaniment in the bass clef as chords or a bass pattern. Being aware of these roles makes combining them feel logical, because your ear knows which sound should stand out and which should support. Sing the right-hand melody while tapping the left-hand rhythm on a table, a light exercise that trains your brain to hold two different lines without touching the keys. This clarity of roles becomes your map when both hands start to join.
Tips- Mark the melody and accompaniment on the score with a pencil so they read easily
- Practice tapping two different rhythms on a table, left and right, as a coordination warm-up
Combining both hands without understanding each role often lets the left-hand accompaniment cover up the melody that should be heard clearly. - 3
Stage 3: Combine at a Very Slow Tempo
This is the key stage. Set the metronome at a tempo that feels almost too slow, around 40 to 60 beats per minute, then play both hands together one beat at a time. A slow tempo gives your brain time to decide when each finger drops, so coordination forms correctly from the start. If one spot always stumbles, stop there and repeat only those two or three beats until they are smooth. This patience at a slow tempo is what later produces speed, because your fingers repeat the correct motion until it becomes an automatic habit.
Tips- Choose a tempo that lets you play the hardest part without stopping
- Repeat sticking points on their own, avoid always restarting from the beginning of the song
Raising the tempo before the motion is clean only cements mistakes, and a mistake already recorded is far harder to fix. - 4
Stage 4: Break the Song Into Short Phrases
Combining a whole song at once feels heavy for a beginner. Break the song into pieces of two to four bars, then master one piece with both hands before moving to the next. This way of breaking things up is called chunking, and it works because the brain masters one small, finished unit more easily. Once two neighboring pieces are each fluent, connect them into one flow. Keep stacking piece after piece until the whole song joins up. This method makes progress feel real every day, which keeps your practice motivation strong.
Tips- Master one piece until smooth before adding the next
- Practice the joins between pieces on purpose, since the seams are where stumbles often happen
- 5
Stage 5: Train Rhythmic Independence Between Hands
Many songs ask the right and left hands to move in different rhythms, for example a flowing melody while the bass walks calmly beneath it. Train this independence with simple patterns first: the left hand plays one note per beat while the right hand plays two notes per beat. Feel how they meet on the same beat and then part again. Clap or tap this pattern on a table before moving it to the keys. Trained rhythmic independence lets you play richer accompaniment while the two hands move freely alongside each other.
Tips- Start from a two-against-one pattern before touching anything more complex
- Count out loud while practicing so both hands stand on the same beat
- 6
Stage 6: Raise the Tempo Gradually
Once the whole song plays cleanly with both hands at a slow tempo, only then raise the speed little by little. Add five beats per minute on the metronome, play until smooth, then add five more. This gradual increase protects the accuracy you have built. If your playing starts to fall apart at a certain tempo, drop back down and steady it before stepping up. The goal is to reach the song's original tempo while the playing stays tidy, keeping every note clean as you go faster. Record your playing now and then to hear whether both hands truly move as one.
Tips- Raise the tempo in small steps, around five beats per minute each time
- Drop the tempo without hesitation when a mistake appears, this is a sign of healthy practice
Jumping straight to full tempo usually leaves one hand behind and scatters the coordination you built with such effort. - 7
Stage 7: Apply It to a Full Song and Expression
The final stage brings everything you trained into one whole, pleasant performance. Play the entire song from beginning to end with both hands, keep the tempo steady, then add color: let the right-hand melody stand slightly above the left-hand accompaniment, and shape loud and soft dynamics to match the mood of the song. This is where coordination bears fruit as living music. Choose a few new songs with gradually rising difficulty so your skill keeps growing. Every new song you finish with both hands strengthens the coordination habit, so the next song feels easier than the last.
Tips- Balance the sound, keep the right-hand melody a touch stronger so the tune reads clearly
- Pick a slightly harder next song to keep your progress moving forward
Time Estimate for Each Group of Stages for Beginners
Foundation of Each Hand
Strengthening the right and left hands separately and learning the melody and accompaniment roles. Roughly three to six weeks of regular practice.
Combining Both Hands
Joining both hands at a slow tempo, breaking the song into short phrases, and training rhythmic independence. About two to three months.
Speed and Expression
Raising the tempo gradually then playing the full song with sound balance and dynamics. Roughly one to two months.
Three Ways to Train Coordination and How They Differ
| Path | Strengths | What to Prepare |
|---|---|---|
| Self-study with videos | Free or cheap, free to set your own pace | Hand-position mistakes often slip by without correction |
| Piano method book | A neat, gradual order of exercises | Needs discipline to read and translate it to the keys yourself |
| Private lessons with a teacher | Finger position corrected directly, practice tempo guided | Needs a fixed schedule and an agreed session fee |
Many beginners blend self-study for the foundation of each hand with a teacher's guidance once they start joining both hands on a song.
“The beginners who reach two-hand fluency fastest are the ones who practice at a very slow tempo without embarrassment. Speed arrives later as a reward for hundreds of correct repetitions, earned through patience from the very first day.”
Two-Hand Coordination Checklist
- Each hand plays its part fluently on its own with little need to watch the keys
- You can join both hands on one phrase at a slow tempo cleanly
- The right-hand melody sounds clearer than the left-hand accompaniment
- You can raise the tempo gradually without one hand falling behind
- You can play one whole song with both hands from start to finish at a steady tempo
How Much Does Learning Piano at EduPoint Cost
The guided learning path stays affordable. Piano lessons at EduPoint start from Rp 110,000 per session for online lessons, and from Rp 140,000 per session for in-person lessons. Small groups of two to three students are also available from Rp 95,000 per student. The final price adjusts to your learning goal, location, and lesson format. For beginners who want to work through the coordination stages above with guidance, a teacher corrects hand position and practice tempo directly, so mistakes never settle into habits. The mentor tailors the emphasis to your starting point, helping you through the hardest moment when both hands first come together.
- Two-hand coordination is built by strengthening each hand separately first before joining them
- The right hand usually carries the melody and the left carries the accompaniment, two roles moving together
- Combining is done at a very slow tempo with a metronome so the correct motion is recorded from the start
- The song is broken into short phrases, mastered one by one, then stacked into a whole piece
- Speed arrives gradually as the fruit of correct repetition, protected by raising the tempo little by little