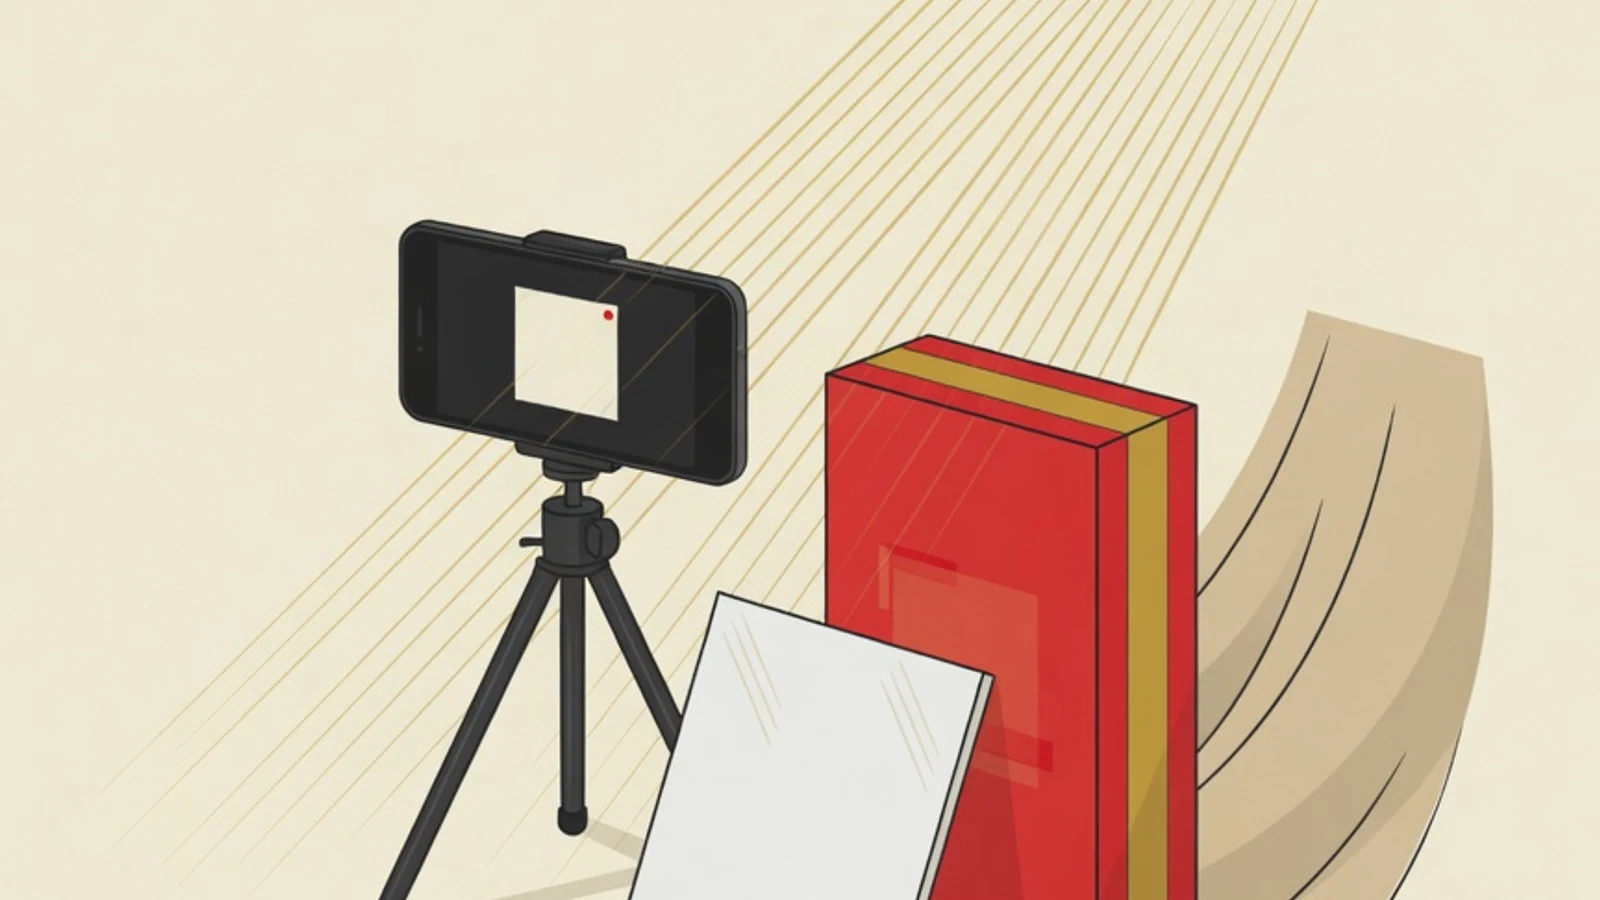
How to photograph products for online selling with simple gear rests on three cheap ingredients: softened window light, a clean plain backdrop, and a phone camera with locked focus. Place the product near a window with light coming from the side, fill the shadow with white paper, then take a square photo and tidy it in a free app.
- Softened window light already replaces studio lamps for everyday product photos
- A plain sweep backdrop and a white paper reflector make the product look clean and stand out
- A square ratio plus light editing on the phone gets the photo tidy for marketplaces
- A phone whose camera can lock focus and adjust brightness manually, already plenty for everyday catalogue photos
- One window that receives bright daytime light without direct sun striking the product, serving as a soft main light source
- A large sheet of white paper or plain cloth for a clean backdrop, curved into a sweep so no corner line shows behind the product
- A second white sheet or a board covered in aluminium foil as a reflector to fill the shadow on the darker side
Starting Budget for Product Photos for Online Selling
Honest Product Photos Build Buyer Trust
A product photo is an image of merchandise made specifically to show the shape, colour, and detail of an item clearly to a prospective buyer. In a physical shop the buyer can hold the item, while in online selling the photo becomes the only basis for judgement before someone decides to pay. That is why an evenly lit photo with honest colour and a clean backdrop lowers doubt and cuts down long back-and-forth questions. Many new sellers assume good results demand an expensive camera or a rented studio. In reality, the main factors behind a tidy product photo are the quality of the light, the cleanliness of the backdrop, and the accuracy of the colour. All three are reachable with window light, a sheet of white paper, and the phone already in your pocket. This guide stresses the habit of shaping light and backdrop, because that habit is what makes photos look professional even on simple gear.
Six Steps to Photograph Products with Window Light and a Phone
Work through them in order within one session. Each step arranges one important part, from the light source to the final upload-ready photo, and you can repeat it whenever new stock arrives.
- 1
Step 1: Choose a Window and Soften Its Light
Look for a window that receives bright daytime light without direct sun striking the product. Direct light creates harsh shadows and blinding glare, while shaded, scattered light wraps the product softly. If the sun is too strong, hang a thin white cloth or tracing paper across the window as a diffuser so the incoming light becomes even. Place a small table near the window and let the light come from the side of the product, because side light brings out texture and form. Test first by placing one item on the table, then watch the direction of its shadow before arranging the backdrop. The best time is usually late morning or afternoon, when light is still bright but not scorching.
Tips- Turn off yellow room lamps when shooting with window light, because mixing two colours of light makes product colour hard to correct
- If the shadow on one side is too dark, move the product slightly away from the window so the light spreads more evenly
Shooting with direct sun coming through the window produces burnt highlights and sharp shadows. Soften it first with a thin white cloth before you start. - 2
Step 2: Build a Clean Backdrop Without Corner Lines
A cluttered backdrop pulls attention away from the product, so provide a plain, calm background. The cheapest way is a sweep: a large sheet of white paper taped to the wall at the back and then pulled in a gentle curve onto the table. This curve removes the meeting line between wall and table, so the backdrop looks seamless without a distracting corner. White is the safest colour because it is neutral and bounces light back onto the product, though light grey or kraft paper also works for bright-coloured items. Make sure the paper is free of creases and dust, because a fold mark will show clearly in the photo. For small items like jewellery or cosmetics, A3-sized paper is enough, while medium items like a bag need wider paper or cloth.
Tips- Clip the paper with pegs or tape on the side the camera cannot see so the sweep curve stays neat
- Iron or hang the cloth backdrop overnight so its wrinkles disappear before you shoot
- 3
Step 3: Set Phone Camera and Lock Focus and Brightness
Open the built-in camera app and turn on the grid guide to make composition easier. Set the photo ratio to square if you target the marketplace display, or take the full ratio and crop later. Tap the screen right on the product to lock focus, then hold until the focus and exposure lock (AE/AF lock) appears so the camera does not keep shifting bright and dark as your hands move. Once locked, slide the brightness slider a little until the white backdrop looks clean without turning grey. Avoid digital zoom because forcing the image larger reduces sharpness. Move the phone closer to the product instead. Keep the lens clean by wiping it gently with a soft cloth, since a thin oily smudge makes the photo hazy and hides detail.
Tips- Turn on HDR mode so bright and dark areas are recorded in balance, useful for glossy products
- Set a two-second timer or use the volume button as a shutter so the photo does not shake when you press the screen
The phone flash fired straight at the product creates harsh glare and pale colour. Turn off the flash and rely on window light. - 4
Step 4: Arrange the Product and Plan Shooting Angles
Clean the product of dust, fingerprints, and price tags before arranging it, because these small details are the first things to appear in a sharp photo. For the main photo, take an angle of around forty-five degrees because it shows the front side and the top of the product at once, similar to how the eye views an item on a table. Apply the rule of thirds by placing the product slightly off centre so the composition feels roomy, except for a straight catalogue photo that instead calls for the product dead centre. Prepare several different angles in one session: one straight front view for the cover, one forty-five degree angle for a sense of space, one top view or flat lay for flat items, and a few close-ups for texture, stitching, or material label. This range of angles gives buyers a complete picture and reduces questions through messages.
Tips- Use a bit of modelling clay or a small prop behind the product so it stands upright without the camera seeing it
- For flat lay, shoot from directly above and align the frame edges with the grid so it does not tilt
- 5
Step 5: Fill Shadows with a Reflector and Take Many Variations
Light from a single window will leave the side of the product far from the window dark. This is where a reflector works. Stand a sheet of white paper or a foil-covered board on the dark side, facing back toward the light, so the rays bounce back and fill the shadow. Foil gives a stronger bounce, while white paper gives a softer one. Slide the reflector nearer or farther while watching the screen until the remaining shadow feels natural and keeps a touch of darkness, because a little shadow actually gives a sense of form. Once the light feels right, take many photos from each angle with slight variations of distance and camera height. Shooting extra on the spot is far cheaper than rearranging the whole session just because one photo turned out soft.
Tips- For a simple light box, cut two sides of a used cardboard box and cover them with tracing paper as diffusing walls on the left and right
- Check the result by zooming into the photo on the phone screen to confirm the focus point lands on the important part of the product
Forcing every shadow away makes the product look flat and glued to the backdrop. Leave a thin gradient of shadow so its shape reads clearly. - 6
Step 6: Edit Lightly and Match Your Shop Style
Editing perfects a photo that is already good, without changing the product itself. Open Snapseed free, start with the crop tool to set the photo to a square ratio and straighten it if slightly tilted. Raise brightness and contrast just enough, then fix the white balance until the white backdrop truly looks white and the product colour matches the real item. Use the healing tool to remove dust or small marks on the backdrop, and hold back from injecting excessive colour that disappoints buyers when the item arrives. If the marketplace demands a clean white backdrop, GIMP on a computer can clean it to an even white. Finally, match the style across all shop photos: use a similar backdrop, angle, and brightness level on every product, so your selling page looks neat and orderly like a catalogue.
Tips- Save one favourite editing preset in Snapseed and apply it to every photo so colour and brightness stay consistent
- Export at high resolution and avoid re-saving many times, because repeated compression lowers sharpness
Raising colour saturation loudly makes a photo look tempting yet misleading. Honest colour protects reviews and buyer trust.
Product Angles to Prepare per Item
Straight Front View
The product shot at eye level with a clean backdrop for the cover photo, showing the whole form honestly and easy to recognise in a listing.
Forty-Five Degree Angle
The camera aimed diagonally from above front so the side and top surface show at once, giving a sense of space like viewing an item on a table.
Top View or Flat Lay
Taken straight down from above, ideal for flat items such as clothing, books, or food whose shape reads best from the top.
Texture Close-Up
Highlights stitching, fabric weave, or a material surface so buyers understand the quality and material without needing to ask.
Scale Photo
The product beside an everyday object like a hand or coin so buyers grasp the real size and reduce mistaken assumptions.
In-Use Photo
The product shown being used or in its real setting, helping buyers imagine the benefit of the item in daily life.
Window Light, Homemade Light Box, or Desk Lamp
| Light source | Strength | Best for |
|---|---|---|
| Shaded window light | Free, soft, and honest colour in daytime | Most products in bright weather |
| Homemade cardboard light box | Enclosed even light, backdrop blends white | Small items like cosmetics and jewellery |
| White-toned desk lamp | Usable at night when the window is dark | Quick sessions outside daylight hours |
Pick one light source per session so colours do not mix. Mixing window light and a yellow lamp makes product colour hard to correct while editing.
“A convincing product photo comes from controlled light and honest colour, so a prospective buyer receives a picture of the item just as they will hold it later.”
Checklist Before Pressing the Shutter
- The window gives bright shaded light and the yellow room lamps are switched off
- The sweep backdrop is clean of creases, dust, and corner lines behind the product
- The product is cleaned of fingerprints, dust, and unnecessary price tags
- The phone focus and brightness are locked on the product and the flash is off
- A white paper reflector is ready to fill the shadow on the side far from the window
- The angle plan is complete: cover, forty-five degrees, top view, and detail close-up
Self-Study or Learning with a Mentor
- You can start right away with a phone, window light, and free apps, so the initial cost is nearly zero
- Practising how to shape light and backdrop can be repeated on your own each time you add new stock
- Progress feels immediate as selling photos start to look clean and consistent
- It is hard to judge on your own why a photo feels flat or its colour drifts from the real item
- Wrong habits such as relying on the flash can take root with no one to correct them
- The workflow of shaping window light and a reflector is often only understood after watching an experienced person practise it
When a Mentor Speeds Up Your Progress
Photographing products for online selling can be started on your own, and many sellers have gone far with just window light and a phone. The point where people most often stall is when a photo feels unconvincing yet it is hard to pin down the cause, whether the light, the backdrop, or a colour that has drifted. At EduPoint, photography mentoring runs privately with one teacher and one student, so the practice fits the type of product and the gear you already own. A mentor reviews your photos, points out which parts are too dark or where the colour has shifted, then guides you in arranging window light, reflectors, and the right angle for your merchandise. Schedules can be set from home or online, and payment accepts bank transfer, Virtual Account, QRIS, digital wallets, cards, and even Alfamart and Indomaret.
- Softened window light replaces studio lamps for most product photos
- A plain sweep backdrop and a white paper reflector make the product look clean and stand out
- Lock focus and brightness on the phone and turn off the flash so colour stays honest
- A range of angles per product reduces buyer doubt and questions
- Light editing and a uniform photo style make the selling page look neat