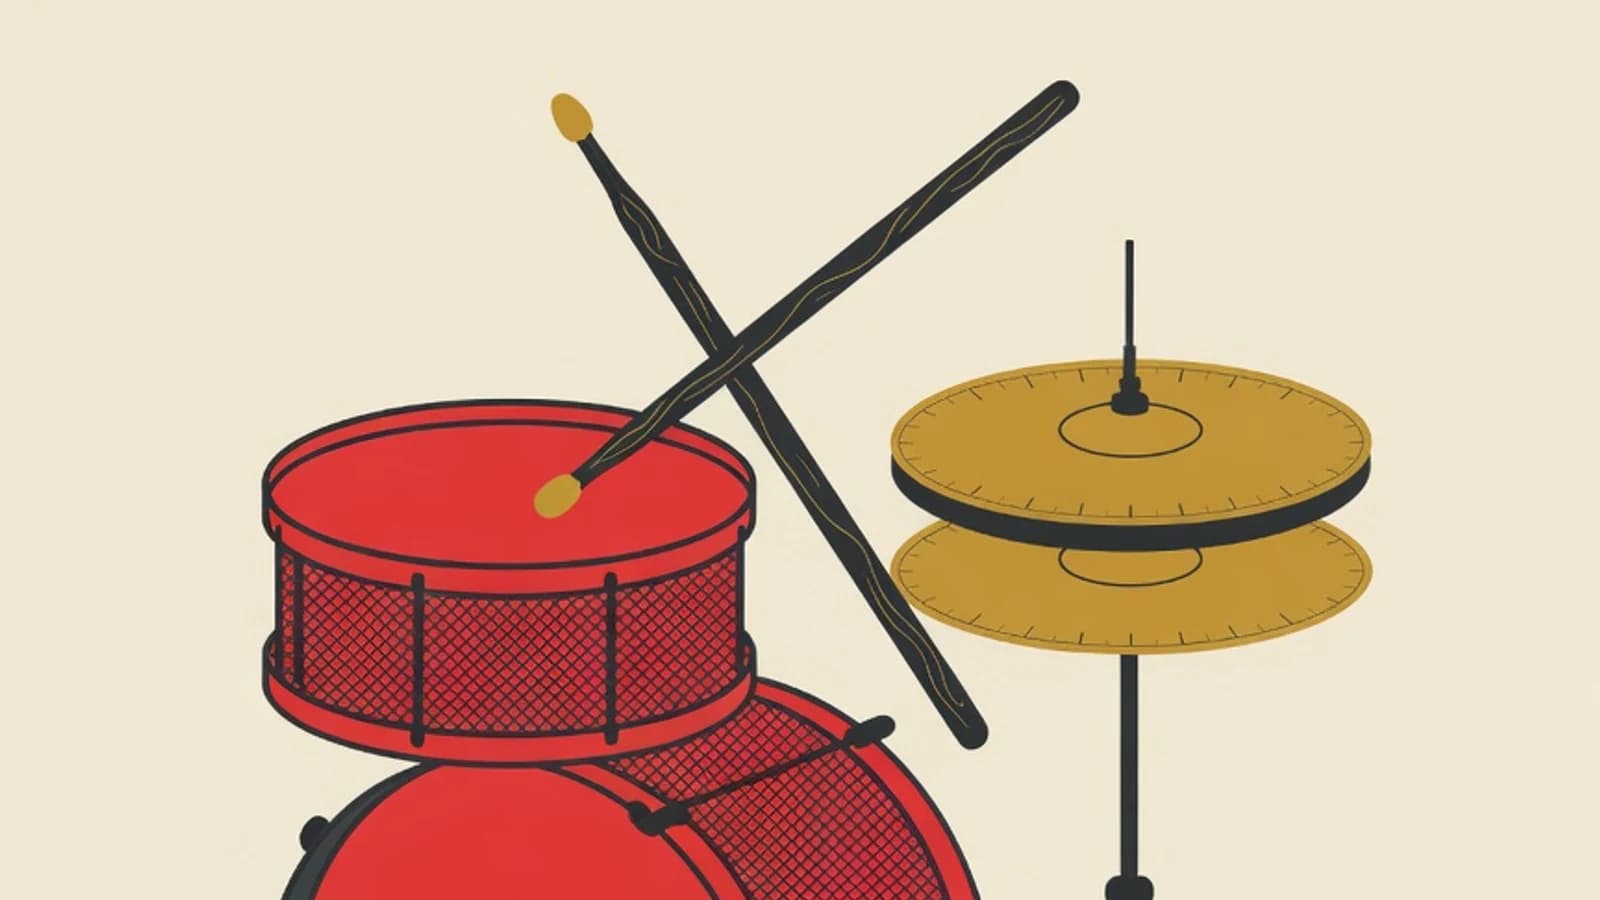
Learning drums from scratch starts with understanding how beats are counted within a four-four bar, then drilling each limb separately before combining them into one full beat. Beginners who build a sense of the beat and basic coordination first play along to songs far more calmly than those who chase fast strokes straight away.
- Master counting one, two, three, four along with the beats in between before touching complex patterns
- Drill the hands and feet separately first, then unite them into the basic rock beat
- The metronome becomes your main guide so timing stays even from week one
- Access to an acoustic kit, an electronic kit, or at least a practice pad with a pair of 5A sticks
- A drum throne set so the thighs slope slightly downward while the feet rest on the pedals
- A pair of maple or hickory 5A drumsticks, the size most commonly used by beginners
- A regular practice slot of 20 to 30 minutes daily, which beats occasional long sessions
Key Numbers Before Learning Drums from Scratch
Why understanding the beat matters more than chasing speed
The drums are the timekeeper of a song. Their main job is to hold the tempo so every other player stays together, which makes the ability to keep the beat even far more valuable than the ability to hit fast. A beginner who understands how to count beats within a bar knows exactly where each stroke lands, and that understanding is what makes their playing sound tidy. One bar in most popular songs holds four beats counted one, two, three, four. Between each of those beats sits an in-between beat read with the linking word and, so the full count becomes one and two and three and four and. This sense of counting becomes the framework where every drum stroke is placed. Without a clear counting framework, even fast strokes will sound messy because their placement is inconsistent. This is where the metronome earns its place from day one. This simple tool ticks a fixed tempo, and the beginner's task is to place each stroke right on top of it. Practising slowly with the metronome builds an internal clock inside the body, which later keeps the player steady even without accompaniment. A matured sense of the beat is the foundation that supports all progress on the drums.
Understanding four-limb coordination
Playing the drum set asks four limbs to work at different times yet stay tied to the same count. The right hand usually strikes the hi-hat or ride to hold the in-between beats, the left hand hits the snare on certain beats, the right foot presses the bass pedal, and the left foot manages the hi-hat opening and closing. This combination feels most challenging at first, because the brain is not yet used to sending different commands to each limb at once. The way through is to break the task apart. Each limb is drilled on its own until its movement becomes automatic, then layered one at a time. Start with the right hand striking the hi-hat along with the count, then add the snare on beats two and four, and finally slot in the bass drum on beats one and three. Layering gradually builds coordination without overloading the brain all at once. Stiffness and limbs interfering with each other in the first week are a normal part of the process. Muscles and nerves are building a new motor memory pathway. Slow, patient practice gives the body time to unite the four limbs, until the basic beat finally flows without needing to be thought through anymore.
7 Steps to Learn Drums from Scratch
These seven steps follow the order drum teachers commonly use: from getting to know the instrument and how to sit, to building a sense of the beat, drilling each limb, then uniting them into a full beat. Finish each step until it feels comfortable before moving up to the next.
- Step 1
Get to know the drum set parts and set your seating position
Before striking, get to know the main parts of the drum set: the snare in the middle as the source of the firm backbeat, the bass drum played with the right foot pedal, the hi-hat made of two cymbals managed by the left foot pedal, the toms above and beside, and the crash and ride cymbals for accents. Then set your seat on the throne. Adjust the seat height so the thighs slope slightly downward when the soles rest on the pedals, the back is upright and relaxed, and both knees open comfortably. Place the snare right between your thighs at waist height. Correct seating lets all four limbs reach every part easily without hunching or tensing.
Tips- Set the snare flat at waist height so your elbows do not need to lift when you strike
- Make sure your heels can rest on the floor or pedals comfortably so your balance stays steady
- Step 2
Hold the sticks with matched grip and use the rebound
The stick grip most common for beginners is the matched grip, where both hands hold the stick the same way. Place the stick across the index finger about one third from the butt end, pinch it gently with the thumb, then let the other fingers wrap around without clenching. The thumb and index pinch point becomes the pivot that lets the stick swing. Instead of pressing the stick into the surface, let it rebound after it meets the snare, like bouncing a ball. This rebound saves energy and produces lighter, faster strokes. A grip that is too tight kills the rebound and quickly tires the wrist.
Tips- Drill the rebound on a practice pad: drop the stick and let it bounce several times from one motion
- Centre the stroke on the wrist so it uses less energy, and let the arm follow along in a relaxed way
Gripping the sticks too tightly kills the rebound and quickly fatigues the wrist. Keep the grip relaxed, as if holding a small bird without hurting it. - Step 3
Build a sense of the 4/4 beat with the metronome
Before arranging any pattern, first plant a sense of the count. Turn on the metronome at a slow tempo of about 60 to 70 beats per minute. Count out loud one, two, three, four along with each metronome click, then clap right on top of it. After that add the in-between beats by saying one and two and three and four and, where the numbers land exactly on the metronome and the word and lands precisely between two beats. This sense of counting becomes the map for where every drum stroke lands later. Counting while clapping lets the body start to feel a steady tempo before the hands even touch the drums.
Tips- Say the count out loud at first, because voicing the beat speeds up understanding
- Start at a slow tempo, and raise the speed gradually once the timing feels solid
- Step 4
Drill each limb separately
Break coordination into small parts so it does not overload the brain at once. Start with the right hand striking the hi-hat eight times in one bar, one stroke exactly on each number and each and, following the metronome. Once that is even, drop the hi-hat and drill the left hand hitting the snare only on beats two and four. Finally drill the right foot pressing the bass pedal on beats one and three. Work each limb on its own until its movement feels automatic and consistent with the metronome. Drilling separately makes each pattern clearly ingrained before combining, so the later combining feels far lighter.
Tips- Be patient here, because a clean pattern for each limb makes the combining step much easier
- Repeat the snare pattern on beats two and four until it feels like an automatic pulse
Skipping the separate drilling stage and jumping straight to combining everything often leaves the timing messy and the limbs interfering with each other. - Step 5
Combine them into the basic rock beat
This is the moment to unite the three voices into the basic rock beat that forms the foundation of thousands of songs. Layer it gradually. Start with the right hand striking the hi-hat on eight beats. Once steady, add the snare with the left hand on beats two and four, known as the backbeat. Finally slot in the bass drum with the right foot on beats one and three. Play very slowly along with the metronome and voice the count while you play so each stroke lands in its place. This basic beat becomes the first framework that opens the door to almost every popular song, from pop and rock to modern local styles.
Tips- Lower the metronome tempo as slow as needed until all three voices land right, then raise it little by little
- If one limb stumbles, briefly drill that limb on its own again, then combine once more
- Step 6
Learn to read simple drum notation
Drum notation is written on a five-line staff, and each position marks a different part of the kit according to the type of stroke, such as the snare, bass, or hi-hat. Commonly the bass drum sits in the lowest space, the snare in the middle space, and the hi-hat is written as a cross above the top line. Note values follow the same rules as other instruments: a quarter note lasts one beat and an eighth note lasts half a beat. Read the basic rock beat in this notation while matching it to what you have already played. Connecting the symbols to the movement lets you learn new patterns and songs from a drum chart without needing to copy someone else first.
Tips- Memorise the three main positions first: bass at the bottom, snare in the middle, hi-hat as a cross on top
- Mark the count one and two and beneath the notation as a reminder of where each stroke lands
- Step 7
Play your first song with a simple groove
Once the basic beat and sense of counting are in place, choose one slow-tempo song you enjoy and play the basic beat along with it. Listen to the song a few times while counting its beats, then come in and play the basic pattern from start to finish. Introduce a simple fill too, a short burst moving onto the toms as a signal for a section change, for example four snare strokes leading to a tom at the end of a bar. Finishing one whole song with a steady beat gives a satisfaction that pushes you up to the next pattern, including bass drum variations, open hi-hat patterns, and other feels such as the shuffle.
Tips- Choose a song with a slow tempo and a steady pattern so the basic beat feels within reach
- Record your own playing now and then to hear which parts still drift off the song's timing
Basic Rudiments That Build the Hands' Vocabulary
Single Stroke Roll
Alternating strokes right left right left, evenly spaced. The most basic rudiment, training the hands to produce balanced strokes and forming the raw material of many fills.
Double Stroke Roll
Two strokes per hand, right right left left, using the stick rebound. It trains rebound control so fast strokes stay light and even.
Single Paradiddle
The pattern right left right right then left right left left. It trains nimble hand switching and is often used to move between parts of the kit.
Choosing a Practice Medium: Acoustic Kit, Electronic Kit, or Practice Pad
| Aspect | Acoustic Kit | Electronic Kit |
|---|---|---|
| Sound volume | Loud, needs a dedicated space | Can be muted with headphones |
| Suited to dense housing | Less neighbour-friendly | Friendly for apartments |
| Stick feel and rebound | Most natural and responsive | Close, depending on pad quality |
| Initial cost | Market estimate varies by brand | Comparable market estimate, plus headphones |
| Quiet rudiment practice | Needs extra dampening | Volume can be turned down |
A rubber practice pad is the thrifty choice for drilling stick rebound and hand rudiments anywhere, and many beginners use it alongside a drum set for quiet practice.
“On the drums, keeping the beat even is far more valuable than hitting fast. Beginners who practise slowly with the metronome and break limb coordination apart one by one usually progress more calmly than those rushing to chase hard patterns. A matured sense of the beat is the most sought-after skill when playing with other musicians.”
Daily Practice Checklist for Beginner Drummers
- Warm up stick rebound and single strokes on the practice pad with the metronome, about 4 minutes
- Drill basic rudiments such as double stroke and paradiddle slowly, about 5 minutes
- Revisit counting the beat while drilling each limb separately, about 5 minutes
- Play the basic rock beat along with the metronome at several tempos, about 6 minutes
- Read and play one new pattern from drum notation, about 3 minutes
- Play the basic beat along to one song you enjoy to close the session, about 2 minutes
- Learning drums from scratch flows most smoothly in this order: understand the count, drill each limb separately, combine into the basic beat, read notation, then play along to a song.
- Keeping the beat even matters more than hitting fast, because the drums serve as the timekeeper of a song.
- Four-limb coordination is built by breaking the task apart and layering patterns one at a time.
- The metronome becomes your guide from day one to plant a steady sense of tempo inside the body.