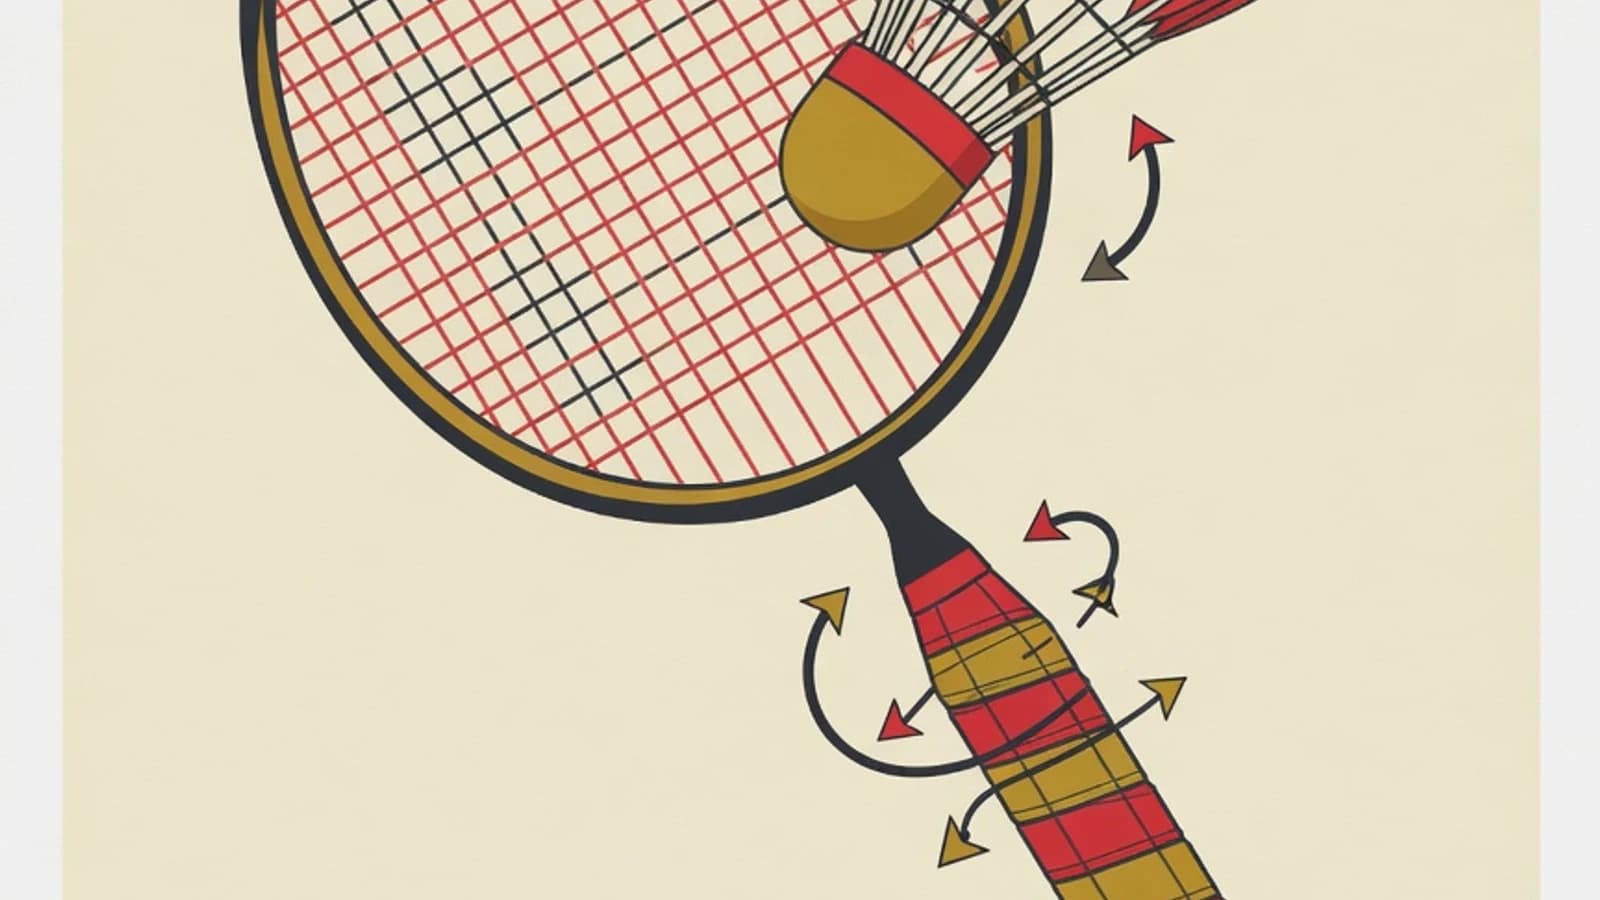
Holding a badminton racket correctly centres on four grips: forehand for shots on the right side, backhand anchored by the thumb for the left side, bevel for soft touches at the net, and panhandle for killing a shuttle right above the tape. Each grip angles the string face differently, so mastering them decides where the shuttlecock flies.
- Learn the four racket grips and the shot each one is built for
- Understand how the fingers rotate the handle when moving from one grip to another
- Drill the grip changes until the hand chooses the right grip on its own
- One light badminton racket around 85 to 90 grams so the fingers can turn the handle easily when changing grips
- A dry grip tape or handle wrap so the palm does not slip once the hand starts to sweat
- A few shuttlecocks, plastic ones work well when you are starting out since they hold up longer
The Numbers Behind the Badminton Racket Grip
Why the type of grip decides the direction of every badminton shot
How you hold a badminton racket sets which way the string face points, and that angle throws the shuttlecock toward its target. Two players with identical swings can produce very different shots simply because their fingers hold the handle another way. That is why the grip is the first thing to sort out before training power or speed. Badminton asks for more than one grip because the shuttle arrives from every angle. A shot on the body's right side needs the string face pointing forward, while one on the left needs the opposite angle. A gentle touch at the net and a sharp kill right above the tape call for yet different holds. From those needs come the four grips that complete one another, each with a clear job. The secret that ties all four together is a small turn in the fingers. Moving between grips happens through a light roll of the thumb and index finger turning the handle inside the palm. The fingers simply roll it, with no need to pull the racket out and re-grip. The more freely the fingers turn the handle, the faster a player matches the grip to the incoming shuttle.
5 Steps to Master the Badminton Racket Grips
These five steps arrange the four grips from the most used to the most specialised, then close with a switching drill. Form each grip until the fingers find it without looking before adding the next.
- Step 1
Form the forehand grip as your base grip
The forehand grip is home to most shots, so start here. Hold the racket in front of you with the string face upright, then grip the handle as if you were shaking a friend's hand. Notice the crease between the thumb and index finger shaping a slim V that sits on the thin top ridge of the handle. The fingers wrap the handle loosely, with the index finger held a touch apart from the rest so it can press when giving direction. Move the racket slowly toward your right so the string face turns to point forward. This grip serves overhead shots like the clear and smash, the flat forehand drive, and forehand shots at the net. Try tapping a shuttlecock upward repeatedly with this grip so the hand memorises its position.
Tips- Set the base of the palm near the bottom end of the handle for maximum reach
- Check the V in a mirror; it should sit along the centre of the top ridge of the handle
Gripping the handle like a hammer, with every finger tight and the index finger glued down, locks the wrist and dulls the shot direction. Give the index finger a little room so the hand can still angle the face. - Step 2
Switch to the backhand grip anchored by the thumb
From the forehand grip, turn the handle a little counter-clockwise for a right-handed player until the thumb lands flat on the wider face of the handle. That flat thumb adds a push, like a lever channelling power into shots on the left side of the body. The other fingers stay loosely wrapped to hold the racket. The backhand grip serves the backhand clear, the flat backhand drive, and drives on the left side. Feel the difference by pushing the racket to your left; the string face now points that way. Drill the forehand-to-backhand switch many times without a shuttle first, simply turning the handle in the fingers while feeling the thumb move from wrapped to pressing flat.
Tips- Imagine the thumb pressing a large button on the handle; that is the position that gives backhand power
- Keep the wrist loose so the push comes from the thumb while the arm stays relaxed
- Step 3
Learn the bevel grip for net shots and the backhand serve
The bevel grip sits between forehand and backhand, formed by resting the thumb on the slanted edge of the handle, shifted slightly off the full flat face. That angle gives the fine control needed when the shuttle must be touched softly. A net shot on the backhand side feels tidier with the bevel grip because the string face can be held almost upright, letting the shuttlecock tumble thinly over the tape. The low backhand serve, common in doubles, also leans on this grip so the wrist push stays gentle and aimed. Practise touching a shuttlecock that hangs near the net with the bevel grip, aiming for a steep drop as close to the tape as possible. The control here comes from relaxed fingers, with the swing kept small.
Tips- Take the shuttle at its highest point close to the tape so the flight dips more steeply
- Ease off the power at contact; the bevel grip is built for softness of touch
- Step 4
Recognise the panhandle grip for killing shuttles at the net
The panhandle grip turns the handle until the string face lies parallel to the palm, much like holding a frying pan. This position points the string face straight down, exactly what is needed to press a high shuttle at the net down to the opponent's floor in an instant. That move is called the net kill and it happens very fast, so the panhandle grip is used specifically for it. Stand close to the net, lift the racket, then press a shuttlecock floating high with a short flick of the wrist. Keep in mind that the panhandle grip suits a daily grip poorly because it limits reach and power on overhead shots. Use it as a special tool to close chances at the net, then return to the forehand grip afterward.
Tips- Use the panhandle only for a high shuttle right at the net that can be pressed down
- After the net kill, quickly turn the handle back to the forehand grip to be ready for the next shuttle
Making the panhandle your everyday grip robs overhead shots of power and reach. Limit its use to killing shuttles at the net. - Step 5
Drill the grip changes until the fingers choose on their own
Four grips only help once the hand can move between them as fast as the shuttle arrives. The switching drill becomes the closing step that ties everything together. Start slowly: stand in the ready position with a forehand grip, then say or picture the direction of the shuttle, and turn the handle to the matching grip. Raise the speed gradually. Bouncing a shuttlecock against a wall while alternating the forehand and backhand faces trains the fingers to turn the handle under time pressure. After that, ask a coach or partner to feed shuttles to the right and left at random so the hand learns to pick the grip without waiting for the mind. A smooth switch comes from a wrist and fingers that stay loose, because a tense hand turns the handle slowly.
Tips- Come back to the forehand grip as your home position after each shot, since switching is quickest from there
- Film your practice to check whether the fingers really turn the handle or pull it out and re-grip
Four Racket Grips and the Shots They Produce
| Grip | How it is held | Main shots |
|---|---|---|
| Forehand | Like shaking the handle, V on the top edge | Clear, smash, drive, and net shots on the right |
| Backhand | Thumb pressing flat on the wide face | Clear and drive on the left side |
| Bevel | Thumb on the slanted edge of the handle | Backhand net shots and the low backhand serve |
| Panhandle | String face parallel to the palm, like a pan | Net kill pressing high shuttles down at the net |
The forehand serves the most shots, which makes it the base grip. The other three each have a special job called on by the direction and height of the shuttle.
Should Beginners Rely on the Panhandle Grip?
- Very effective at pressing a high shuttle at the net down to the opponent's floor in a short move
- The string face points straight down, so the direction of the net kill is easy to control
- Quick to react because there is no far handle turn once the shuttle is already at the net
- Limits arm reach on overhead shots at the back of the court
- Clear and smash power drops because the wrist cannot flick freely
- Beginners who use it for everything struggle to build a correct forehand technique
Common Grip Mistakes and Their Simple Fixes
Gripping tightly the whole time
The wrist locks so the racket turns slowly and shots lose their flick. Loosen the grip while waiting and tighten only for an instant when the strings meet the shuttle.
The grip never changes
Every shot is forced with one grip, leaving the backhand side always weak. Drill the forehand-to-backhand switch without a shuttle until the fingers turn the handle on their own.
Holding the handle like a hammer
Fingers packed tight with the index glued down make the string angle hard to set. Give the index finger a small gap and form a clear V for the forehand grip.
Panhandle used for every shot
Overheads turn weak because the string face points the wrong way. Return to the forehand grip for high shots and save the panhandle for the net kill only.
“A player whose fingers are used to turning the handle gently always arrives at the right grip before the shuttle does, so the shot direction is locked in before the swing even begins.”
A Quick Check Before You Hit
- Is the grip matched to where the shuttle comes, forehand serving the right and backhand serving the left
- Does the forehand V sit on the top ridge of the handle when hitting overhead
- Is the thumb pressing flat during a backhand shot
- Does the grip loosen again right after the shuttle is struck
Bringing the four grips together into flowing play
The four badminton racket grips work as one family that covers each other's gaps. The forehand carries the majority of shots and acts as the hand's home position, the backhand keeps the left side strong, the bevel tidies touches at the net, and the panhandle closes chances right above the tape. A player who memorises all four and grows used to moving between them finds the court easier to cover because the hand is always ready with the correct string angle. The road there is simple though it asks for patience. Form one grip until the fingers find it without looking, join it to the previous grip through a slow switching drill, then raise the speed little by little until the change happens without notice. A coach's guidance quickens the progress because a small slip in thumb position or the shape of the V can be straightened before it hardens into a habit. Brief sessions done regularly, backed by honest feedback, gradually move the four grips out of the thinking zone and into a reflex that surfaces on its own during play.
- There are four badminton racket grips: forehand, backhand, bevel, and panhandle, each with a different shot job
- The forehand grip is the base because it serves the clear, smash, drive, and net shots on the right
- The backhand grip relies on the thumb pressing flat to strengthen shots on the left side
- The bevel tidies net shots and the backhand serve, while the panhandle is reserved for the net kill
- Switching between grips comes from loose fingers turning the handle, drilled from slow movement into a reflex