How to start taekwondo from scratch begins with learning dojang etiquette and the ready posture, then planting basic stances such as ap seogi and juchum seogi as the foundation of balance. Once the footing is solid, train the basic kicks starting from ap chagi, then dollyo chagi, then yeop chagi in stages. This order matters because a powerful kick grows from a stable stance and a controlled hip.
- Plant the basic stances first, because every kick rests on the balance of the supporting leg
- Train the knee lift, or chamber, before releasing a kick so direction and power stay controlled
- Learn ap chagi, dollyo chagi, and yeop chagi one at a time until each movement feels comfortable
- A cotton dobok or taekwondo uniform that absorbs sweat, or loose, comfortable sportswear for early practice at home
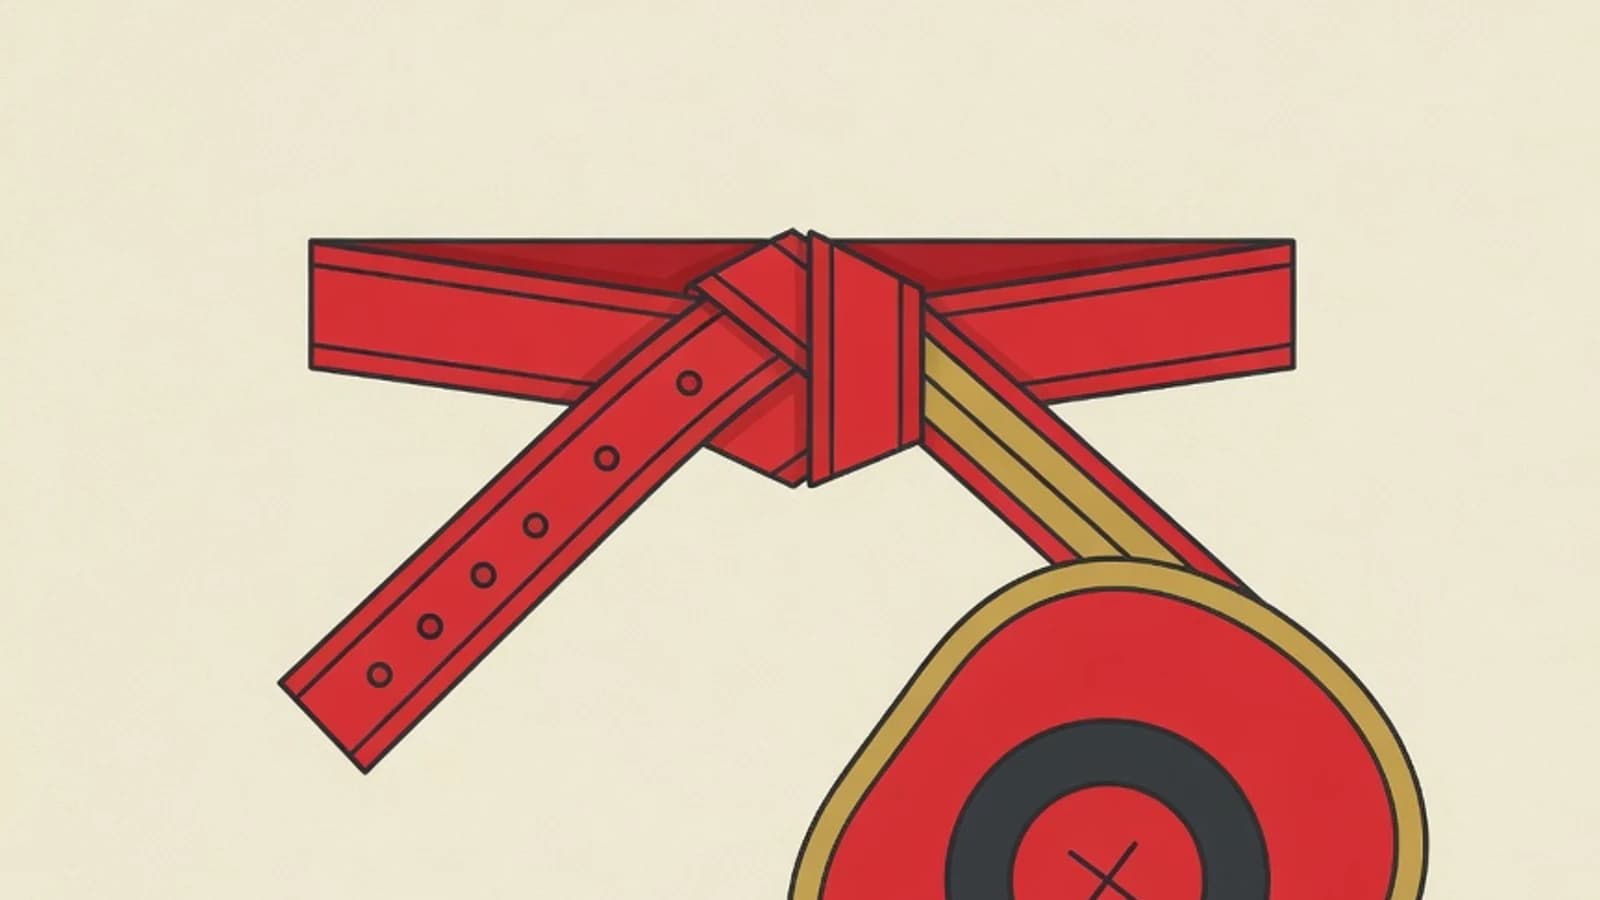
- A white belt to mark the beginner rank, used to build the habit of tying it and observing dojang dress etiquette
- A mat or soft surface to protect the knees and soles while training knee lifts and footwork
- Clear space about three to four steps long so you can freely practise moving between stances and swinging kicks
Key Numbers When Starting Taekwondo from Scratch
Why stances are the root of every taekwondo kick
A stance is how the feet support the body on the floor, and it is from this footing that all kicking power flows. Beginners are often tempted to kick high right away, yet a shaky supporting leg drains a kick of power and tips the body off balance. A correct foot posture locks in balance so the hip can rotate fully as the kick is released. Several core stances are introduced first. Ap seogi, or the walking stance, places one foot forward with weight shared evenly, used for moving and stepping. Ap kubi, or the long front stance, bends the front knee while the rear leg stays straight, giving a firm base for straight punches and blocks. Dwit kubi, or the back stance, keeps most of the weight on the bent rear leg, useful for defending and setting up a counter. Juchum seogi, or the horse-riding stance, bends both knees a little wider than shoulder width, building thigh strength and the stability that a side kick relies on. The key to every stance is a tall spine, knees pointing along the toes, and the centre of weight over the middle of the foot. Beginners who take time to hold each posture for several counts will feel the leg muscles strengthen and the body become more aware of its position. This foundation is what makes the next kicks feel powerful without sacrificing balance.
7 Steps for How to Start Taekwondo from Scratch
These seven steps follow the order commonly used when introducing taekwondo to beginners: etiquette and the ready posture, mastering stances, training the knee lift, then the ap chagi, dollyo chagi, and yeop chagi kicks, closing with tying it all together in a simple poomsae. Finish each step until the movement feels comfortable before adding a new technique.
- 1
Learn dojang etiquette, the dobok, and the bow as your entry point
Taekwondo begins with conduct, before a single kick is thrown. Put on the dobok neatly and tie the white belt in front of your waist to mark the beginner rank. Build the habit of bowing when you enter and leave the training area, called the dojang, because courtesy is the first tenet of taekwondo. Learn the basic Korean commands coaches often use, such as charyeot for the attention posture, junbi for the ready posture, and kihap for the shout that emphasises power. Stand in the attention posture with heels together and eyes forward, then move to the ready posture with feet shoulder-width apart and fists in front of the waist. Building this early etiquette and posture grows the discipline that keeps training safe and orderly from day one.
Tips- Tie the belt firmly enough that it will not slip during movement, with both ends the same length
- Bow about thirty degrees when you greet, keeping your gaze respectful
- 2
Plant the basic stances until your footing feels rooted
Stances are the first homework that decides the quality of every technique that follows. Start with ap seogi, the walking stance with one foot stepping forward and weight shared evenly, and feel how the body stays balanced while moving back and forth. Move on to ap kubi, bending the front knee until the shin is vertical while the rear leg stays straight and planted, a long stance that becomes the base for blocks and straight punches. Learn dwit kubi by shifting most of the weight onto the bent rear leg with the body slightly turned, useful for defending. Close with juchum seogi, the horse stance that bends both knees a little wider than shoulder width while keeping the spine tall. Hold each posture for ten counts while checking that the knee tracks over the toes. Holding stances strengthens the thighs and plants the sense of balance that becomes the base for every kick.
Tips- Keep the spine tall and shoulders relaxed, and avoid hunching as you bend the knees
- Check that the knee always points along the toes so the joint stays protected
Letting the knee bend past the toes in the front stance strains the joint. Keep the shin vertical so the knee stays safe and the stance stays strong. - 3
Train the knee lift and single-leg balance before kicking
Every taekwondo kick begins by lifting the knee toward the target, a movement called the chamber. Training the knee lift first makes a kick land on target and easy to draw back. Stand balanced on one leg, lift the other knee to hip height with the foot flexed and ready, hold for a moment, then lower it slowly. Repeat on alternating legs while keeping the body upright and steady. If your balance still wobbles, hold on to a wall or a sturdy chair in the early stage, then let go little by little. Combine this with the stances: from the ready posture, lift the knee, hold, then return to the starting stance. A trained single-leg balance lets the next kick be released without the body toppling, and turns the supporting leg into a firm pillar that channels power.
Tips- Fix your gaze on a single point ahead to help hold balance
- Engage the abdominal muscles while holding the knee up so the body does not lean back
- 4
Master ap chagi, the front kick that becomes your first kick
Ap chagi, or the front kick, is the most basic and safest kick for beginners to learn. From the ready posture, lift the kicking leg's knee forward to target height, then snap the lower leg straight so the ball of the foot, called the ap chuk, strikes the target. Draw the lower leg back as fast as you released it, lower the foot, and return to the stance. This lift, release, retract, and lower sequence should flow in one rhythm. Practise slowly without a target at first to feel the straight path of the kick, then progress to a paddle held by a partner. Keep the supporting leg slightly bent and the heel planted stably so the body is not pushed backward on impact. A clean ap chagi teaches the base pattern of every kick: lift the knee to aim, snap the lower leg for power, then retract it for control.
Tips- Pull the toes up on impact so the ball of the foot makes contact with the target
- Release the kick with a flexible snap from the knee, and avoid a stiff push from the hip
Leaving the leg hanging after a kick costs the body its balance. Build the habit of retracting the lower leg quickly before lowering the foot. - 5
Add dollyo chagi, the turning kick driven by hip rotation
Dollyo chagi, or the turning kick, is a curved kick from the side that has become the main weapon of modern taekwondo. Its power comes from hip rotation, so the stance and balance you trained earlier play a large role here. From the ready posture, lift the knee diagonally to the side while pivoting the supporting foot about ninety degrees so the heel faces the target. Turn the hip to follow, then snap the lower leg in a curve so the instep or the shin strikes the target from the side. Retract and lower back into the stance. The key to dollyo chagi is letting the hip rotate fully, because without that rotation the kick relies on leg power alone, which runs out fast. Practise slowly while checking the supporting foot's pivot in a mirror, then speed up once the path is correct. This kick introduces the role of the hip that becomes the key to almost every advanced kick.
Tips- Pivot the supporting foot first before releasing the leg so the hip is free to rotate
- Picture the movement like cracking a whip, with power flowing from the hip to the foot
Forgetting to pivot the supporting foot twists the knee and weakens the kick. Build the habit of turning the supporting heel toward the target before snapping the leg. - 6
Train yeop chagi, the side kick that demands a strong stance
Yeop chagi, or the side kick, drives the leg straight out to the side with the edge of the heel as the point of impact, and it demands the stance stability you trained more than any other. From the ready posture, lift the knee across the front of the body, lean the torso slightly away from the target, then thrust the leg straight to the side so the heel edge and blade of the foot strike the target. The supporting foot pivots so the heel faces the target, and the body forms a straight line from head to kicking foot on impact. Retract the leg and lower it under control. Yeop chagi demands strong thighs and mature balance, which is why the juchum seogi stance is trained first. Begin at half-body height while holding on if needed, and raise the target as balance strengthens. This straight, powerful kick trains the body to channel full drive through the hip and supporting leg.
Tips- Thrust the heel straight into the target with a stabbing motion so the power stays focused on one point
- Keep the supporting foot fully planted and slightly bent so the drive stays stable
- 7
Tie stances and kicks together in a simple poomsae
Once the stances and the three basic kicks are known one by one, it is time to tie them together in a sequence of movements called a poomsae. A poomsae is an ordered pattern that combines steps, stances, blocks, punches, and kicks while facing changing directions. For beginners, the opening moves of Taegeuk Il Jang teach the transition from ap seogi to ap kubi along with a low block and a straight punch, an ideal way to train stance transitions in a real flow. Slot an ap chagi between steps to get used to a kick flowing out of a stance. Practise the sequence slowly while counting each movement, keeping every stance solid before moving to the next step. A poomsae trains the body to remember the order, hold balance while turning, and unite every basic technique into connected movement. Neat, repeated practice slowly turns each stance and kick into a reflex.
Tips- Memorise the facing direction of each step so the stance transitions do not get mixed up
- Put neatness and balance first, and let speed follow once the pattern is planted
Three Basic Kicks and Their Movement Traits
| Kick | Path direction | Point of impact |
|---|---|---|
| Ap chagi | Straight forward | Ball of the foot (ap chuk) |
| Dollyo chagi | Curved from the side | Instep or shin |
| Yeop chagi | Straight to the side | Heel edge and blade of the foot |
All three kicks share the same pattern: lift the knee to aim, release the leg for power, then retract it for control. The difference lies in the path direction and the role of hip rotation.
Common Beginner Mistakes and How to Fix Them
Body wobbles while kicking
The supporting leg is stiff and balance is not yet mature. Strengthen the stances and train single-leg knee lifts before raising kick height.
Dollyo chagi feels weak
The supporting foot does not pivot, so the hip stays locked. Turn the supporting heel toward the target first, then snap the leg.
Knee hurts after the front stance
The knee bends past the toes. Keep the shin vertical and the knee tracking over the toes to protect the joint.
The kick is hard to retract
The leg is left hanging after impact. Build the habit of retracting the leg quickly to the chambered position before lowering the foot.
“A beginner who patiently plants the stances first will kick calmly because the supporting leg becomes a firm pillar, and the variety of kicks is simply added on top of balance that is already trained.”
Checklist Before Releasing a Kick
- Is the supporting foot planted stably and slightly bent
- Is the knee already lifted toward the target as the chamber
- Is the hip ready to rotate for a turning or side kick
- Can the leg be retracted quickly after impact
Uniting stances, balance, and kicks into flowing movement
The basic techniques of taekwondo work as a chain that supports itself. Stances give footing, balance keeps the body upright, and kicks complete the movement. Beginners who only chase high kicks often lose power because the supporting leg is shaky. Beginners who diligently hold stances yet rarely train the knee lift often struggle to aim their kicks. These three elements grow together through practice that unites them. The most comfortable way to build that chain is layered practice. Master one layer until it feels natural, then combine it with the previous layer in a slow, controlled sequence. A simple poomsae done neatly is more valuable for a beginner than a high kick that topples the body, because a poomsae trains stance transitions, balance while turning, and kick selection in a real flow. A coach's guidance speeds up the process, because small errors in the knee angle or hip pivot can be pointed out before they become hard-to-change habits. Short, regular practice, paired with honest feedback and enough warm-up, slowly turns the basic stances and kicks into a controlled reflex.
- How to start taekwondo from scratch is built in layers: dojang etiquette, stances, balance, then kicks
- The four basic stances (ap seogi, ap kubi, dwit kubi, juchum seogi) are the root of balance for every kick
- The knee lift, or chamber, is trained first so kicks land on target and are easy to retract
- Ap chagi, dollyo chagi, and yeop chagi share the lift, release, and retract pattern with different hip roles
- A simple poomsae unites stances and kicks into a reflex through layered practice
Common Questions About Starting Taekwondo from Scratch
What should you learn first when starting taekwondo from scratch?
When starting taekwondo from scratch, the comfortable order is to learn dojang etiquette and the ready posture, then plant the basic stances such as ap seogi, ap kubi, dwit kubi, and juchum seogi. Once the footing is solid, train the knee lift for balance, then move into the basic kicks. Stances come first because every kick rests on a stable supporting leg.
What are the basic taekwondo stances a beginner needs to master?
The four basic stances usually introduced first are ap seogi, the walking stance for moving, ap kubi, the long front stance for straight punches and blocks, dwit kubi, the back stance for defending, and juchum seogi, the horse stance for building thigh strength and stability. The key to all of them is a tall spine and knees pointing along the toes.
Which basic taekwondo kick suits a beginner best?
Ap chagi, the front kick, is the most basic and safest kick for beginners because its path is straight and easy to control. Once ap chagi feels comfortable, beginners usually move on to dollyo chagi, the turning kick from the side, and yeop chagi, the straight side kick. All three follow the same pattern: lift the knee, release the leg, then retract it.
How long does it take to learn taekwondo stances and basic kicks?
As an estimate, beginners who train several times a week usually start to feel solid with the basic stances and able to perform ap chagi and dollyo chagi with balance after 10 to 16 weeks. This pace depends on training frequency, warm-up, and the habit of correcting technique. The figure is an estimate because each person progresses at a different rhythm.
Why does dollyo chagi feel weak even when the leg swings hard?
Dollyo chagi relies on hip rotation, while the leg swing only completes it. If the supporting foot does not pivot until the heel faces the target, the hip stays locked, so the kick loses power and the knee risks twisting. Build the habit of pivoting the supporting foot first, then let the hip rotate fully before snapping the leg in a curve.
Do beginners need a dobok and special gear to start training?
To begin, loose, comfortable sportswear is enough for early practice at home, though a cotton dobok helps build the habit of dojang dress etiquette. A soft mat protects the knees and soles, while a paddle or thick cushion helps you feel the point of impact. Mastery of stances and balance decides progress more than the completeness of gear.