How to teach jarimatika for beginners starts with introducing finger values: the right hand for ones and the left hand for tens. The child first memorises the finger shapes for numbers 1 to 9, then practises simple addition using the small friends and big friends. This method suits children aged 4 to 12.
- The right hand holds the ones value, the left hand holds the tens value
- The thumb is worth five, each of the other four fingers is worth one
- Master the finger shapes for 1 to 9 before moving on to addition
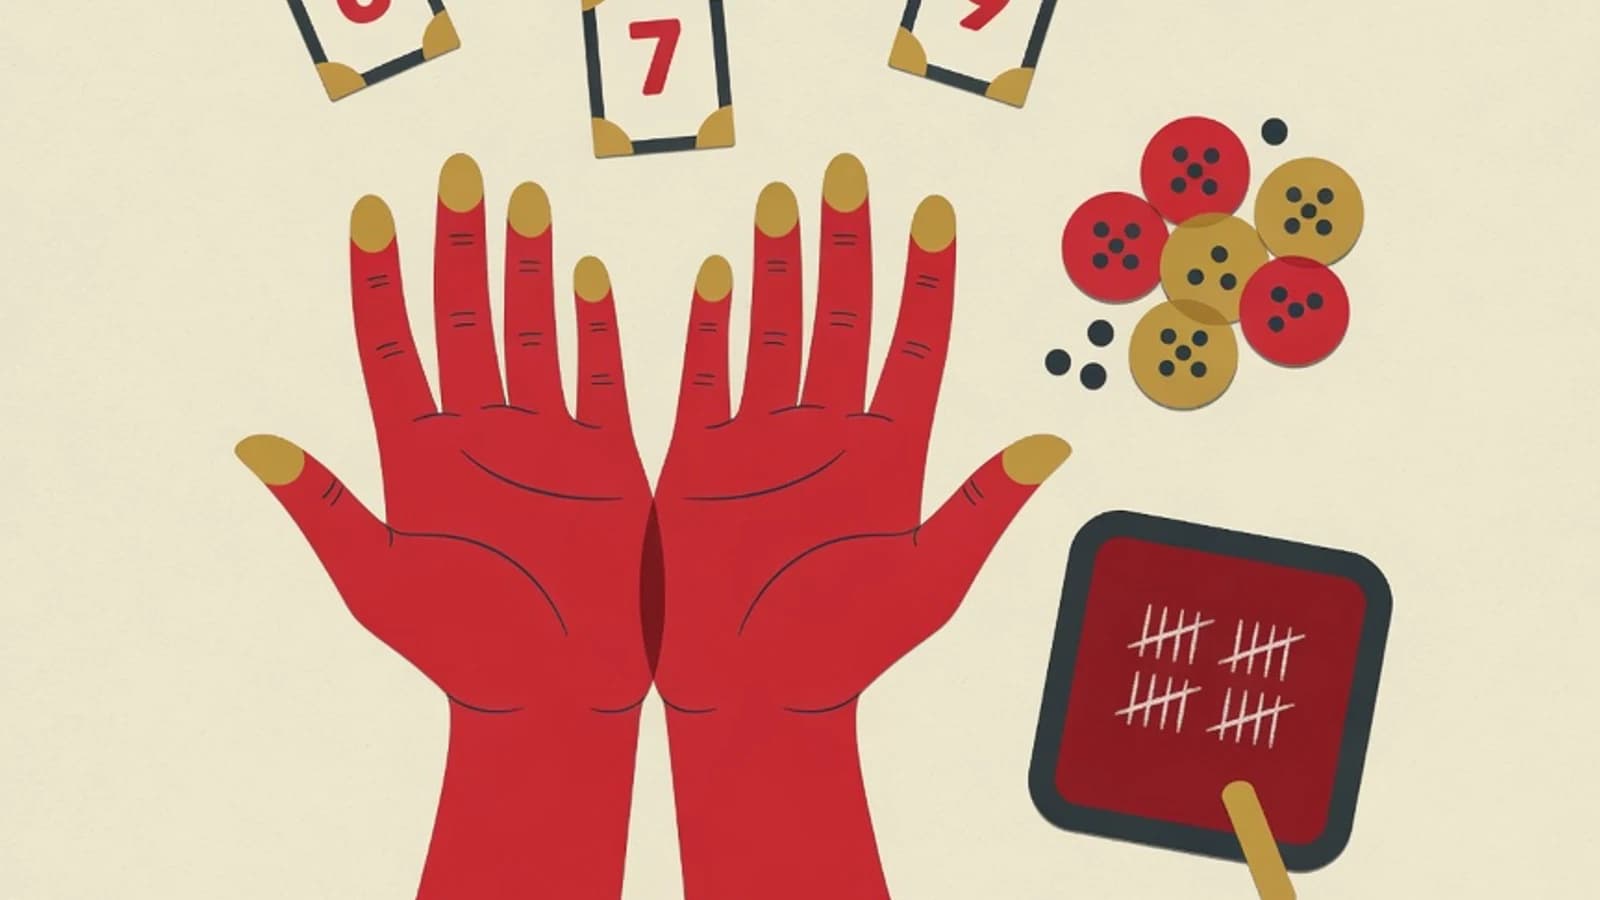
- The child's two relaxed hands, the main counting tool in jarimatika
- Number cards from 1 to 9 to match the numeral with its finger shape
- Small objects such as buttons or marbles to prove that a result is correct
- A large-square notebook to record the simple addition problems you work on together
Jarimatika in Numbers
What Jarimatika Is and Why Fingers Work
Jarimatika is a counting approach that uses the ten fingers as an aid, developed by Septi Peni Wulandani in Salatiga between 2000 and 2003. The name blends the Indonesian words for finger (jari) and mathematics (matematika). The child learns to display numbers through fixed finger combinations, then adds and subtracts by moving those fingers. Fingers make sense to a young child because they are always available and can be touched. A child who still finds it hard to picture numbers in the mind is helped when a number turns into a real hand movement. Research on number cognition highlights the role of finger awareness, known as finger gnosis, in early arithmetic, though researchers still debate how large that influence is. For parents, the practical value of jarimatika lies in a learning atmosphere that feels like play, so the child stays relaxed around numbers.
Jarimatika Compared With Other Counting Methods
| Aspect | Jarimatika | Abacus | Plain Memorising |
|---|---|---|---|
| Tool used | The child's ten fingers | Beads on an abacus frame | Memory without a tool |
| Starting cost | Almost nothing | Need to buy an abacus | Almost nothing |
| What the child trains | Finger shapes and number pairs | Bead moves and mental abacus | Repeating number facts |
| Good place to start | A child who knows numbers 1 to 9 | A child who practises diligently | A child already fluent in concepts |
The three can complement each other. Jarimatika is often chosen as the first step because its tool is attached to the child's own body.
Learning Finger Values Before Counting
Before moving to addition, the child needs to understand the map of finger values first. The right hand holds the ones value. The right thumb is worth five, while the index, middle, ring, and little fingers are each worth one. So numbers 1 to 4 are formed by opening one to four fingers, number 5 is formed by opening the thumb alone, then numbers 6 to 9 combine the thumb with the other fingers. The left hand holds the tens value with exactly the same shapes, only the value is multiplied by ten. The left thumb is worth fifty, and each other finger is worth ten. Together the two hands can show numbers from 1 to 99. Spend enough time at this stage until the child can form numbers without hesitation, because every operation that follows rests on this memory of finger shapes.
Steps to Teach Jarimatika From Scratch
These six steps are arranged in order. Make sure the child is comfortable at one step before moving to the next. A calm atmosphere and short regular sessions matter more than long but infrequent ones.
- 1
Make sure the child already knows numbers 1 to 9
Jarimatika rests on an existing understanding of number. First check whether the child can name, order, and match numbers 1 to 9 with quantities of objects. Invite the child to count buttons, spoons, or toys, then ask which group is larger. If the child still confuses the numeral with its quantity, hold off on jarimatika and strengthen the number concept through everyday counting games. This foundation matters so that fingers do not become empty rote movements. A child who understands that a number stands for a quantity of objects will grasp more quickly why those fingers can be added.
Tips- Count real objects at home every day, such as the number of stairs
- Use number cards and ask the child to pick up that many objects
- 2
Introduce the right-hand finger values for ones
Start with the right hand as the holder of ones. Show that the thumb is worth five and each of the other four fingers is worth one. Demonstrate slowly: open the index finger while saying one, add the middle finger for two, up to four fingers open for four. Then close them all, open only the thumb, and say five. Continue by adding the index for six, and so on up to nine when all five fingers are open. Ask the child to copy along while saying the number clearly. Repeat at random, call out a number and ask the child to form it, then swap so the child names it and you form it.
Tips- Practise in front of a mirror so the child sees the shape of their own hand
- Sing the number sequence while opening fingers to keep it light
Do not rush to add the left hand before the child is fluent forming 1 to 9 with the right hand. Finger shapes that have not stuck will make addition confusing. - 3
Add the left hand for the tens value
Once the right hand is fluent, introduce the left hand with the same shapes but a value ten times larger. The left thumb is worth fifty, and each other finger is worth ten. Invite the child to form two-digit numbers using both hands at once, for example thirty-two is formed by three left fingers and two right fingers. Turn it into a game of naming a family member's age or a neighbour's house number and then showing it. This stage extends the child's reach up to 99 and prepares them for additions whose result passes ten.
Tips- Practise numbers familiar to the child, such as an age or shoe size
- Say the tens first and then the ones so the order stays neat
- 4
Practise simple addition without friends
Move to addition where the fingers are still enough, before introducing the term friends. For example two plus three: ask the child to form two on the right hand, then open three more fingers, and count the open fingers as five. Work through many problems of this kind until the child understands that adding means opening fingers and subtracting means closing them. Prove it now and then with buttons so the child trusts that the finger result is correct. Confidence on easy problems becomes an important reserve before facing problems that require swapping fingers.
Tips- Begin with results below ten so the fingers are always enough
- Mix in subtraction problems so the child gets used to closing fingers
- 5
Teach the small friend for swapping within five
The small friend is a pair of numbers that add up to five, namely 1 with 4 and 2 with 3. This concept is used when the child wants to add but the ones fingers are not enough, while the thumb is still closed. For example three plus three: the remaining ones fingers fall short, so the child opens the thumb worth five, then closes the small friend of three, which is two fingers. The result is six. Demonstrate slowly while saying open five, close its small friend. Let the child discover the small friend pairs through a guessing game, because understanding they build themselves sticks better than being simply told.
Tips- Write the small friend pairs on coloured paper and stick them on the wall
- Rehearse the phrase open five close the small friend until it becomes a habit
Introduce the small friend only after simple addition is truly fluent. Combining two concepts at once tends to overwhelm the child. - 6
Continue to the big friend to move up to tens
The big friend is a pair of numbers that add up to ten, namely 1 with 9, 2 with 8, 3 with 7, 4 with 6, and 5 with 5. This concept is used when an addition result passes ten so the child needs to raise one finger to the tens hand. For example eight plus five: because the ones fingers are not enough, the child raises one tens finger worth ten, then closes the big friend of five, which is five fingers, leaving three ones fingers. The result is thirteen. Practise slowly with plenty of repetition, since this step asks the child to recall number pairs while coordinating two hands. Stop while the child still enjoys it, and continue the next day.
Tips- Master the small friend first before moving to the big friend
- Use problems whose result is just above ten as a gentle start
Two Key Concepts of Jarimatika Addition
Small Friend
A pair of numbers that add up to five, namely 1 and 4 and 2 and 3. Used to swap fingers within one hand when the thumb needs to open. Master this concept first because it is the footing before the big friend.
Big Friend
A pair of numbers that add up to ten, namely 1 and 9, 2 and 8, 3 and 7, 4 and 6, and 5 and 5. Used when a result passes ten and the child needs to raise one finger to the tens hand.
“A child learns to count best when numbers feel real in the hand and sessions stay short each day. Fluency in finger shapes is built slowly, and praise for small efforts makes the child brave enough to try the next problem.”
A Daily Routine That Sustains Progress
- Set aside 10 to 20 minutes at the same time every day
- Begin by reviewing already mastered finger shapes as a warm-up
- Introduce one new concept per session, do not stack two at once
- Prove one or two results with buttons or marbles
- Alternate addition with subtraction so the fingers train both directions
- End while the child still enjoys it and praise every effort
- Jarimatika uses the right hand for ones and the left hand for tens, with the thumb worth five.
- A child needs to form numbers 1 to 9 fluently before moving to addition.
- The small friend is a pair that adds up to five, the big friend a pair that adds up to ten.
- Short calm daily sessions full of praise work better than long infrequent practice.