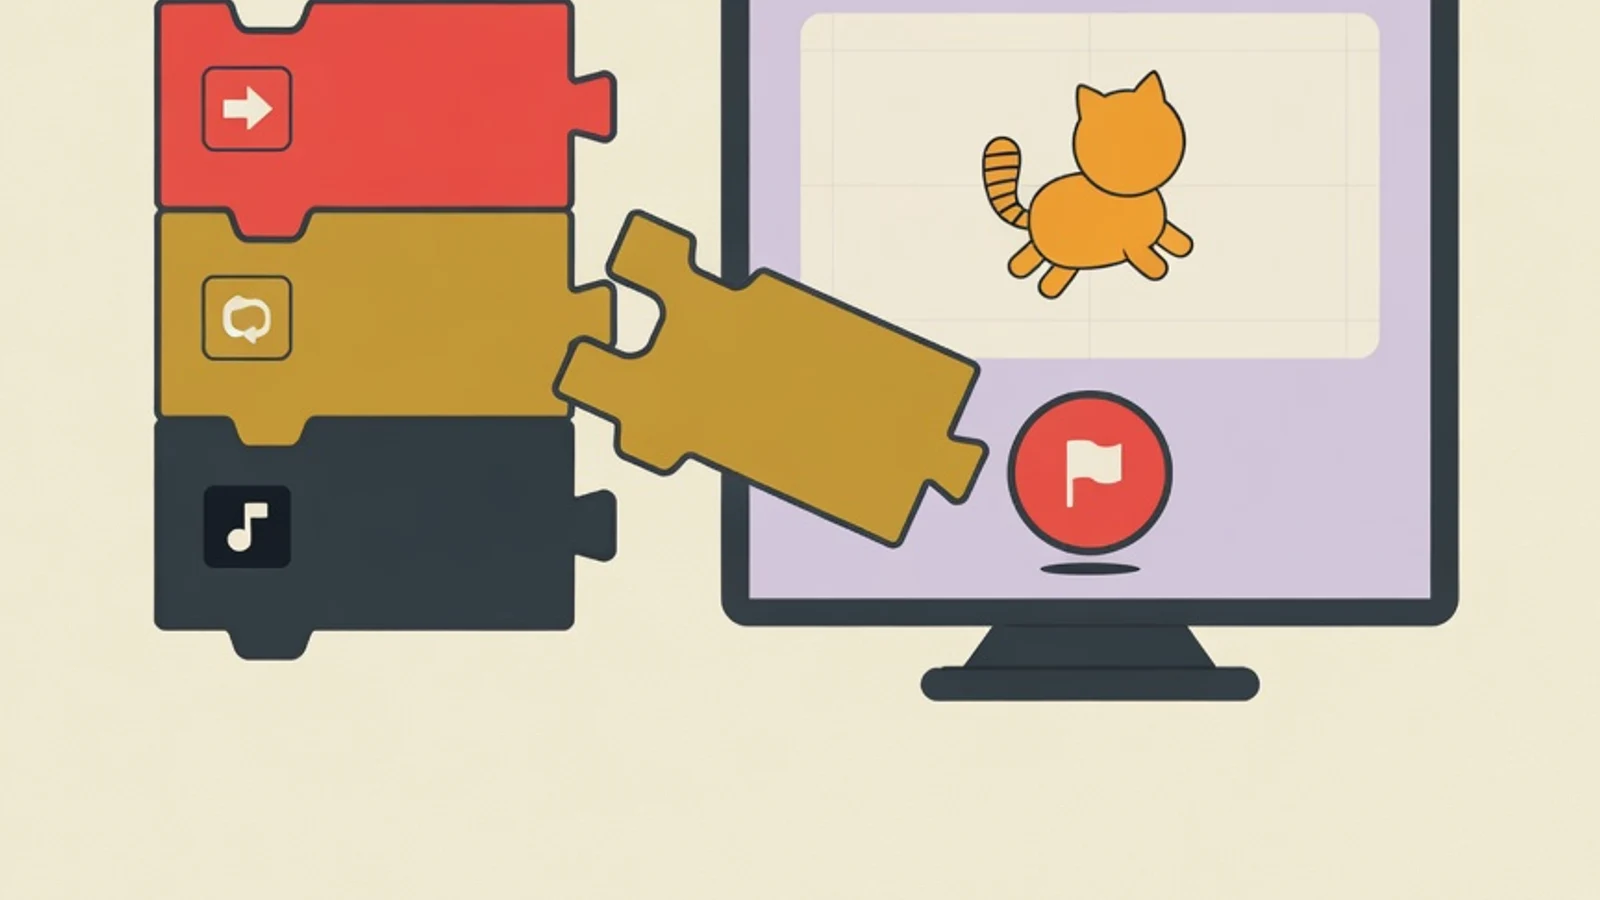
Introducing coding to kids with Scratch from zero begins by practicing sequence logic through screen-free games, then opening scratch.mit.edu and meeting the colorful blocks you can drag. The child moves one character first, adds sound and speech, then steps up to loops and conditions. Scratch is free and designed for ages 8 and up.
- Sequence logic is trained through simple games before the child touches a keyboard
- Scratch uses drag-and-drop blocks, so a child creates without memorizing syntax
- ScratchJr bridges the gap for children aged 5 to 7 who cannot read fluently yet
- A computer or laptop with a modern browser such as Chrome, Firefox, or Edge, since Scratch runs right in the browser without installing heavy software
- An internet connection to open scratch.mit.edu, or the Scratch Desktop download for practicing offline
- A separate mouse when possible, because dragging blocks feels easier for small hands than using a touchpad
- A parent email to create the child account, plus a tablet with ScratchJr for kindergarten-age children who cannot read fluently yet
Key Numbers Before Introducing Scratch
Scratch Opens the Door to Coding through Draggable Blocks
Scratch is a visual, block-based programming language that lets a child build programs by dragging and snapping colorful command pieces together, with no typing and no punctuation to memorize. Each block stands for one command, such as move ten steps, turn, or say something. The blocks connect like puzzle pieces, so the child sees the direct result of the arrangement they build. Beneath the play of dragging blocks, the child is really practicing computational thinking, the habit of breaking a problem into small, orderly steps. Researcher Jeannette Wing popularized this term as a thinking skill useful across many fields, from mathematics to storytelling. When a child arranges a sequence so a cat on screen walks and then greets someone, they are practicing how to design clear, ordered instructions. That ability to sequence steps carries over into other subjects at school.
Six Stages to Introduce Coding to a Child with Scratch
Work through them in order and keep it relaxed; one stage per week is plenty. Each stage leaves behind a small creation the child can be proud of and show the family.
- 1
Stage 1: Practice Sequence Logic Away from the Screen First
Before opening the computer, introduce the idea that a machine only runs commands exactly as given. Play a robot-and-controller game: the child is the robot and the parent gives step-by-step commands, such as move forward three steps, turn right, then pick up the cup. When a command is wrong, the robot moves wrong, and the child laughs while grasping why the right order matters. Make command cards with arrows to trace a path from one point to another across the living room. This screen-free play plants three core ideas used later in Scratch: commands run one at a time, order decides the outcome, and mistakes can be fixed by rearranging the steps. A child comfortable with this idea will grasp their first Scratch blocks much faster.
Tips- Let the child give the commands and the parent be the robot, so they practice designing their own instructions
- Celebrate small mistakes as part of learning, because fixing a wrong step is the heart of coding
- 2
Stage 2: Create an Account and Meet the Stage, Sprites, and Block Palette
Open scratch.mit.edu and create an account with a parent email, or simply choose Create to try it without an account. Introduce the three main parts of the screen in plain language. The stage in the upper right is the performance area, the white space where everything appears. A sprite is a character or object that can receive commands, and Scratch provides an orange cat as the default sprite. The block palette on the left holds commands grouped by color, such as blue Motion blocks for movement and purple Looks blocks for appearance. Have the child drag one move ten steps block into the script area in the middle, then click it and watch the cat shift on the stage. Repeat with a turn block and a say block, so the child feels that every block has a visible effect right away.
Tips- Switch Scratch to your preferred language through the globe icon at the top so the child reads block names more easily
- Let the child freely click any block in the first minutes, because exploring builds curiosity
Flooding the child with every block category at once is overwhelming. Introduce only two or three categories in the first session. - 3
Stage 3: The First Project, Move a Sprite with the Green Flag
Now the child builds their first program that runs on its own. Drag the yellow when green flag clicked block from the Events category to the very top, since this block acts as the start button. Snap a move ten steps block beneath it, then a say Hello for two seconds block. Have the child click the green flag above the stage and watch the cat step forward and greet. This three-block stack introduces the idea of a program as a chain of commands run top to bottom once an event triggers it. After that, encourage the child to change the number ten to something larger or change the greeting, so they see that changing one value directly changes the result on the stage. Save the project with a name the child chooses so they feel ownership of it.
Tips- Let the child pick a backdrop from the Scratch gallery, such as a park or the ocean, so the story feels like theirs
- Point out the green flag to start and the red stop button, since this pair appears in almost every project
- 4
Stage 4: Add Sound, Change Costumes, and Build an Interactive Story
A story makes coding feel alive to a child. Add a second sprite through the choose a sprite button, such as a butterfly or a person. Teach the child to use the play sound block from the Sound category and the switch costume block from the Looks category so a character seems to move or change expression. Build a simple dialogue: one sprite says something, waits two seconds with a wait block, then the second sprite replies. The idea of waiting and taking turns to speak introduces timing and cooperation between characters. Encourage the child to describe first what they want to happen, such as the cat greeting the butterfly in a park, and then arrange the blocks to make it real. The habit of designing a story before assembling blocks trains a child to think from goal to steps, a pattern useful in many school tasks.
Tips- Record your own voice through the recorder in the Sound category, because hearing their voice in the project excites the child
- Keep the story short, two or three characters is enough for a fun first session
Adding too many sprites and long dialogues early makes a project messy and hard to trace. Let the story grow little by little. - 5
Stage 5: Introduce Loops and Conditions through a Small Game
This stage introduces two ideas at the heart of many programs. A loop is represented by the repeat block and the forever block from the Control category, which spares the child from copying blocks over and over for repeated motion. A condition is represented by the if-then block, which runs a command only when a certain state is true. Guide the child to build a simple catching game: a falling fruit sprite drops from the top using a downward-motion loop, and when the fruit touches a basket sprite, the score rises through an if touching then change score block. Introduce a score variable as a box for holding a number that changes. The child will see the loop make the fruit keep falling and the condition make the score rise only when caught. Through one small game, two abstract ideas become concrete because their effects appear right on the stage.
Tips- Start with a repeat block set to a small number before using the forever block, so the child sees the loop's limit clearly
- Test the game together many times and adjust the falling speed until it feels right to play
Using a forever block without a pause often makes motion too fast to catch. Insert a wait block to control the rhythm. - 6
Stage 6: Save, Remix, and Build a Weekly Practice Rhythm
The habit of creating grows strongest from small, regular practice each week. Teach the child to save a project and, if they wish, share it in the Scratch community with parent-supervised settings. Introduce the remix feature, opening another child's project and modifying it, as a way to learn from other people's work. Set a light weekly rhythm, such as one thirty to forty-five minute session each weekend, with one small goal per session like adding a character or a game rule. Invite the child to show the result to the family at the end of each session, because an appreciative audience strengthens motivation. Keep a list of ideas for future projects together, from an animated greeting card to a simple quiz, so there is always something new to try.
Tips- Supervise the community and comment settings to match the child's age, since Scratch provides privacy controls for child accounts
- Post the list of project ideas near the study desk so the child easily picks the next challenge
Pick a Starting Point by the Child's Age
ScratchJr for Ages 5 to 7
A tablet app with picture-based, text-free blocks, ideal for children not yet reading fluently. The child builds a simple story by sliding arrow icons and characters.
Scratch for Ages 8 and Up
The main browser version with word-labeled blocks. The child can build stories, animations, and games with loops, conditions, and variables.
Next Steps After Scratch
A fluent child is usually ready for blocks-to-text tools, then a text-based language such as Python during the teenage years.
Interactive Story Projects
Focus on dialogue between characters, costume changes, and backdrops. A fit for children who love telling stories and drawing.
Simple Game Projects
Combine loops, conditions, and a score. Appealing to children who enjoy challenges and rules of play.
Animation and Music Projects
Use sound blocks and repeated motion to make a character dance or a short tune. Friendly for a very first introduction.
Comparing Kids Coding Tools by Age
| Tool | Suggested age | Main trait |
|---|---|---|
| ScratchJr | 5 to 7 years | Picture-based text-free blocks on a tablet, focused on short stories |
| Scratch | 8 years and up | Word-labeled blocks in a browser, supports loops and conditions |
| Basic Python | around 12 years and up | Text-based language, an advanced step once logic feels comfortable |
These age markers are general and can flex with each child's readiness. A child who reads fluently early may feel comfortable with Scratch sooner, while another prefers to begin with ScratchJr.
“Children learn most deeply when they design something meaningful to them, because that is where mind and feeling work together.”
Signs a Child Is Ready and How to Prepare for the First Session
- The child can follow and give ordered commands through screen-free games
- For the main Scratch version, the child reads short words on blocks fluently enough
- A computer or tablet is ready with a modern browser or the ScratchJr app installed
- A separate mouse is available when possible so the child drags blocks more easily
- Session time is kept reasonable, around thirty to forty-five minutes to hold focus
- The parent is ready to be a questioning companion and let the child stay in control
Introducing Coding Yourself or with a Mentor
- You can start free with Scratch and keep a flexible pace that follows the child's mood
- Screen-free activities and the first project are easy to repeat anytime with no elaborate setup
- Parent and child grow closer as they create and laugh together in front of the screen
- A parent new to Scratch can feel unsure how to guide when the child hits a dead end
- It is hard to judge when a child is ready to step up to trickier ideas like variables or conditions
- Motivation fades easily when a project stops growing and there is no directed new challenge
When a Mentor Speeds Up a Child's Progress
Introducing coding through Scratch can begin at home, and many families go far with just a computer and curiosity. The moment parents most often hesitate is when a child hits a dead end and the parent has never used Scratch, or when the child grows bored repeating the same project and needs a directed challenge. At EduPoint, kids coding mentoring runs privately with one teacher and one student, so the difficulty adjusts to the child's age and interests. A mentor reads the child's project, shows which parts can be tidied, then sets the next challenge that fits their readiness. Sessions can be arranged at home or online, and payment accepts bank transfer, virtual account, QRIS, e-wallet, card, and even Alfamart and Indomaret. This kind of guidance helps keep a child's joy intact while making sure their learning keeps moving forward.
- Train sequence logic through screen-free games before the child touches a keyboard
- Scratch is free and uses draggable blocks, so a child creates without memorizing syntax
- ScratchJr is the starting point for children aged 5 to 7 who cannot read fluently yet
- Loops and conditions are easiest to grasp through one small, playable game
- Short regular sessions and a parent as a questioning companion keep a child's motivation alive